How a Worn Rear Hub Looks Like Inside
I finally decided that my first MTB wheelset is worn out enough to be thrown away. Besides, I’ve switched to using disk brakes, and the old hubs were simply incompatible.
Before throwing old stuff away, I wanted to look how things wore for four years. The front hub sounded well and had no play, actually. I think it still had at least a couple of thousands of kilometers of resource left. But the rear hub was grinding horribly. Let’s disassemble it a look inside.
My hubs were with cup-and-cone bearings. To unscrew nuts with cone wrenches, shake loose balls away, clean from leftover grease and voilà — the axle.
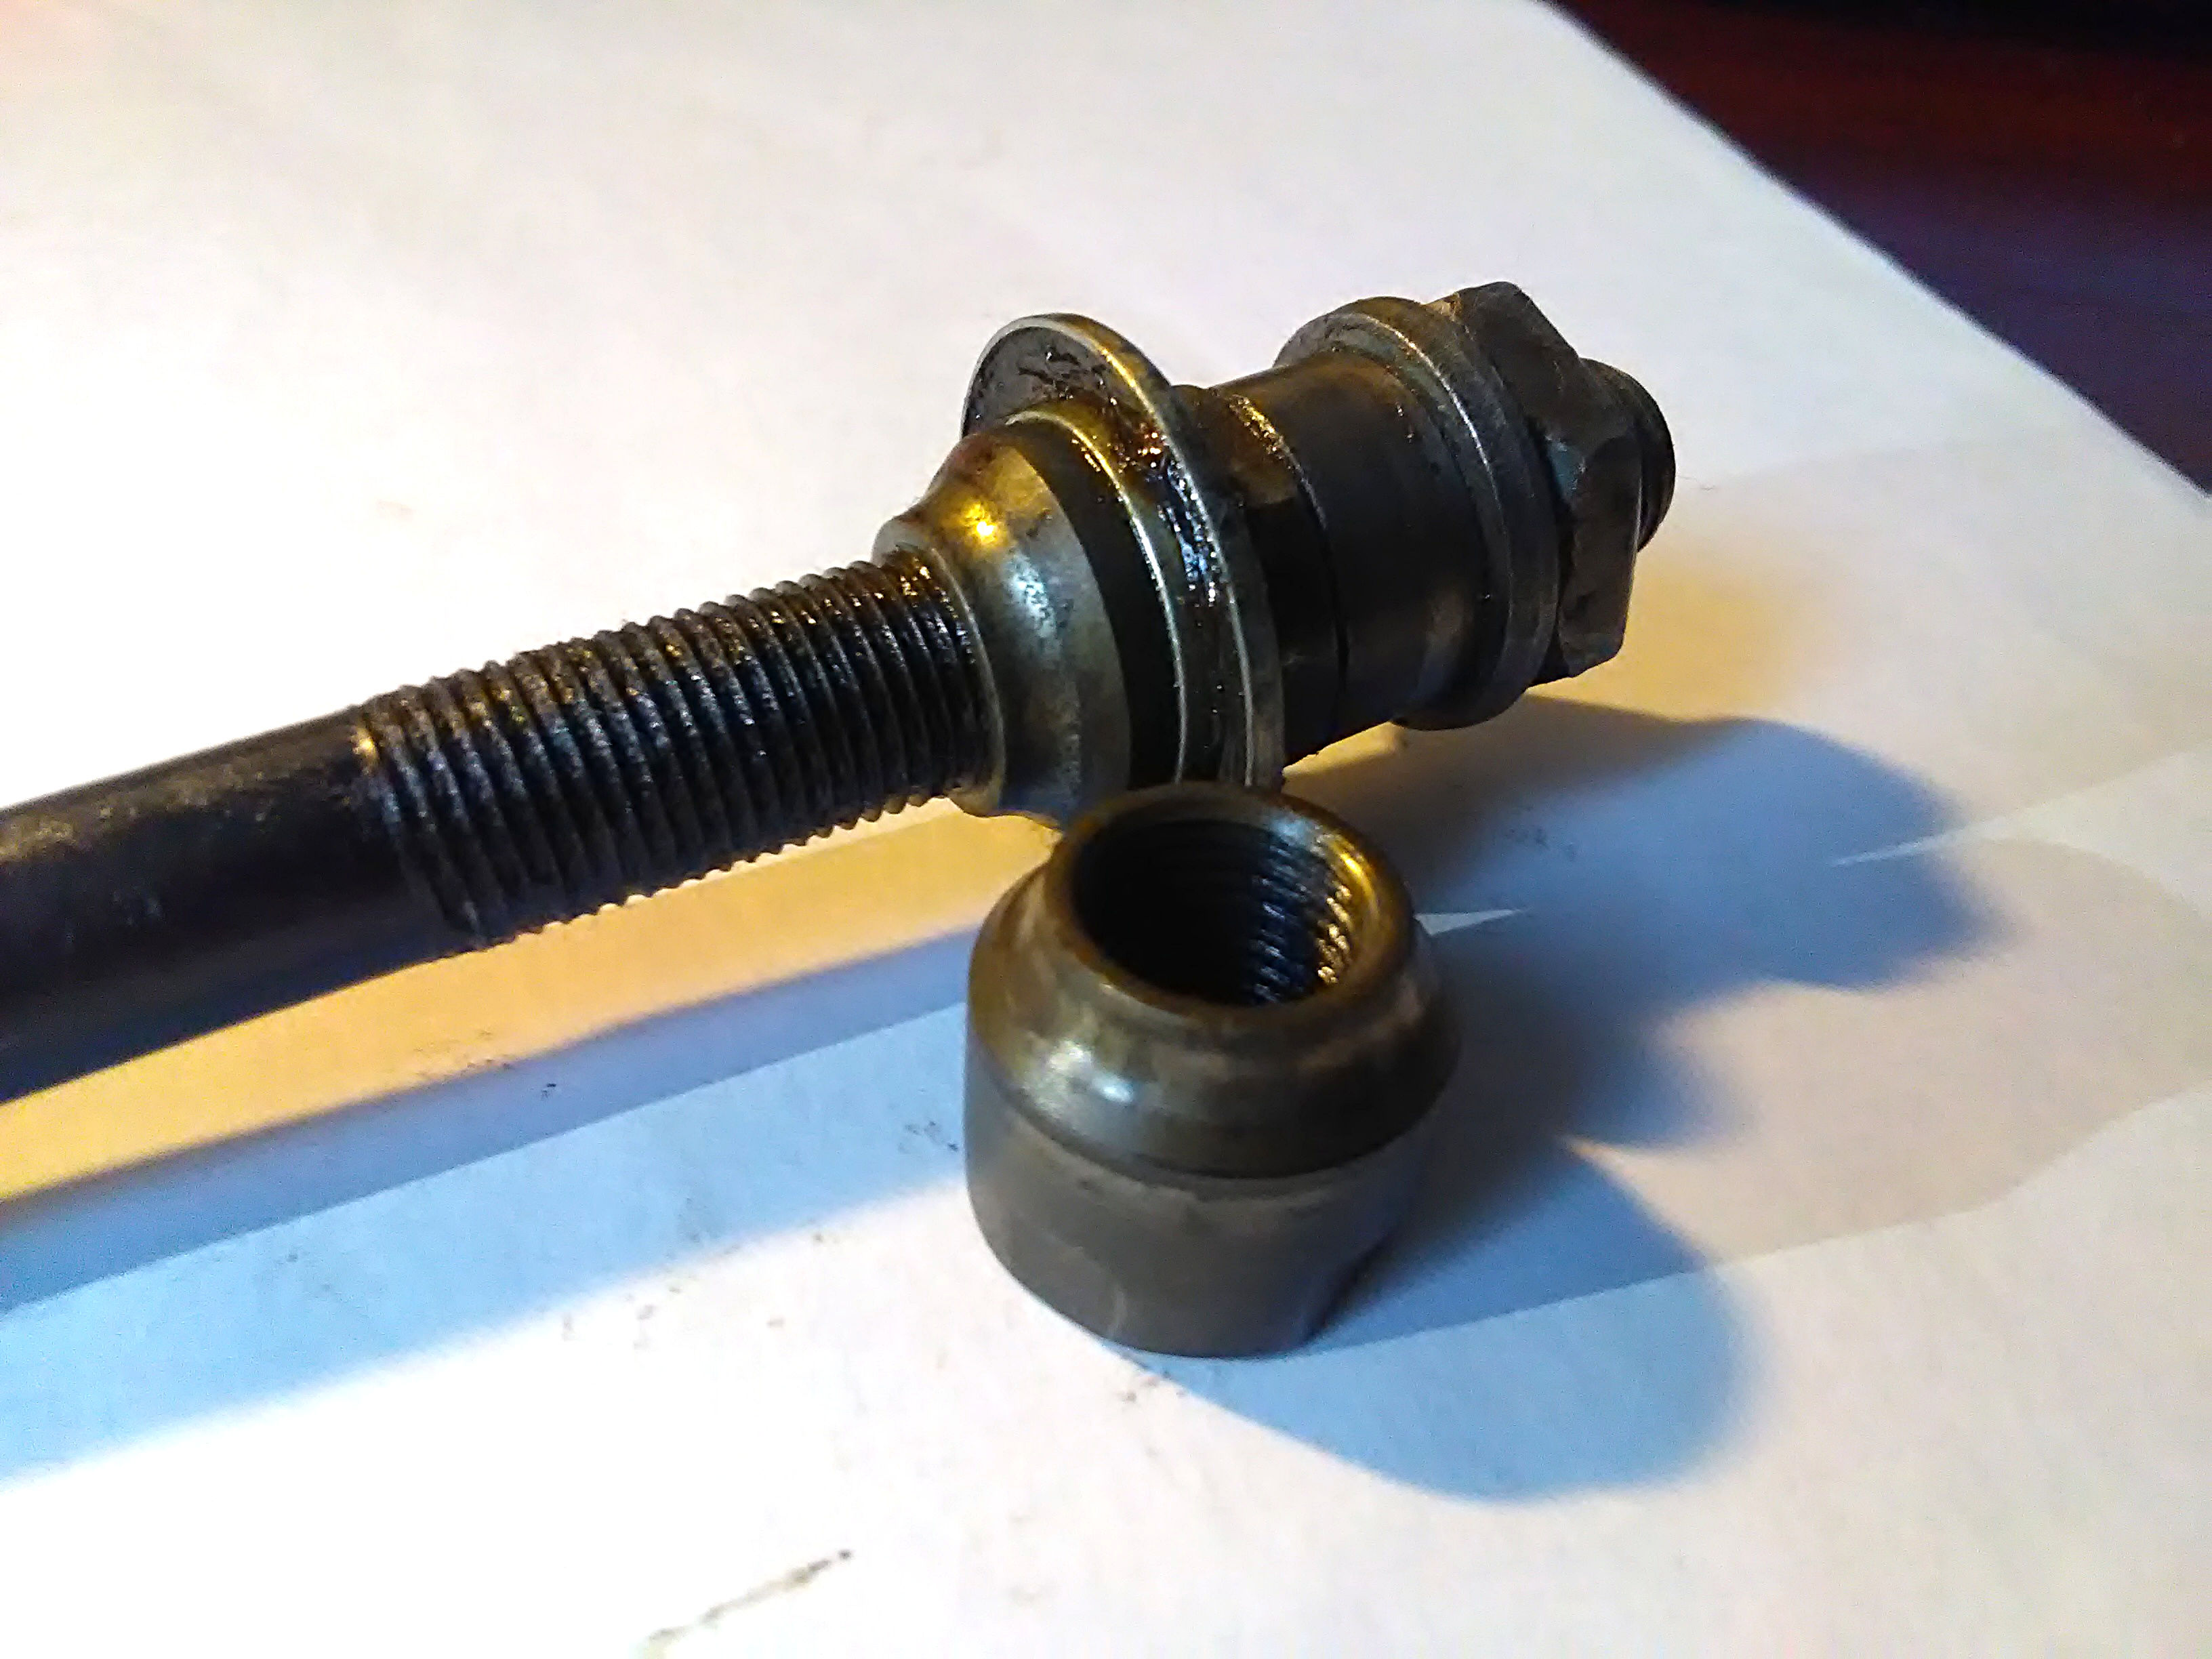 I
left one of the cones on the axle; it is visible how badly its races are
worn — a lot of scratches and pits.
I
left one of the cones on the axle; it is visible how badly its races are
worn — a lot of scratches and pits.
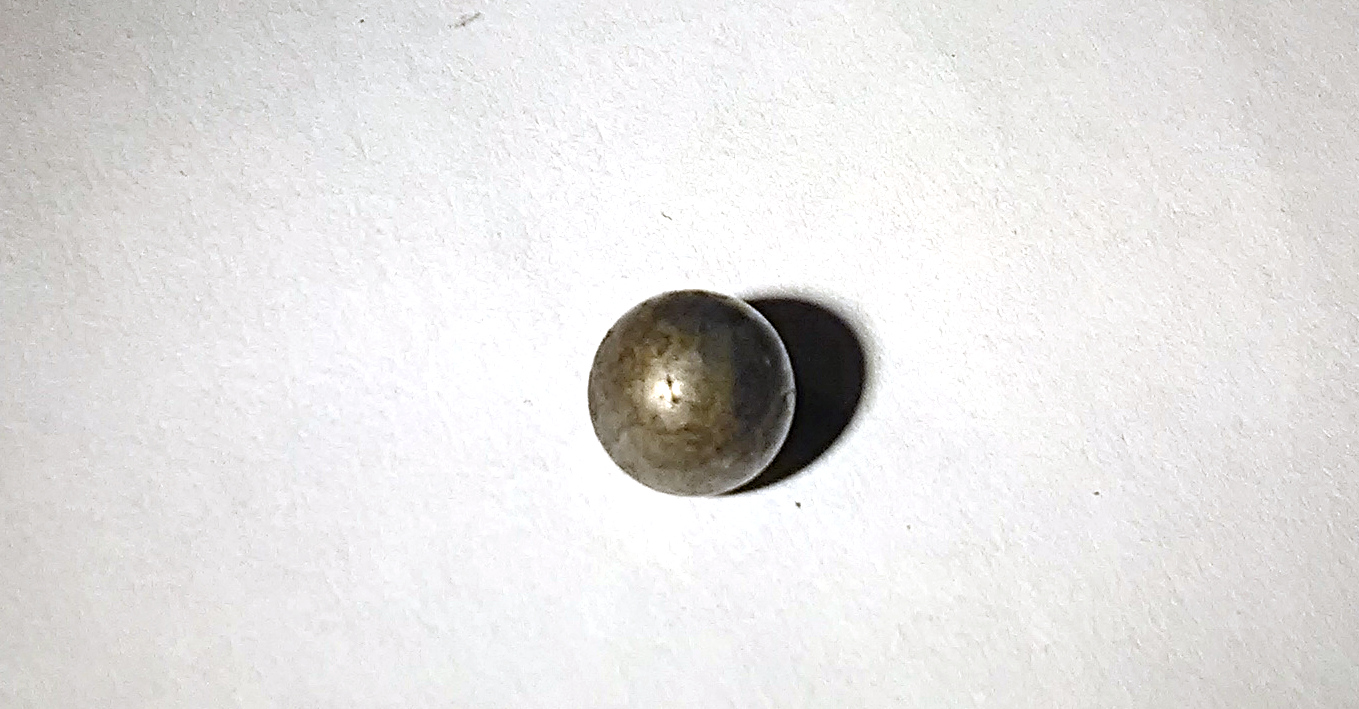
Loose balls are no good either, all covered in pits:
Initially, I wanted to disassemble the freehub too. Yet, it turned out to be not possible to get it because I did not have a proper wrench for it; my biggest 10mm allen key was too small. It turned out there are many variations hubs and keys for them. See http://forum.cyclinguk.org/viewtopic.php?t=23861 . Long story short: you may need to use 10mm, 12mm, 1/2 inch or a proprietary tool from either left or right of the hub. So no photos of the hub’s internals for today.