Magura Vyron Seatpost Unboxing and Installation
It finally has arrived! The wireless electronic remote dropper seatpost Magura Vyron.
Why this wireless one? I did not want to fiddle with cable routing, as my rig does not have means for internal dropper post cable routing.
The post after cutting a zip-tie holding it but before extracting contents from the packaging:
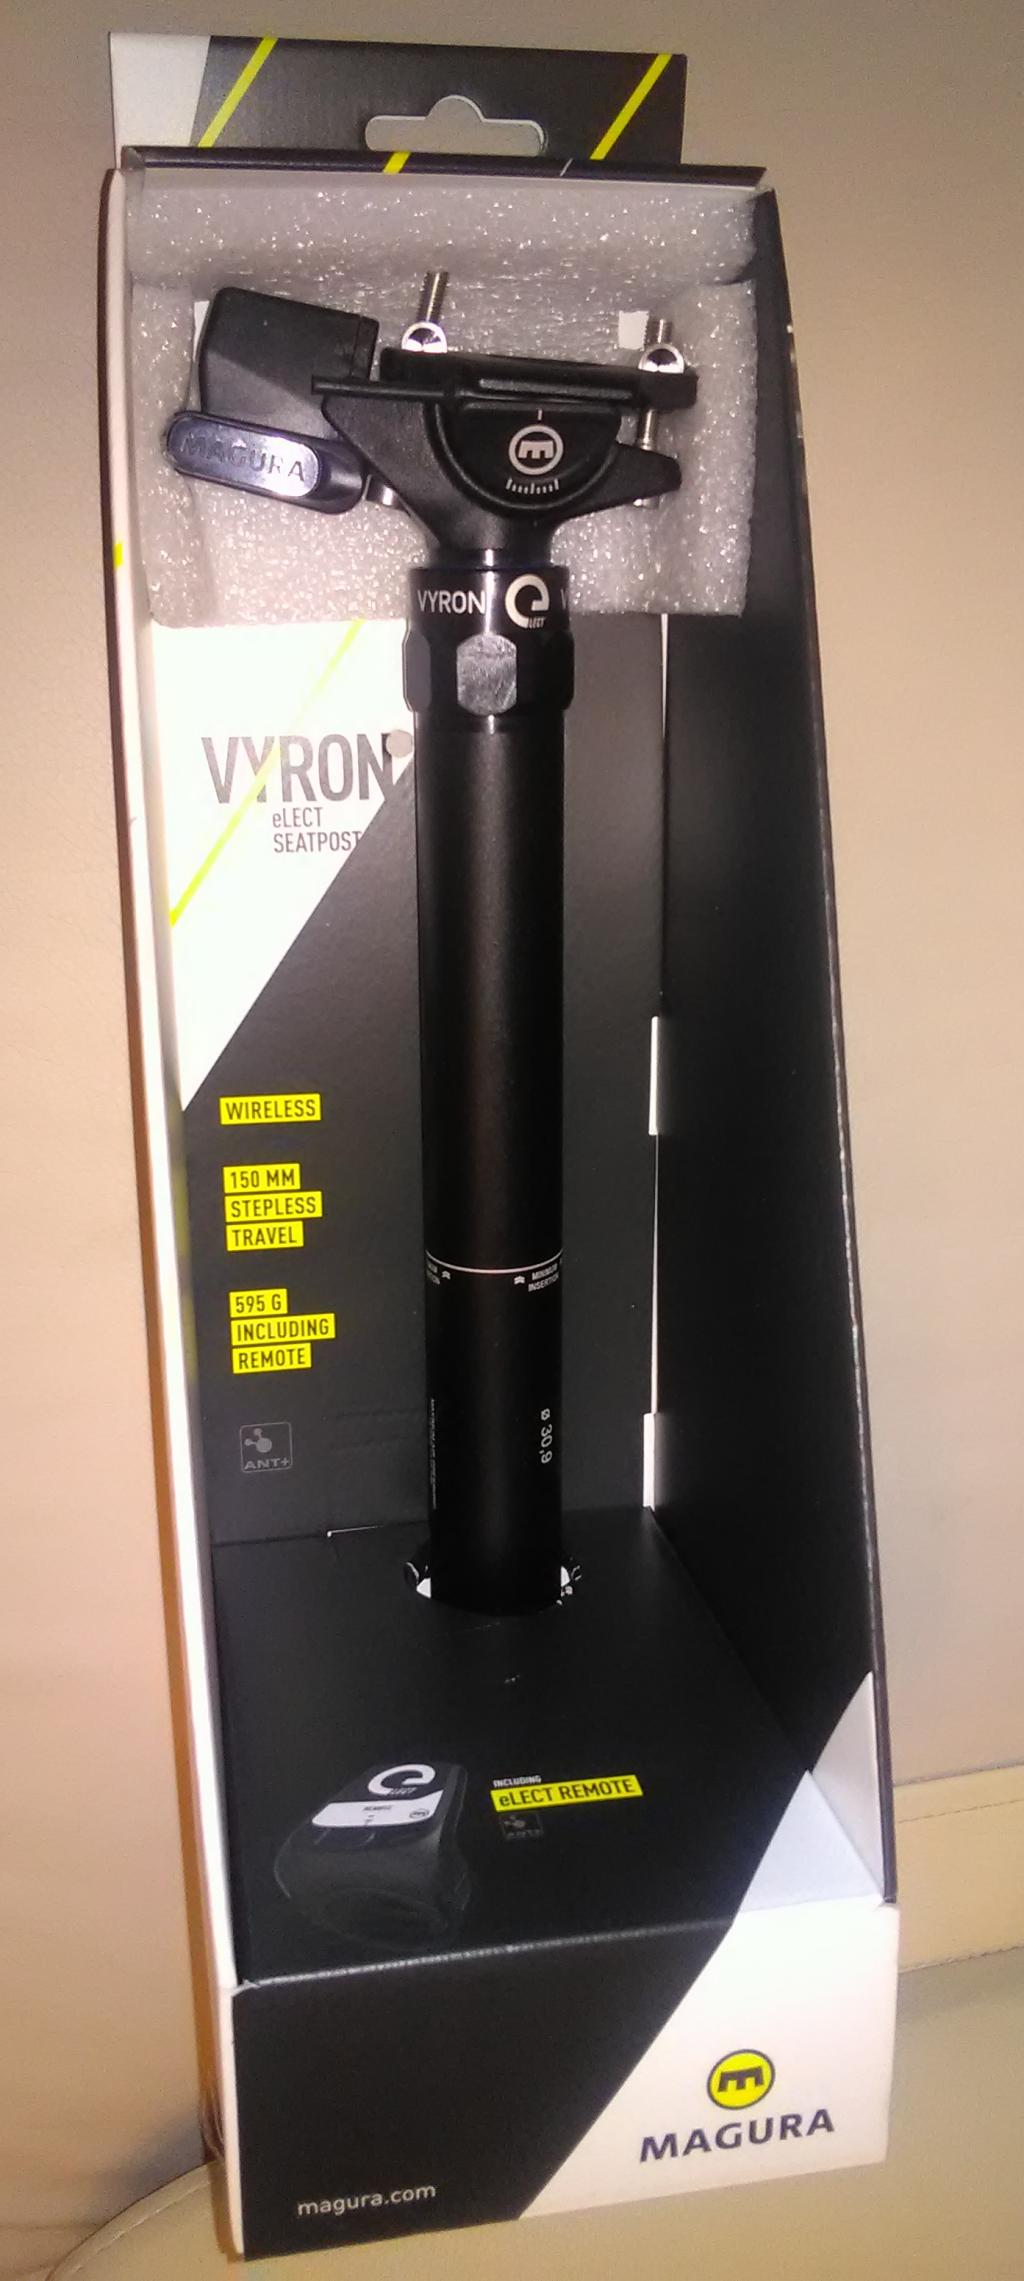
Side view of the packaging. It is visible that this post comes with
ø30.9 mm, one of only two diameters currently offered by
Magura: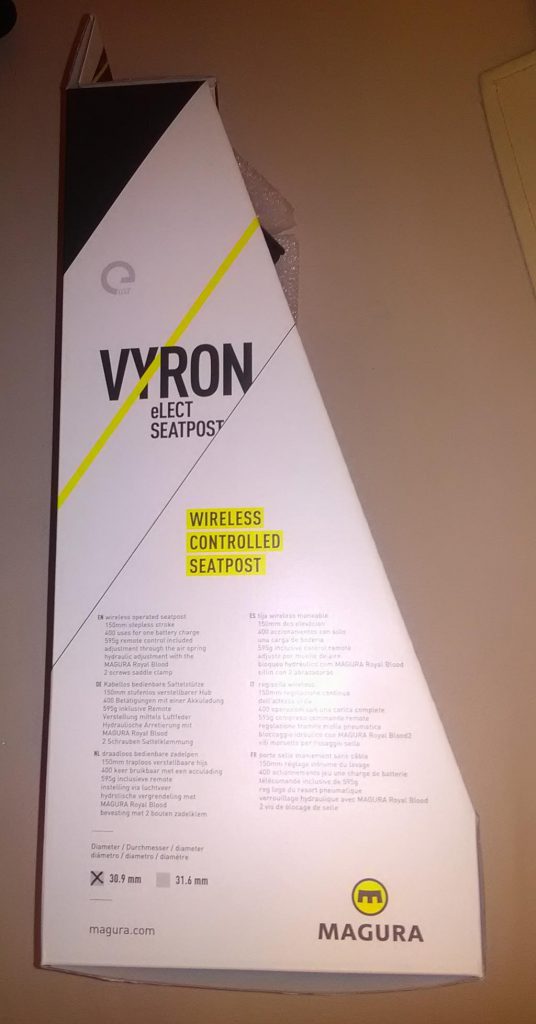
The box contents: the seatpost, users manual, microUSB cable for
charging (a standard one), remote control, a battery CR2032 for the
remote, two rubber o-rings of slightly different sizes to attach it to a
handlebar, and one more piece of rubber/plastic for mounting the remote.
The WTB saddle is bought separately; it is here only for the picture
completeness.
Closer view of the seatpost, the remote and contents of the small
bag: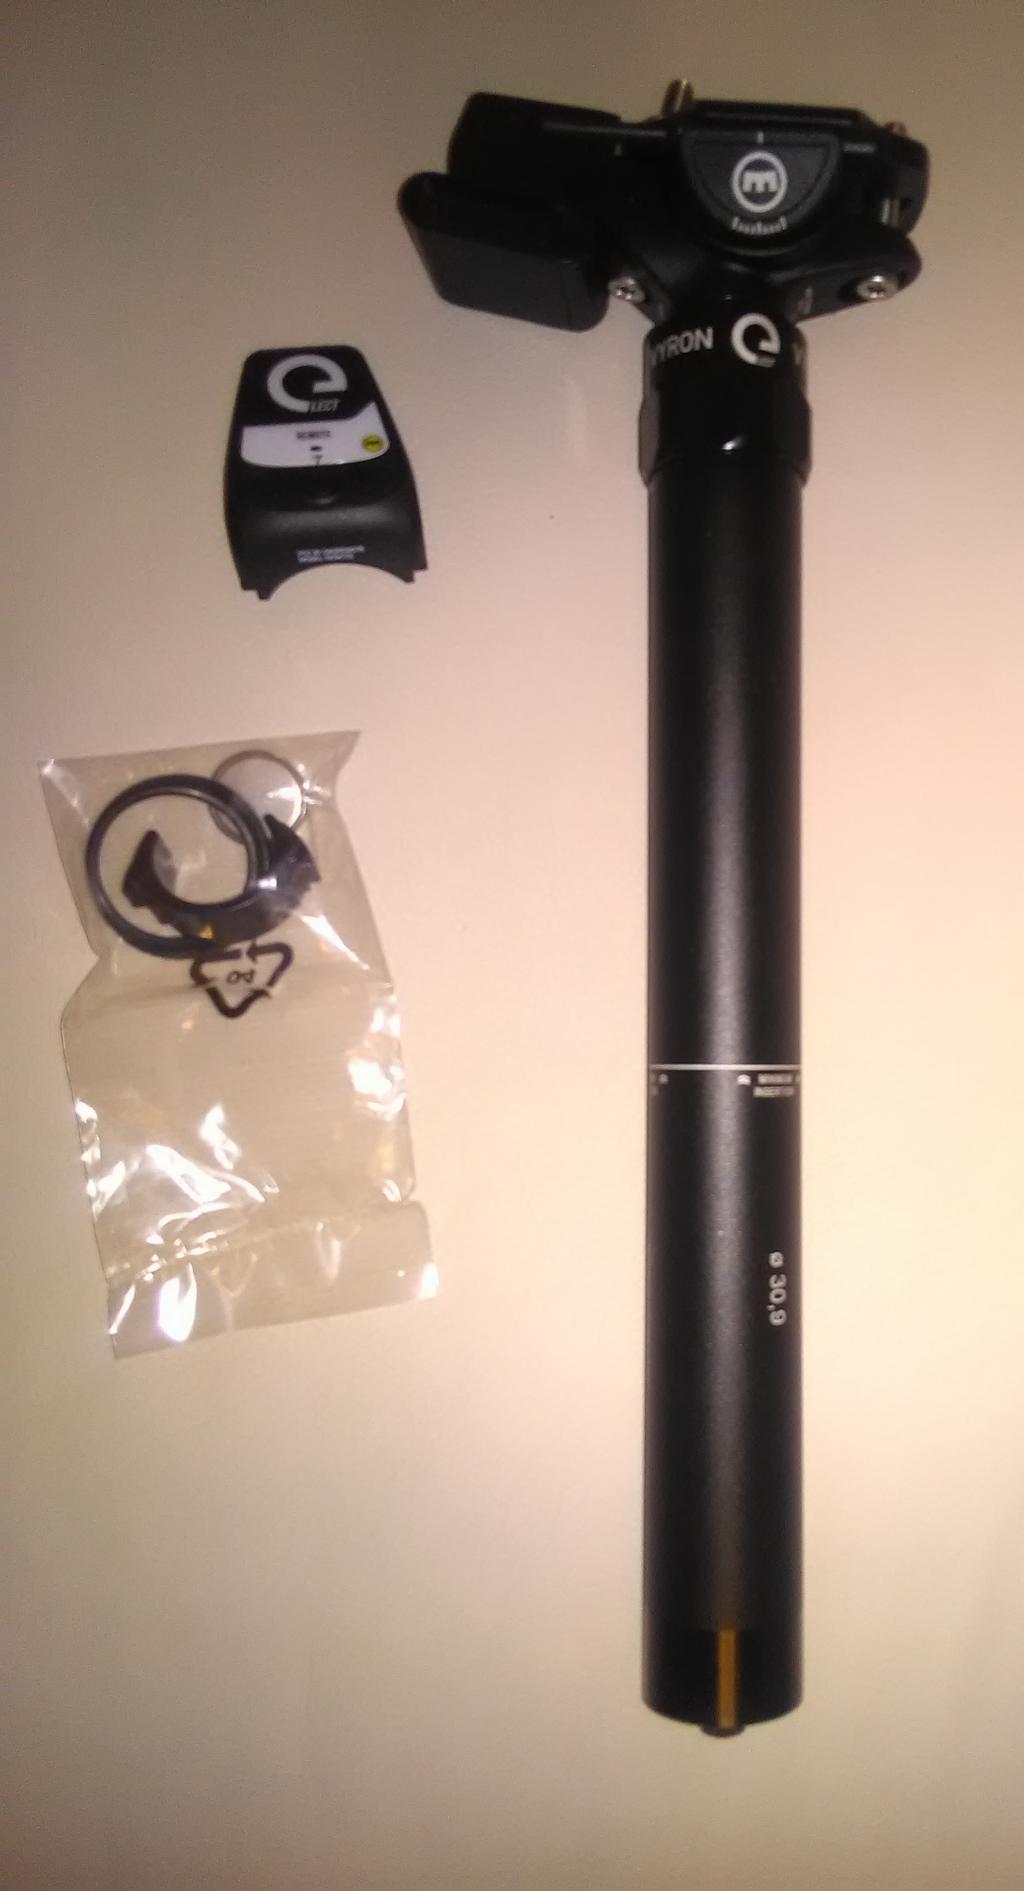
The plastic part near the top of the seatpost, seen from the left side.
The white rectangle with rounded edges is a button and a seal tat hides
the on/off switch and microUSB socket for charging, as well as some
LEDs. The saddle bolts have T25 heads. Not a very convenient type for my
taste; hopefully, they can be exchanged for any decent M5 bolts of
appropriate length. For now, I let them
stay.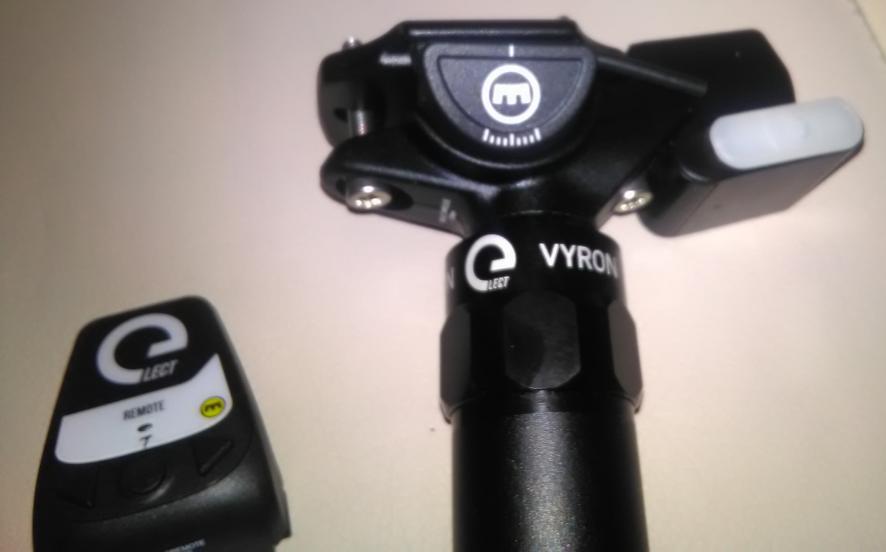
Put the seatpost to charge. The claimed time to finish from empty is 3
hours; in my case, it charged faster than that, as its battery was not
empty. As changing is active, the LED blinks red, though the photo below
did not catch
it: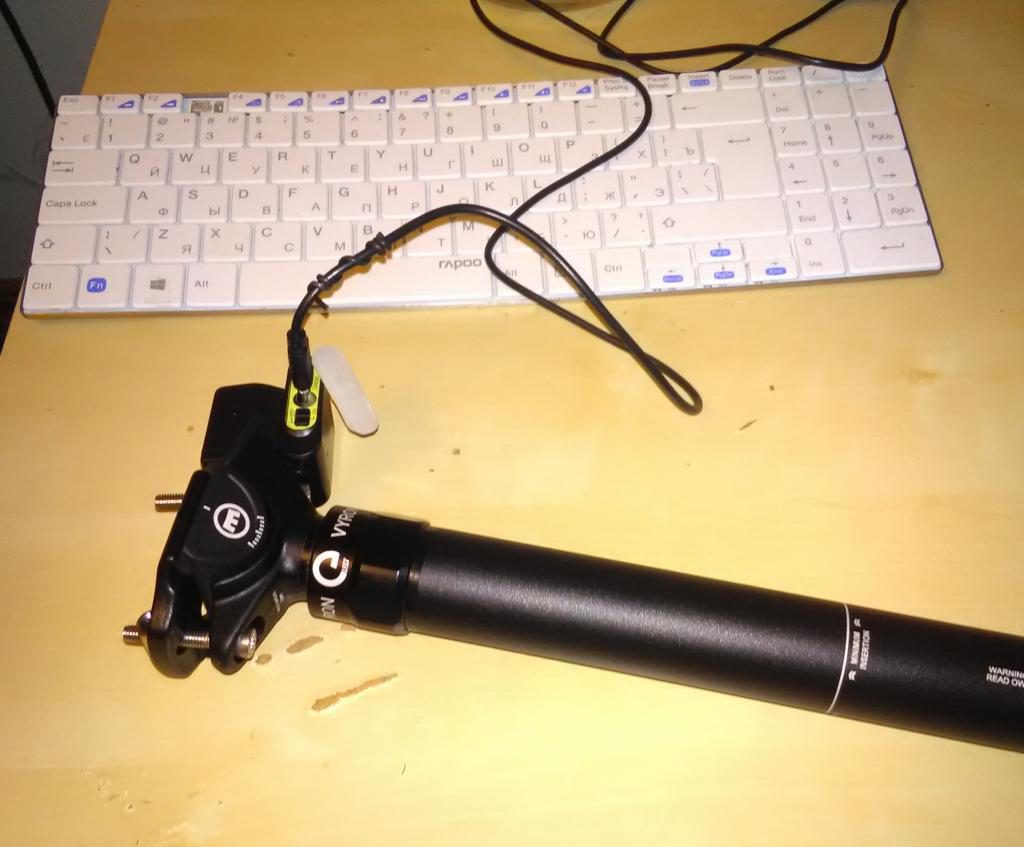
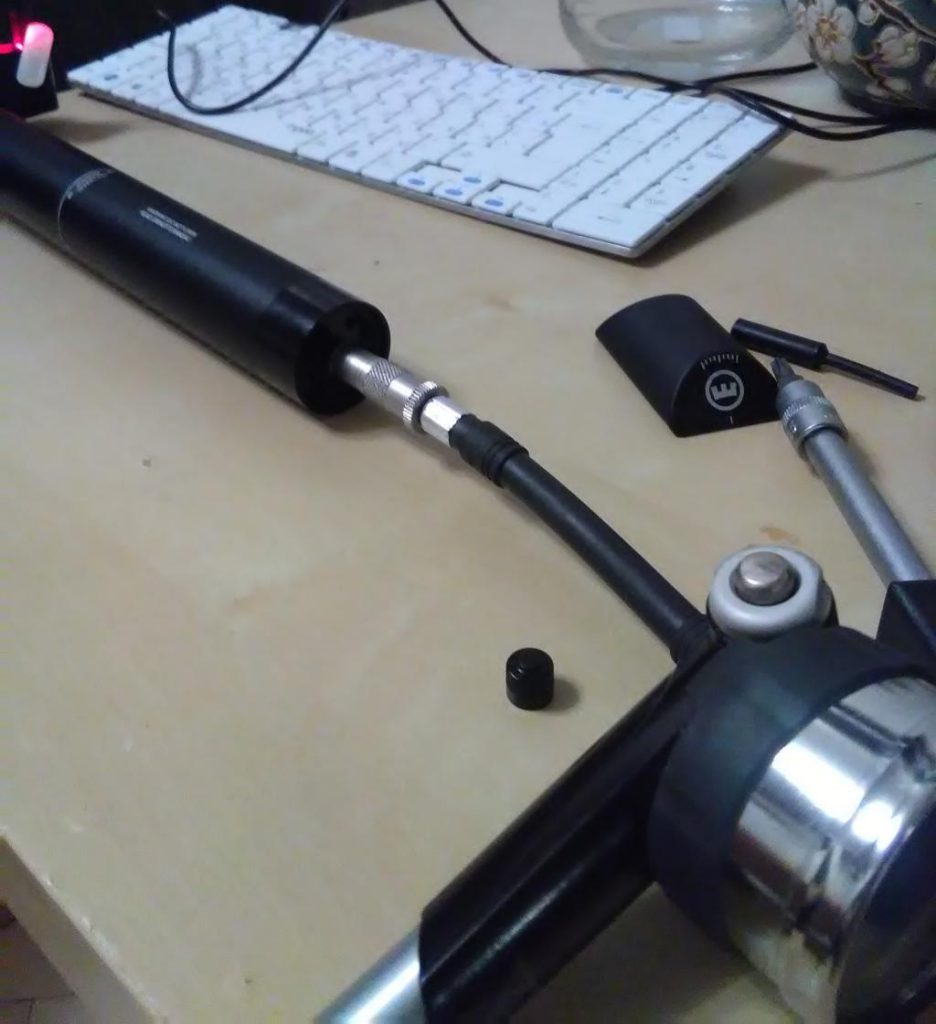
While waiting for changing to complete, I proceeded with the rest of
preparation procedures. E.g., measured the length of fully inserted
post:
There is a Schader valve at the lower end of the seatpost. Let’s inflate
it to stated pressure with a high-pressure shock pump: from 13 to 15
bar: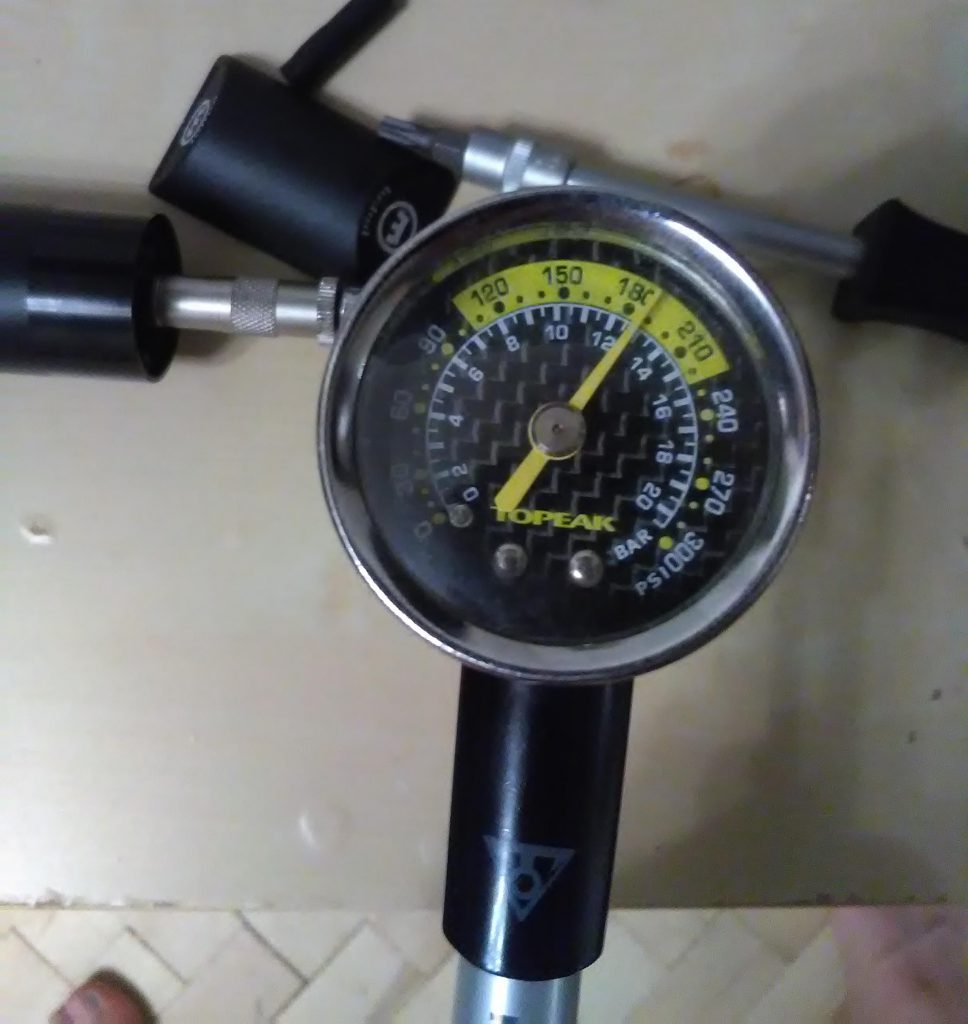
 The saddle has to be
mounted as well. Two-bolt clamping is as convenient as always. f only
those were not T25
star-heads:
The saddle has to be
mounted as well. Two-bolt clamping is as convenient as always. f only
those were not T25
star-heads: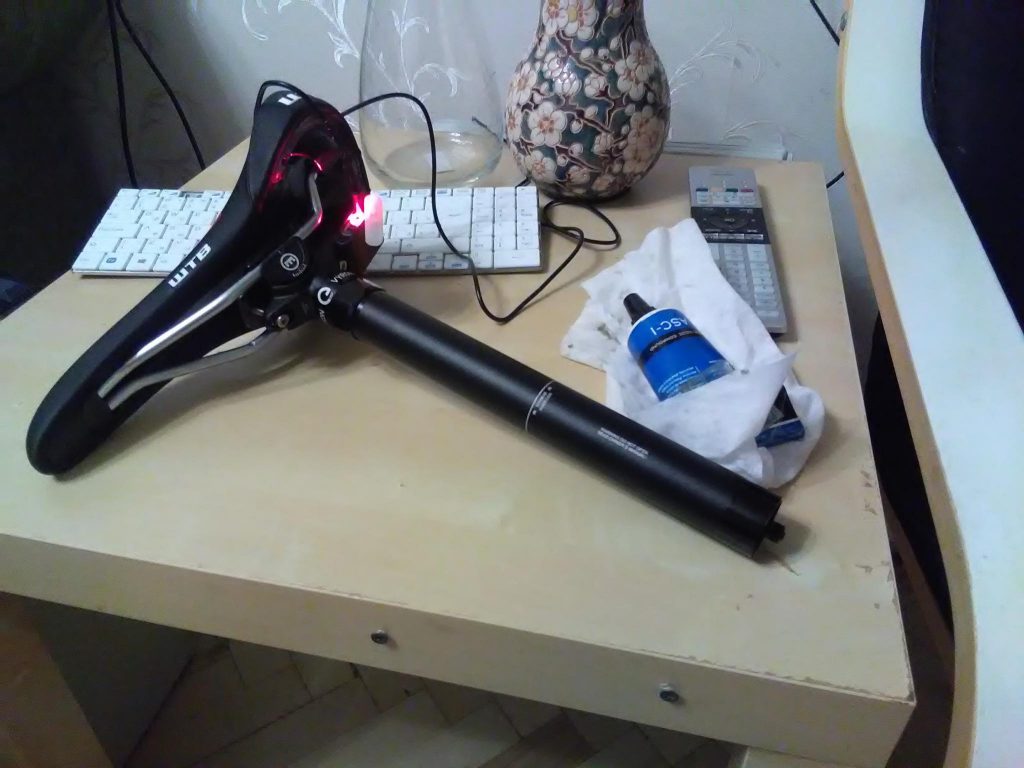
The Rac Face 38 teeth single front chainring. It is unrelated to the
seatpost installation. It is here just for no
reason: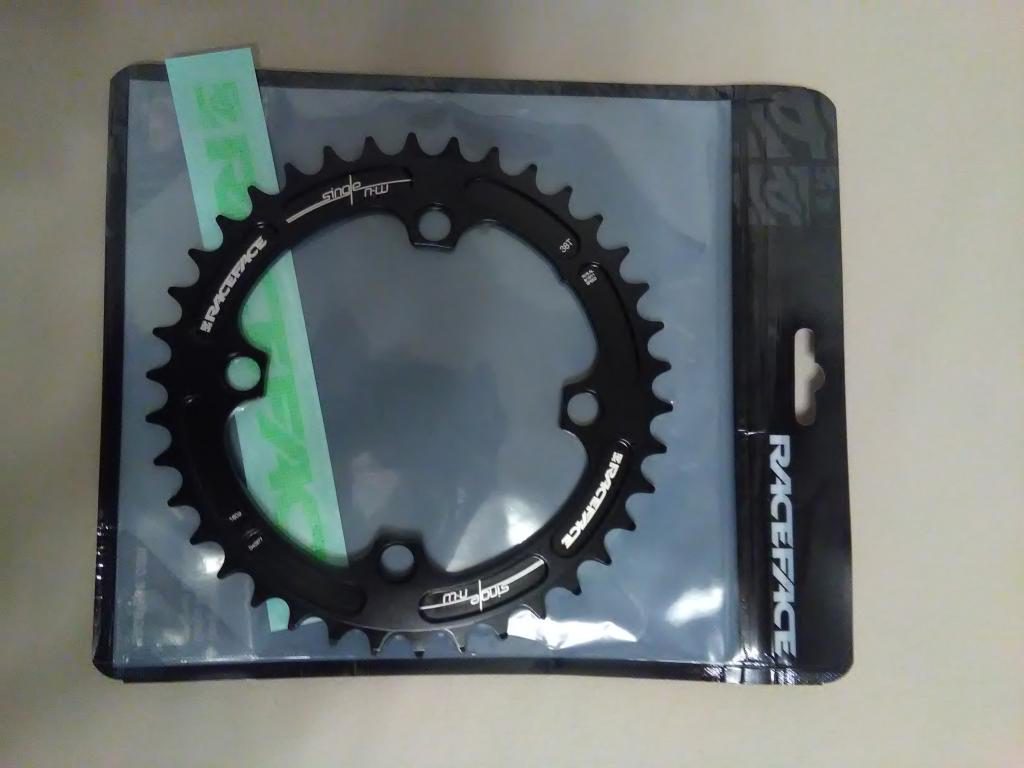
Right, the seatpost has been charged, it is time to grease it and insert
into the seat tube. At the photo below, it is inserted as deep as bottle
mounting bosses on the frame allow
it: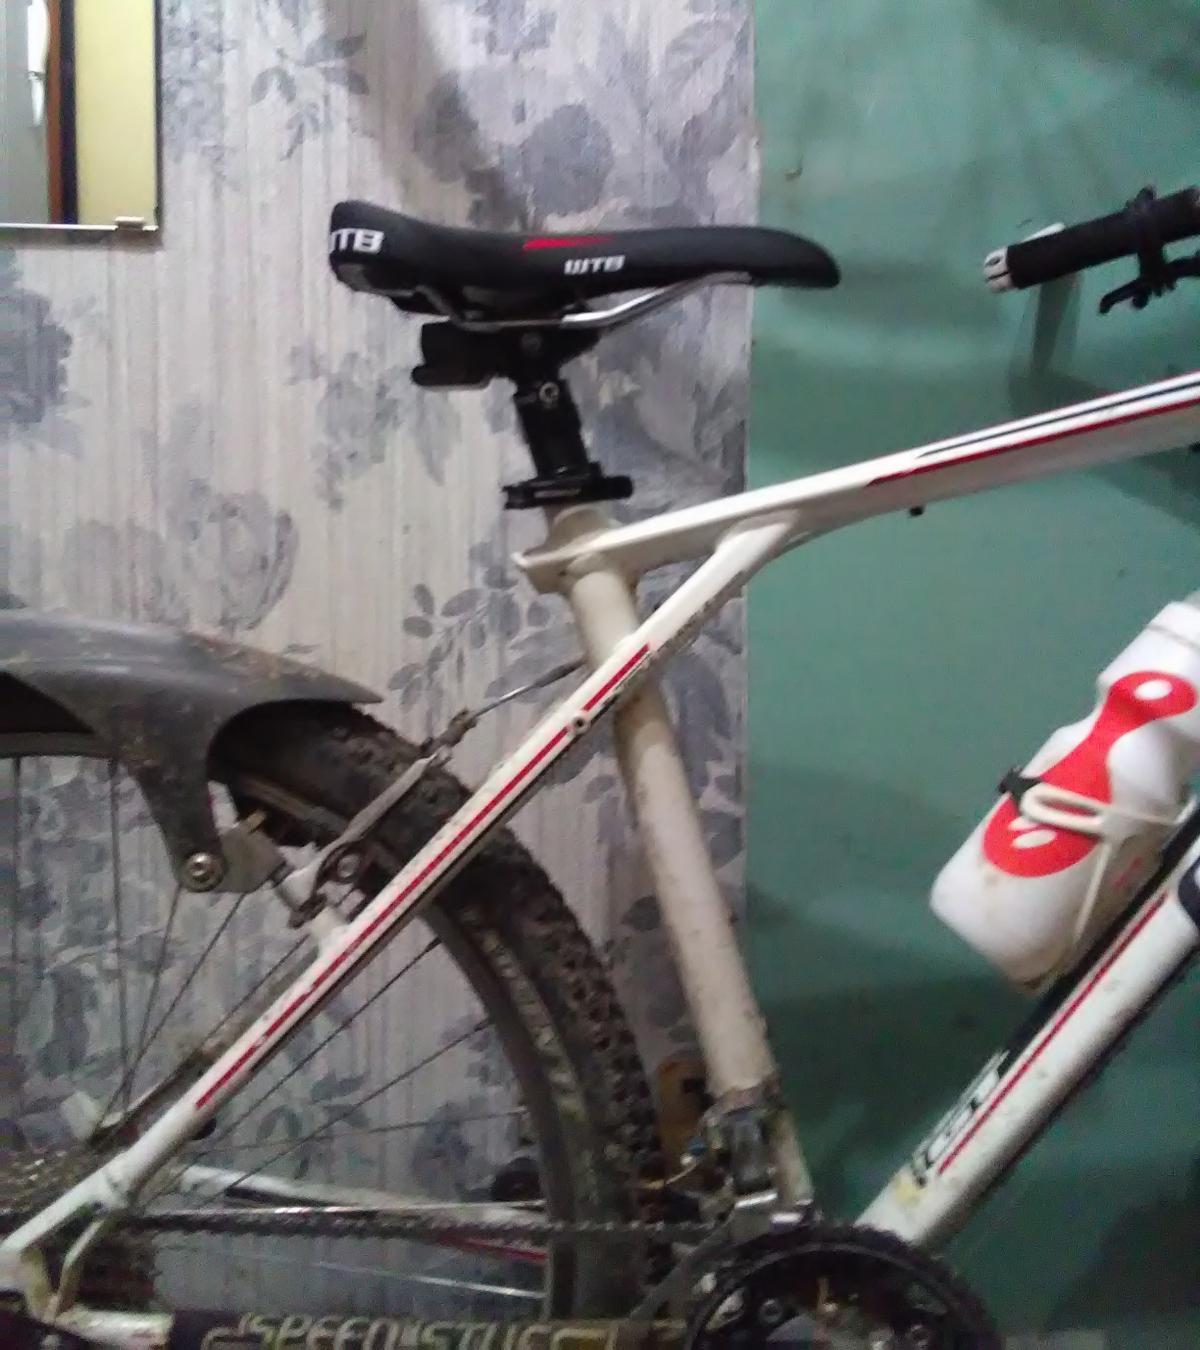 Now
all 150 mm of its adjustment are used, it is raised to its
maximum:
Now
all 150 mm of its adjustment are used, it is raised to its
maximum: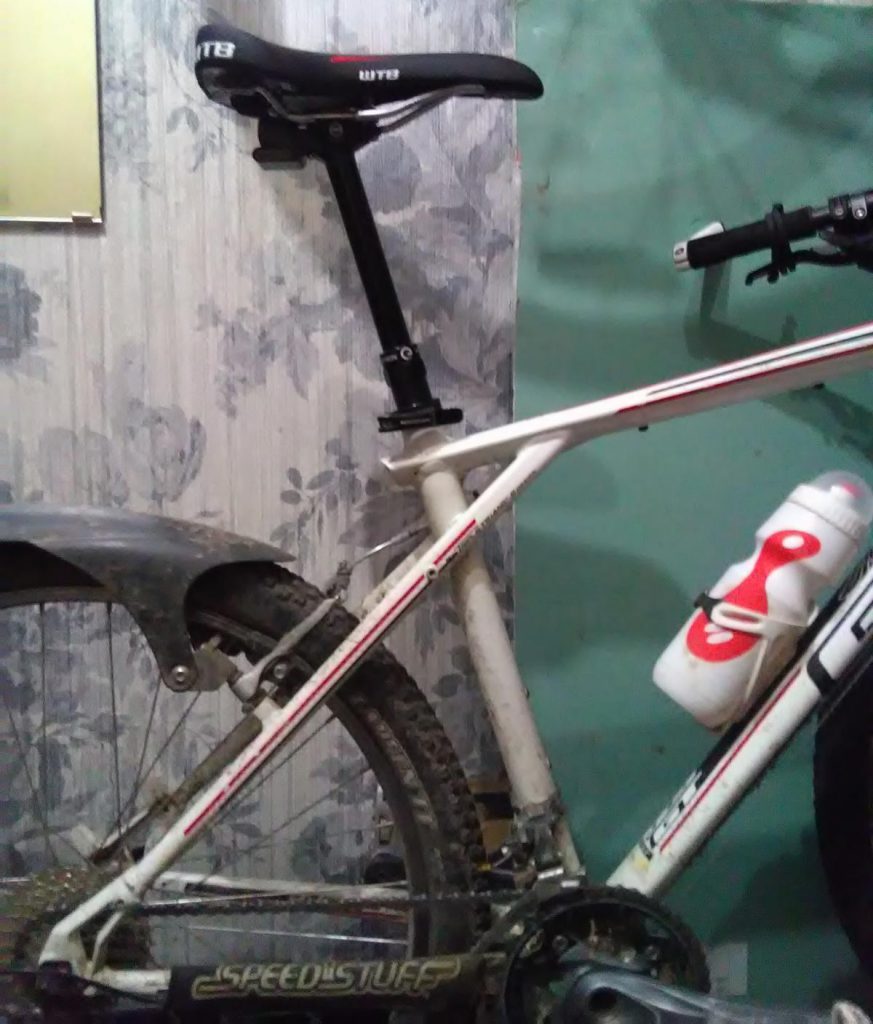 I wish I could test
it immediately; yet, I am still recovering after a crash.
I wish I could test
it immediately; yet, I am still recovering after a crash.