Space Trucker bike build
Originally published on a Swedish bike forum: Happyride.se.
It was time to get a new bike. I mostly ride bikes designed for MTB; for a change I decided to get build something with a drop bar.
However, I can not keep myself to paved roads under long time. That’s why it is impossible for me to avoid gravel, agricultural or forest paths.
I usr to take shortcuts which I regret later. This meant no real road race bike for me in a foreseable future.
I don’t like the new fancy term “gravel bike”. It had to be “touring bike”, or maybe a “monstercross”? That is, fully rigid, with wide tires, reasonably long chainstays, many mount points for bottle cages, bags, lights etc.
Two forced drove my choice of future components: suspiciousness against new technology and frugality. Or rather, paranoia and greed.
The fact that rim brakes wear and weaken wheels gives me anxiety. I have already thrown away a pair of otherwise perfect wheels because of worn out rims. I do not want that anything explodes under me because of old age or wear.
I needed disc brakes. It meant that I hardly could find a used frame for my needs. The majority of frames that are still in use have rim brakes.
The budget for the new build needed to stay below a 1000 €. It meant that I had to reuse as many old parts as possible. To get yet another one bike home also meant that I had to part ways with one of my current bikes. Otherwise I risked to break against the “K-1” law and to make my wife noticeably angry and jealous.
Donor bicycle
As said before I took several parts from the spare parts box, and some others were moved from GT Avalanche.
That bike I sold piece by piece on Happy’s section “Buy & Sell” (big thanks to all my buyers!)
This is how my GT looked like before I disassembled and sold everything:
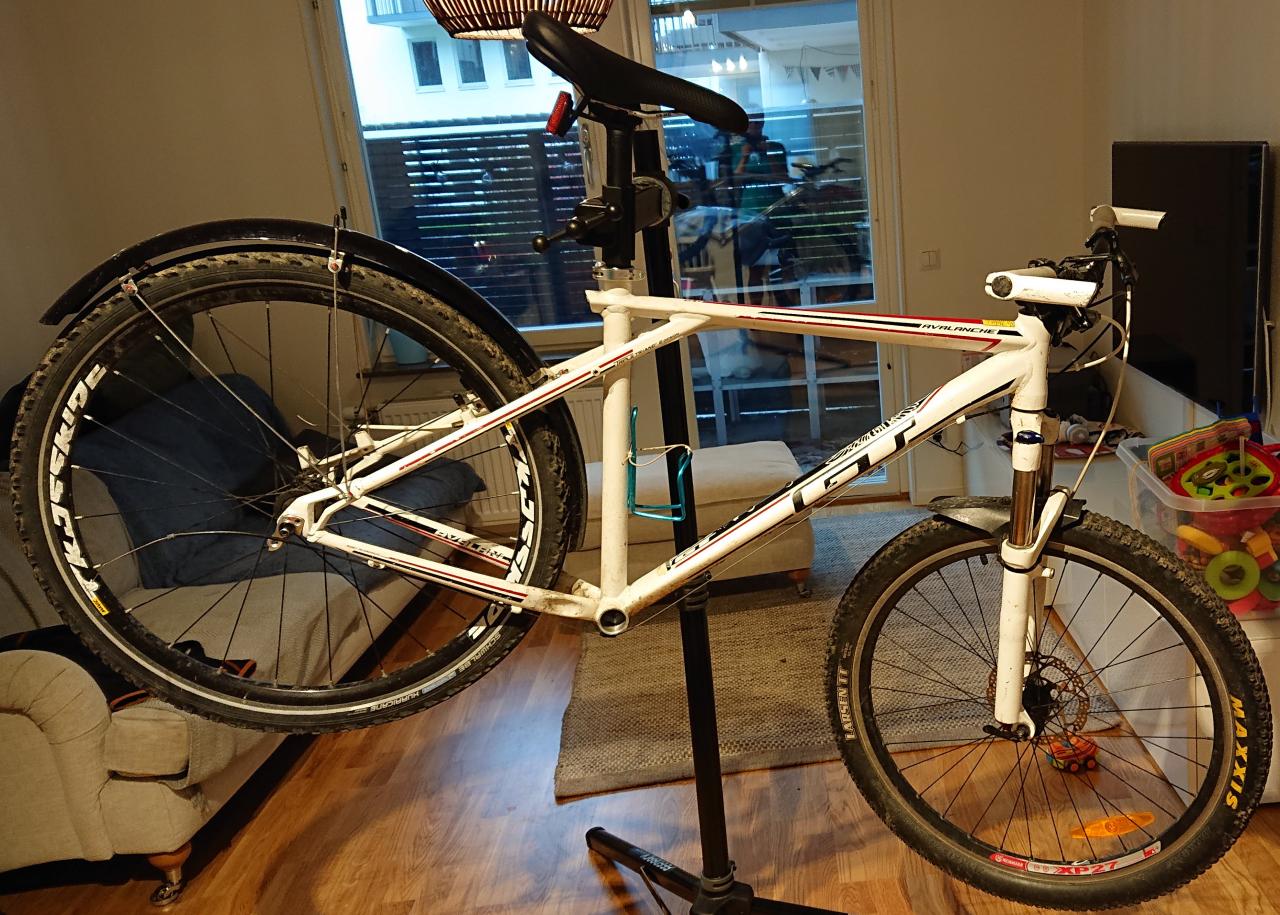
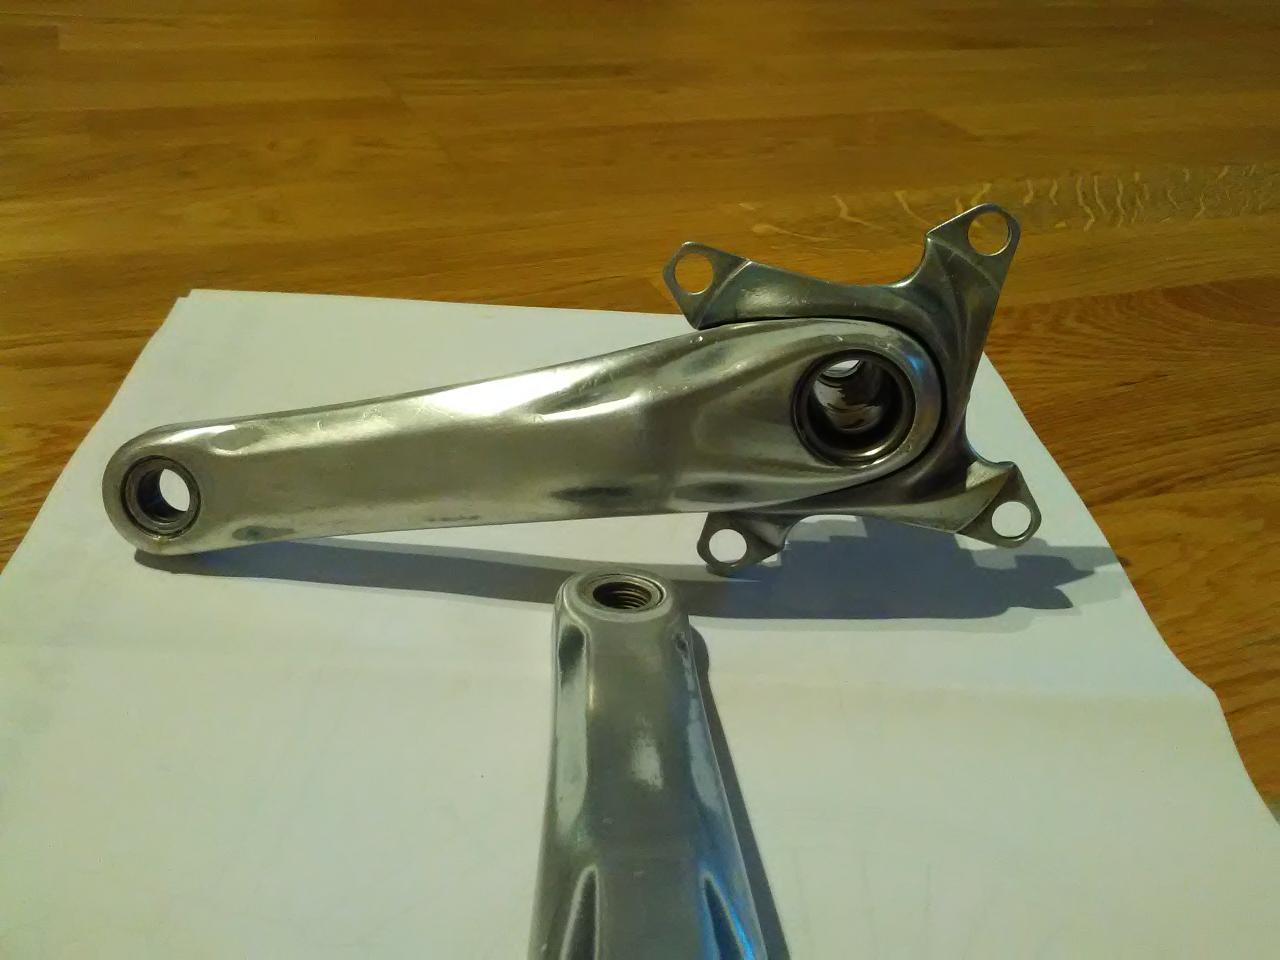
In the end I managed to reuse the following parts: cranks and bottom bracket, rear derailleur, disc brakes. Oh, not that much to reuse!
Shops
Besides parts that I already had at home I needed to buy a great deal of new parts, not the least a frameset. Below is a list of shops I used:
- Bike-components.de http://bike-components.de/
- Chain Reaction Cycles http://chainreactioncycles.com/
- Planet X http://planetx.co.uk/
- Ebay http://ebay.co.uk/
- Cykloteket Norrtull https://www.cykloteket.se/butiker/cykloteket-norrtull/
- Cykel Expo i Solna http://cykelexpo.se/
- Cykelköket http://www.cykelkoketsolna.se/
Frame and fork
I am still very suspicious against carbon fiber. Besides, I do not care about bike’s weight.
Aluminium does not have a fatigue limit, and that gives my anxiety as well. Titanium is an attractive choice but given my budget limits it was out of the question. So be it CroMo steel.
My choice wandered between PlanetX Kaffenback 2, Octane One Kode, and some Surly frame. Both Kaffenback and Kode are really cheap, they cost less than 300 €. One night I spontaneously bought Kode of size M.
But the next morning a sober I checked the geometry of the bought frame and understod that it was a little bit too small for me. I sighed and tried to cancel the order but it was too late. When the frame arrived, I sent it back, completely for free. It turned out that neither Kaffenback nor Kode was available in my size. It meant that the only choice I had was one of Surly’s frames. Except that they cost at least two times more.
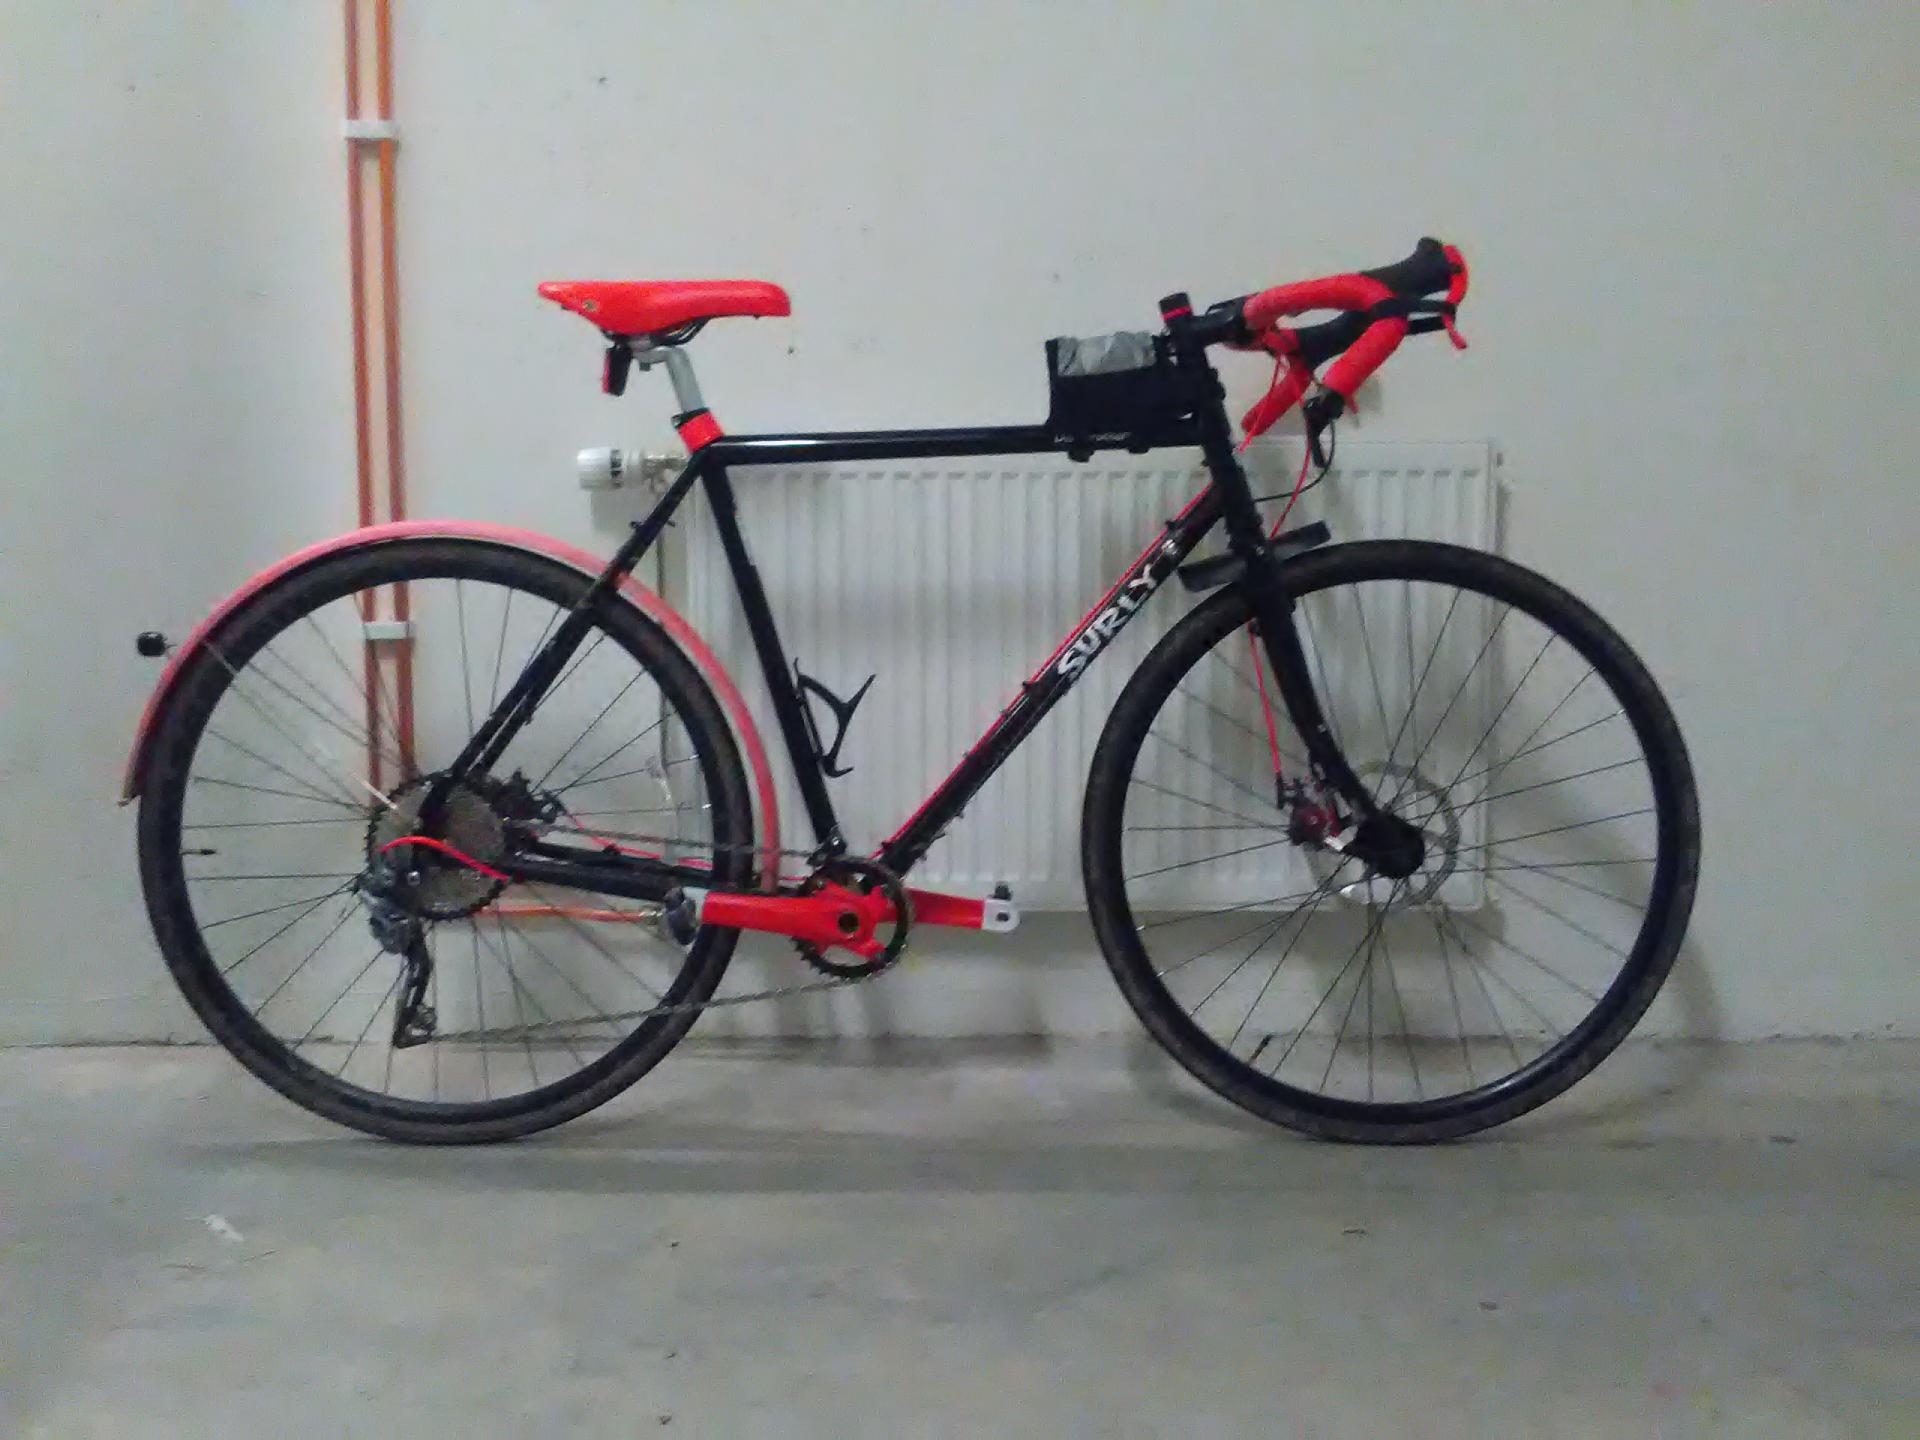
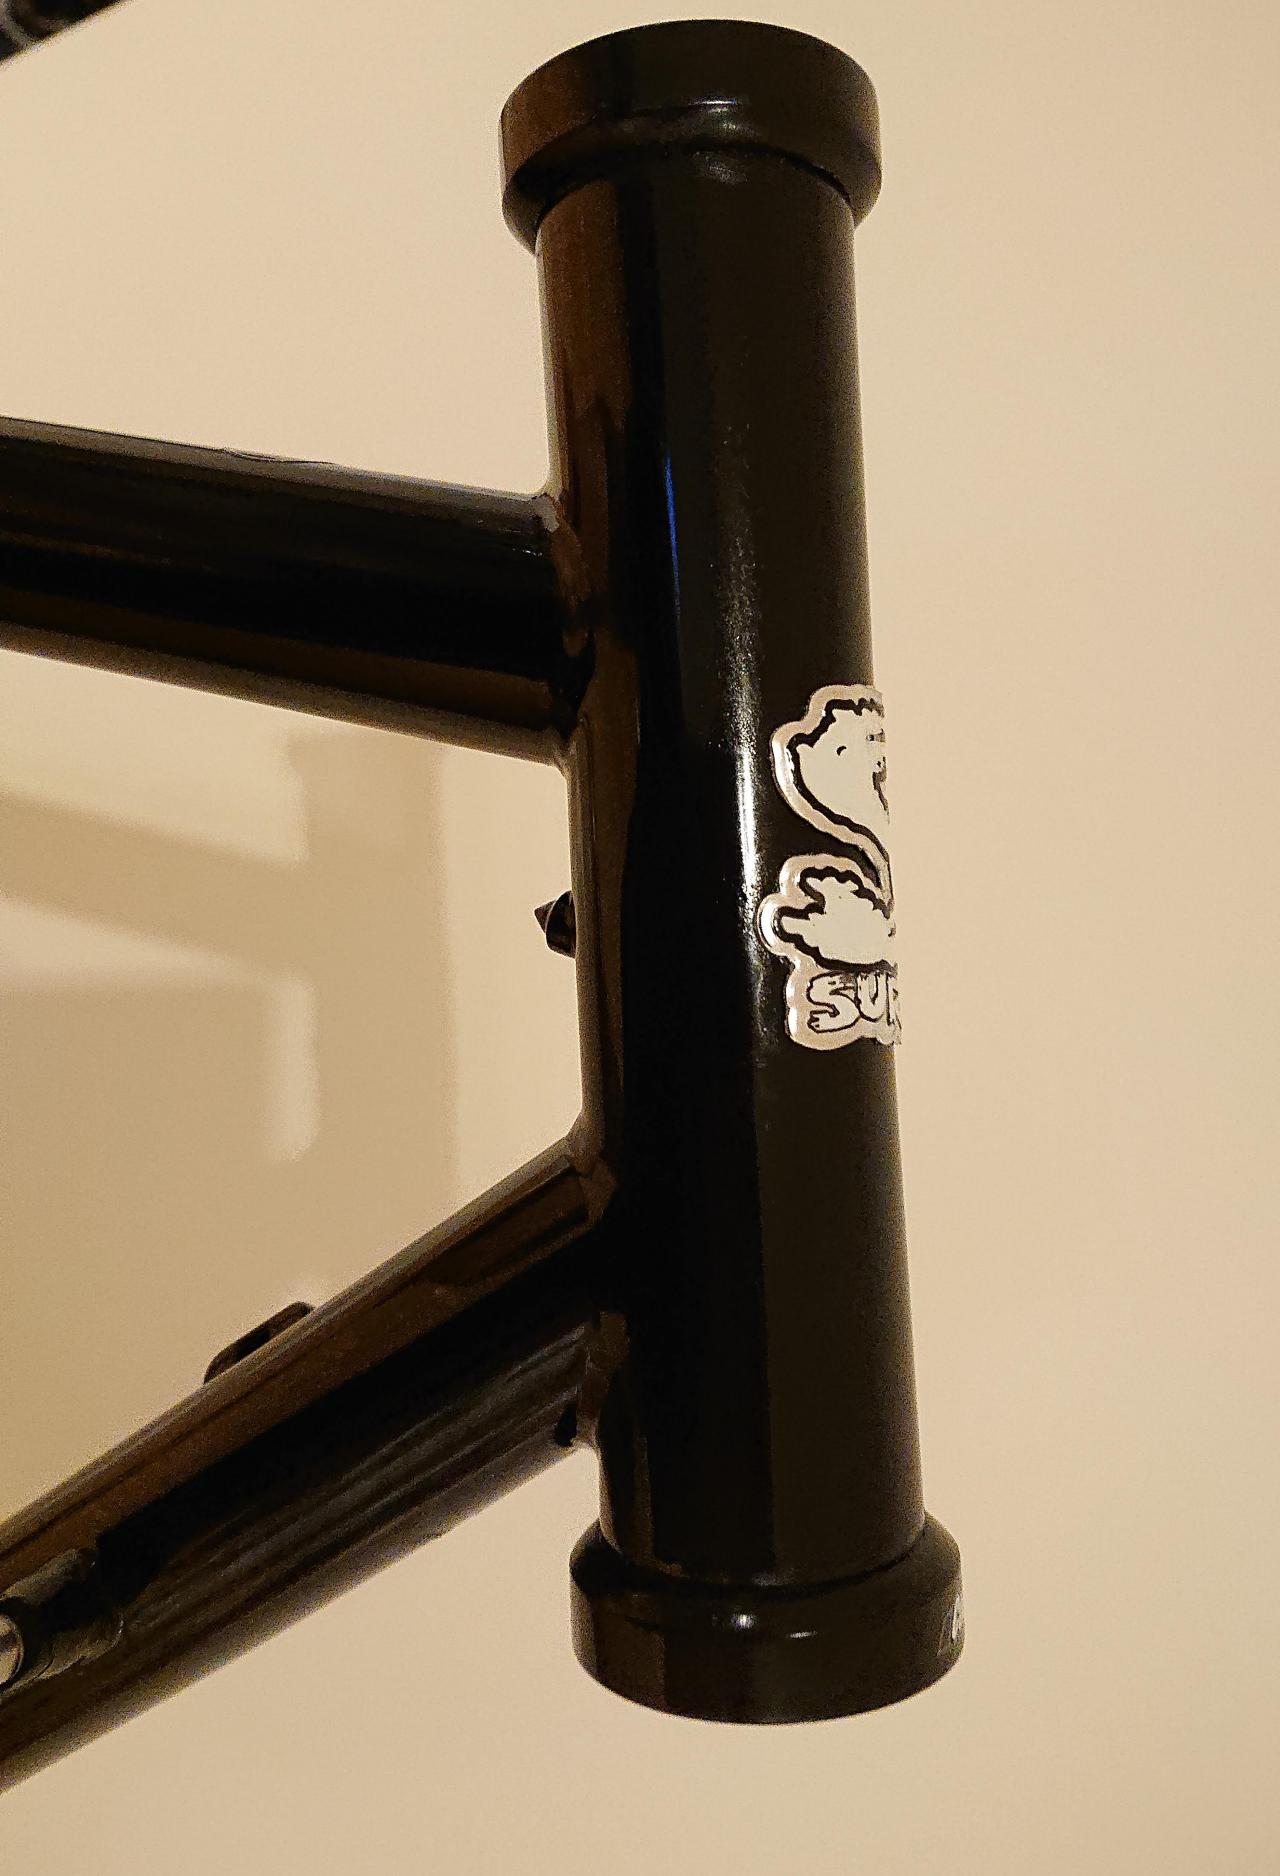
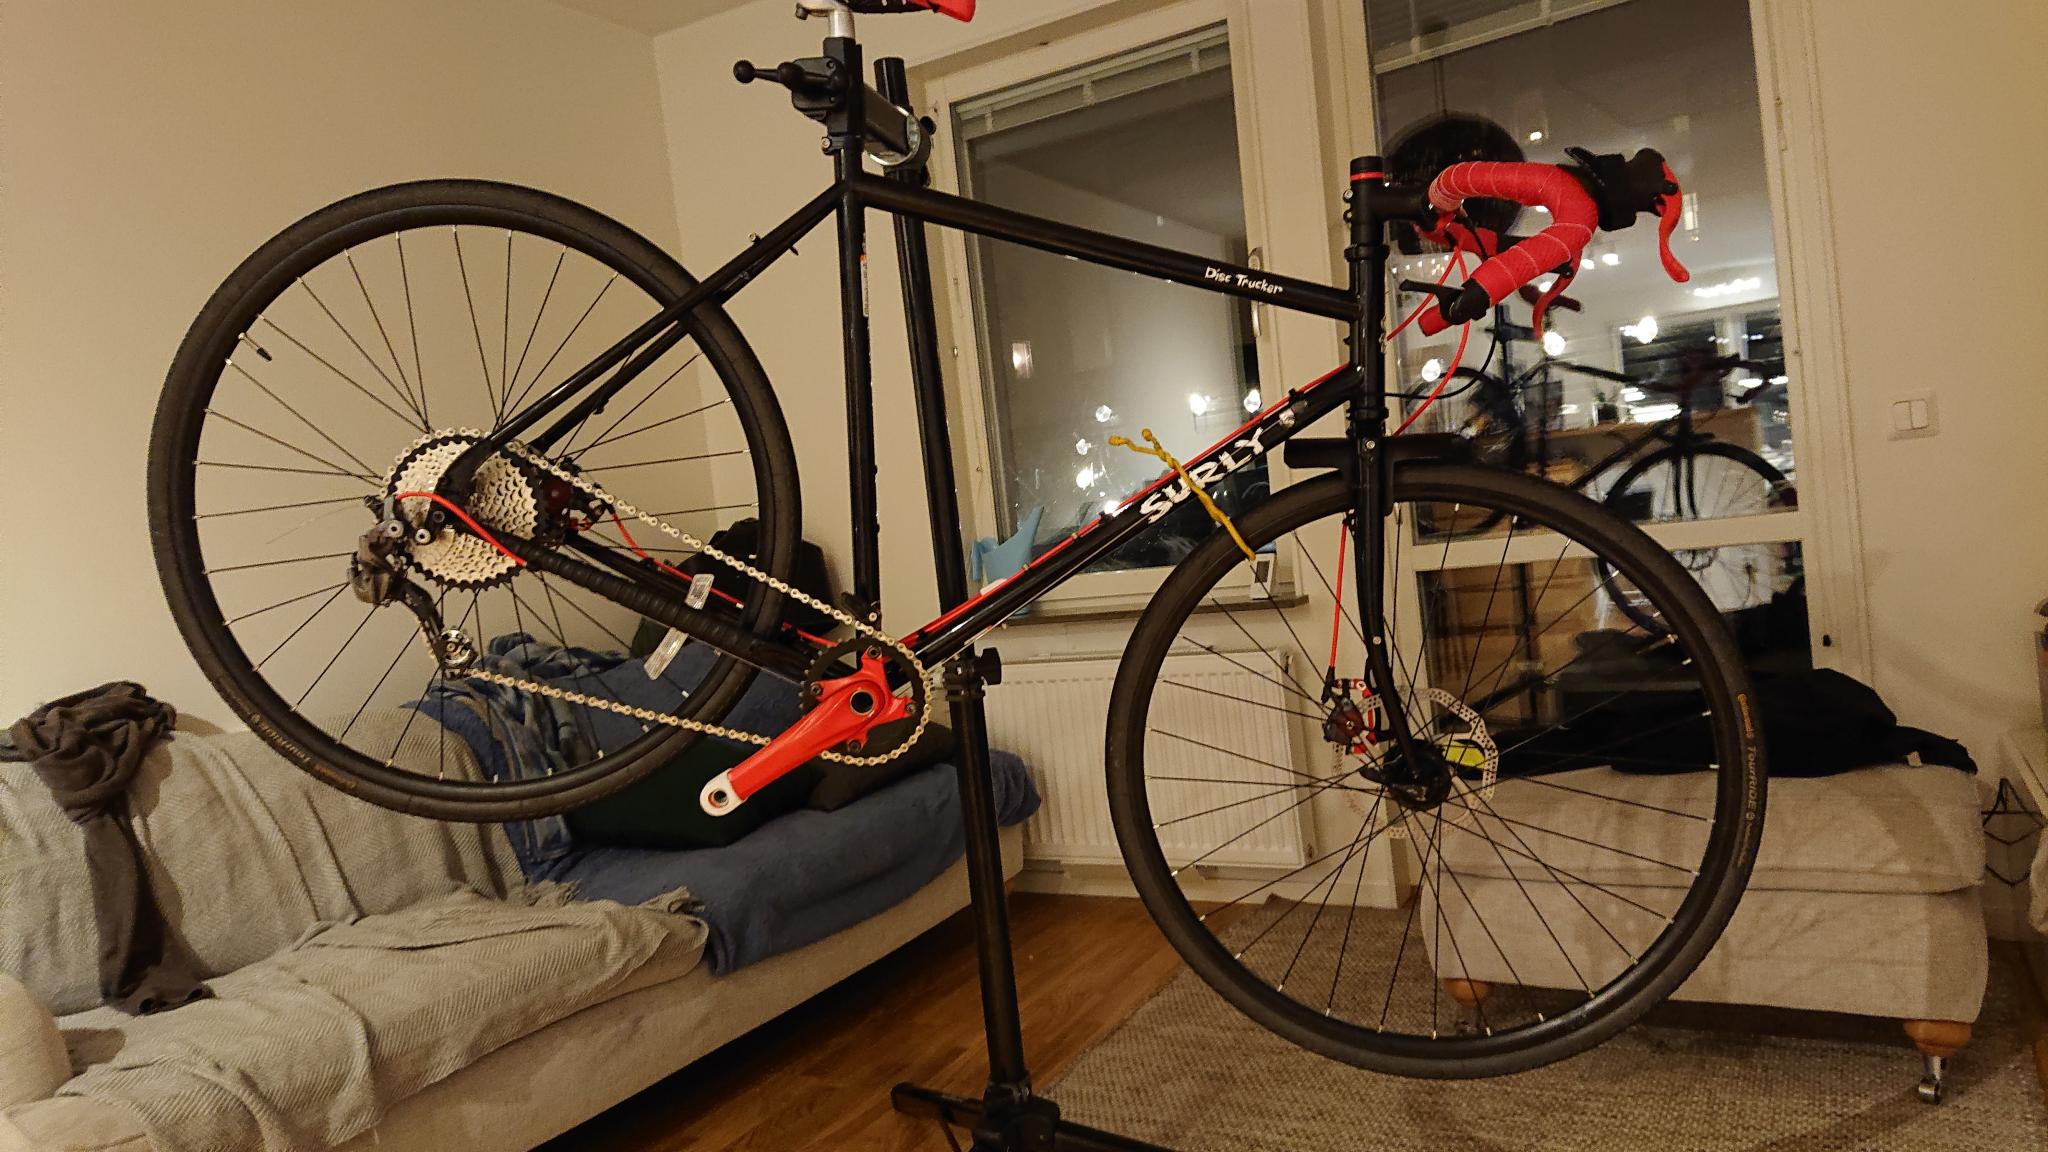
So it got to be Surly Disc Trucker.
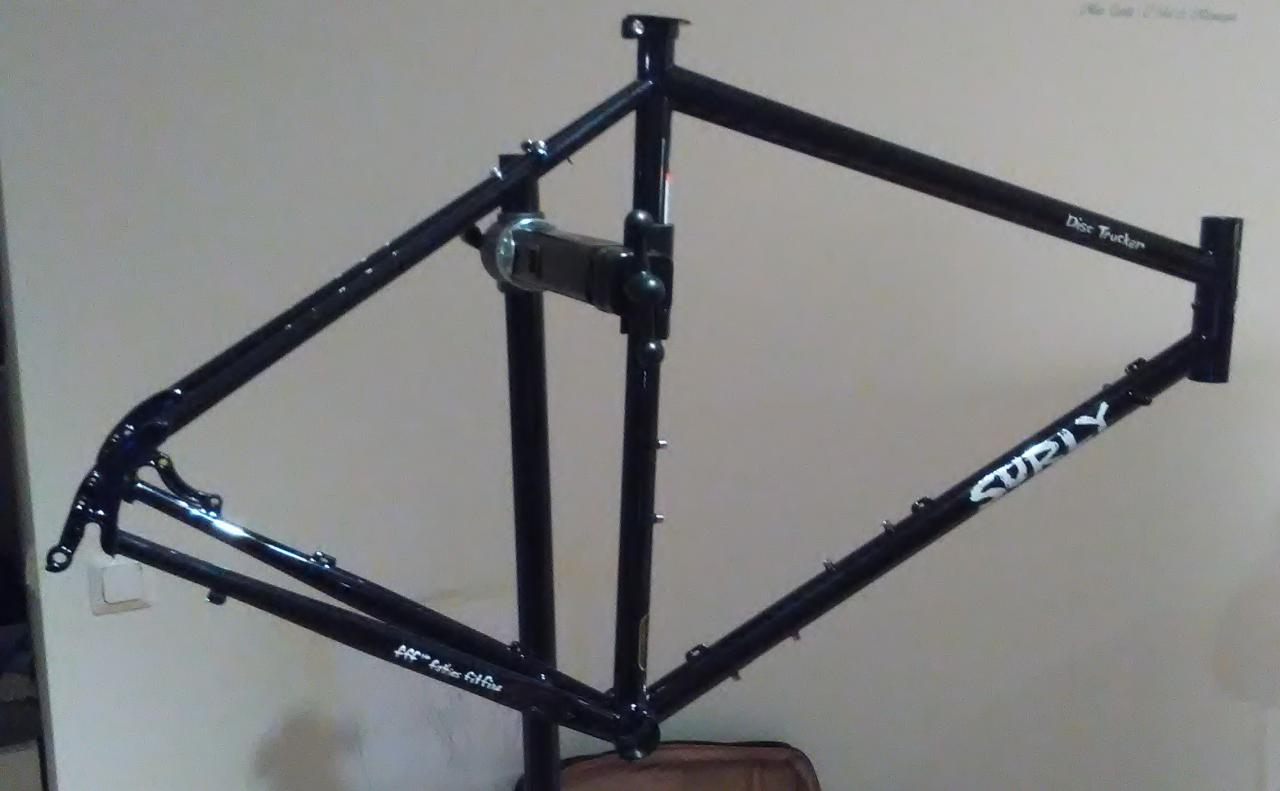
Its color is hi-viz black (sic!)
I forgot to take a picture of the fork.
While I was waiting for the delivery of frame, fork and a hundred of small parts, I turned my attention to the color theme of the new bike.
Repainting of bike parts
The color theme was chosen to be red-black. It meant that I needed to repaint certain old and some newly bought parts.
Spray paint and accessories were bought at Highlights at Södermalm.
During the repainting process each part goes through four steps:
- To sand the surface and clean it with alcohol. It was not mandatory if the part was new.
- Spray with the primer, let it dry for 24 hours.
- Spray with color, dry it for 24 hours.
- Spray with clear coat, let everything dry.
Further down are some pictures of the process.
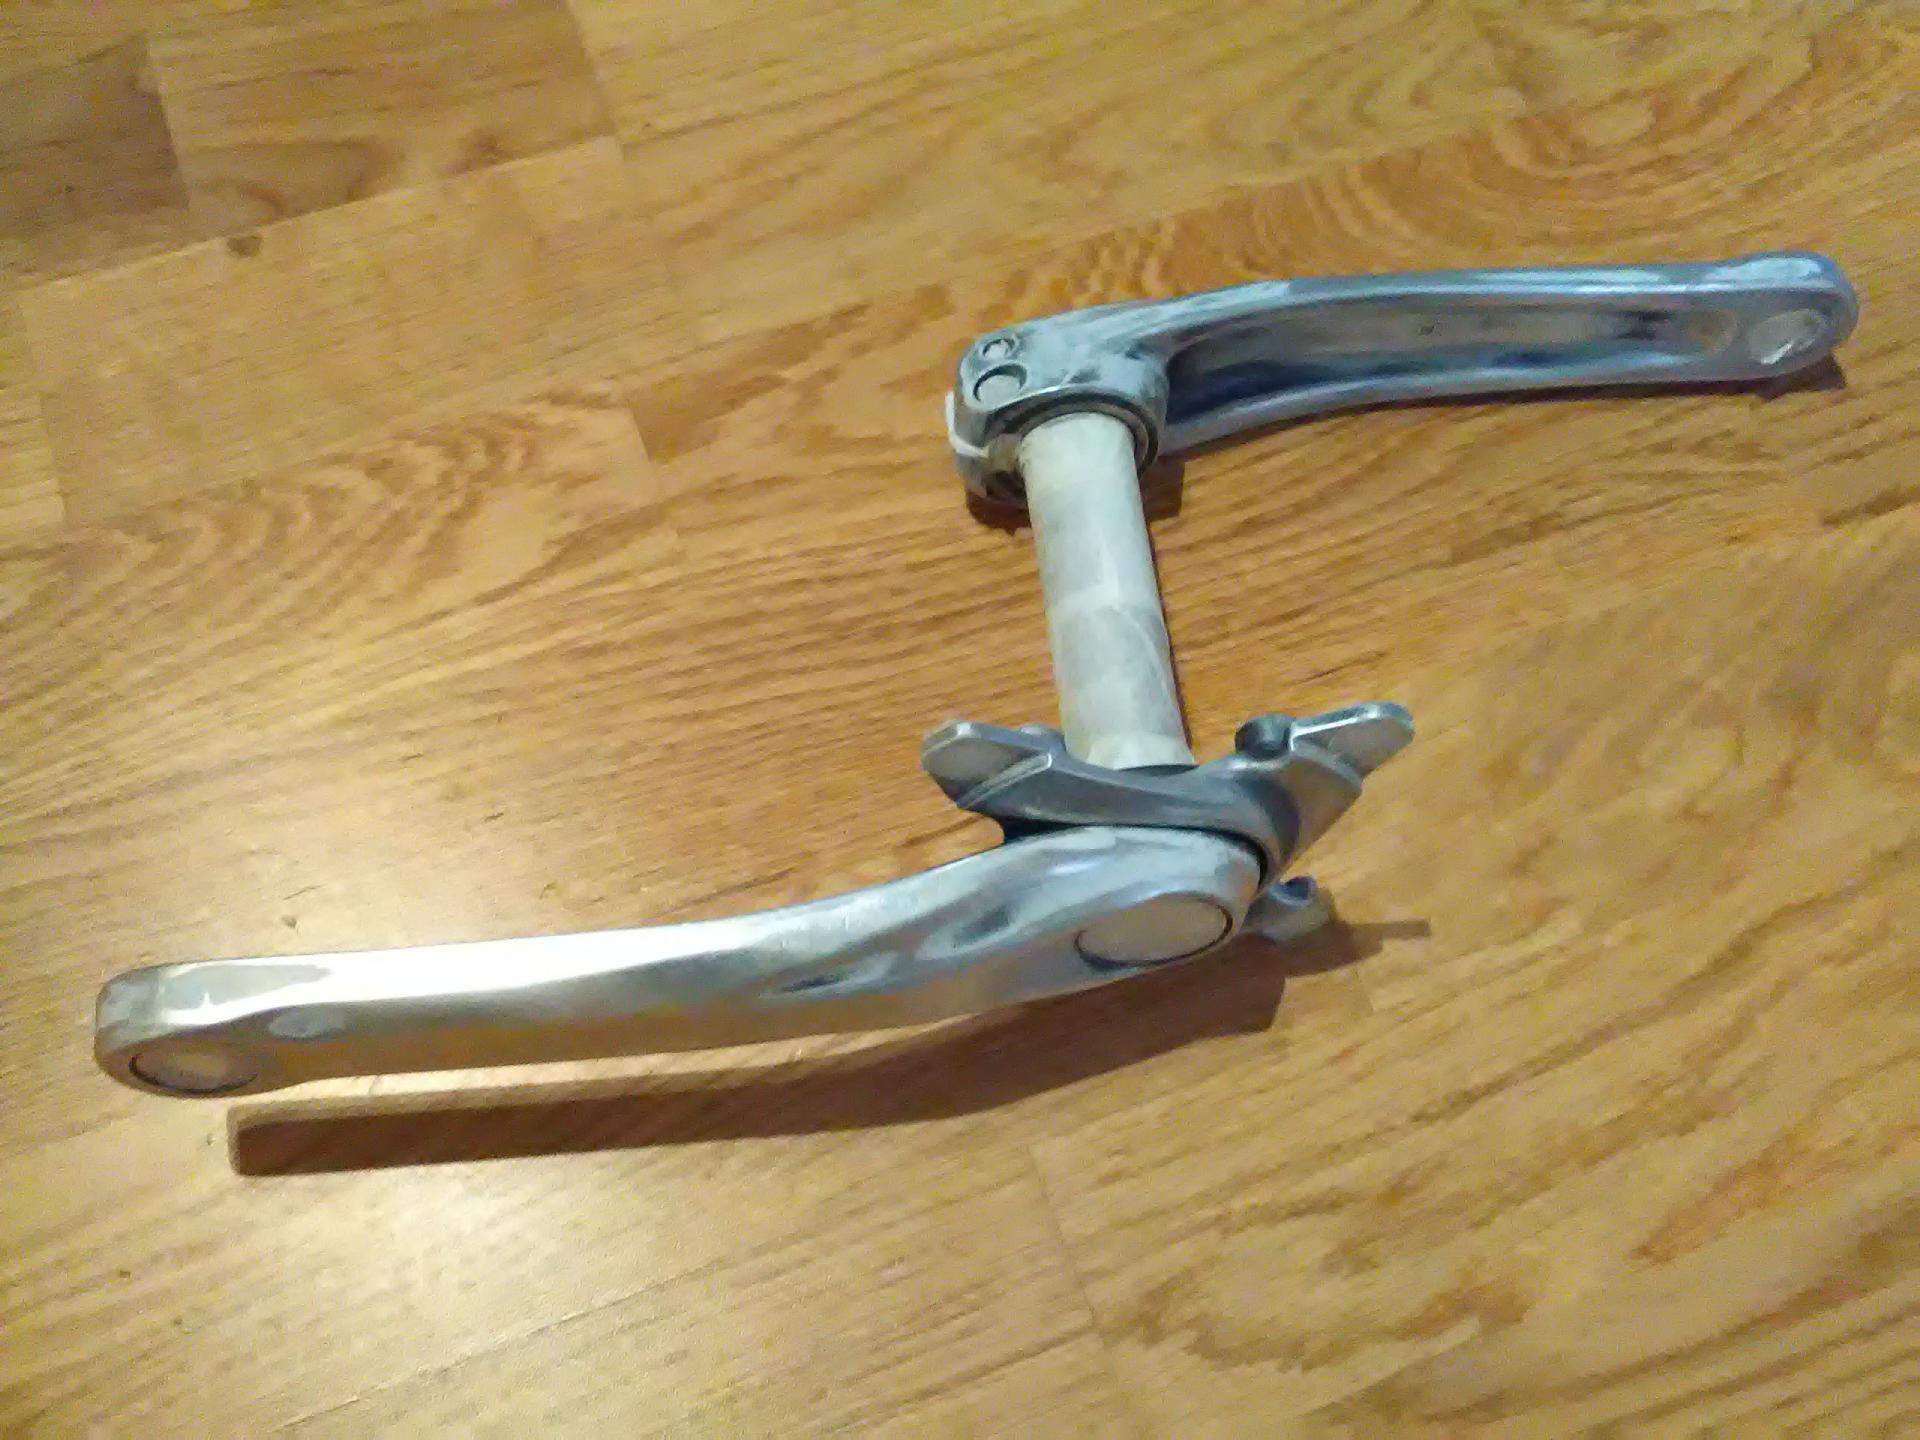
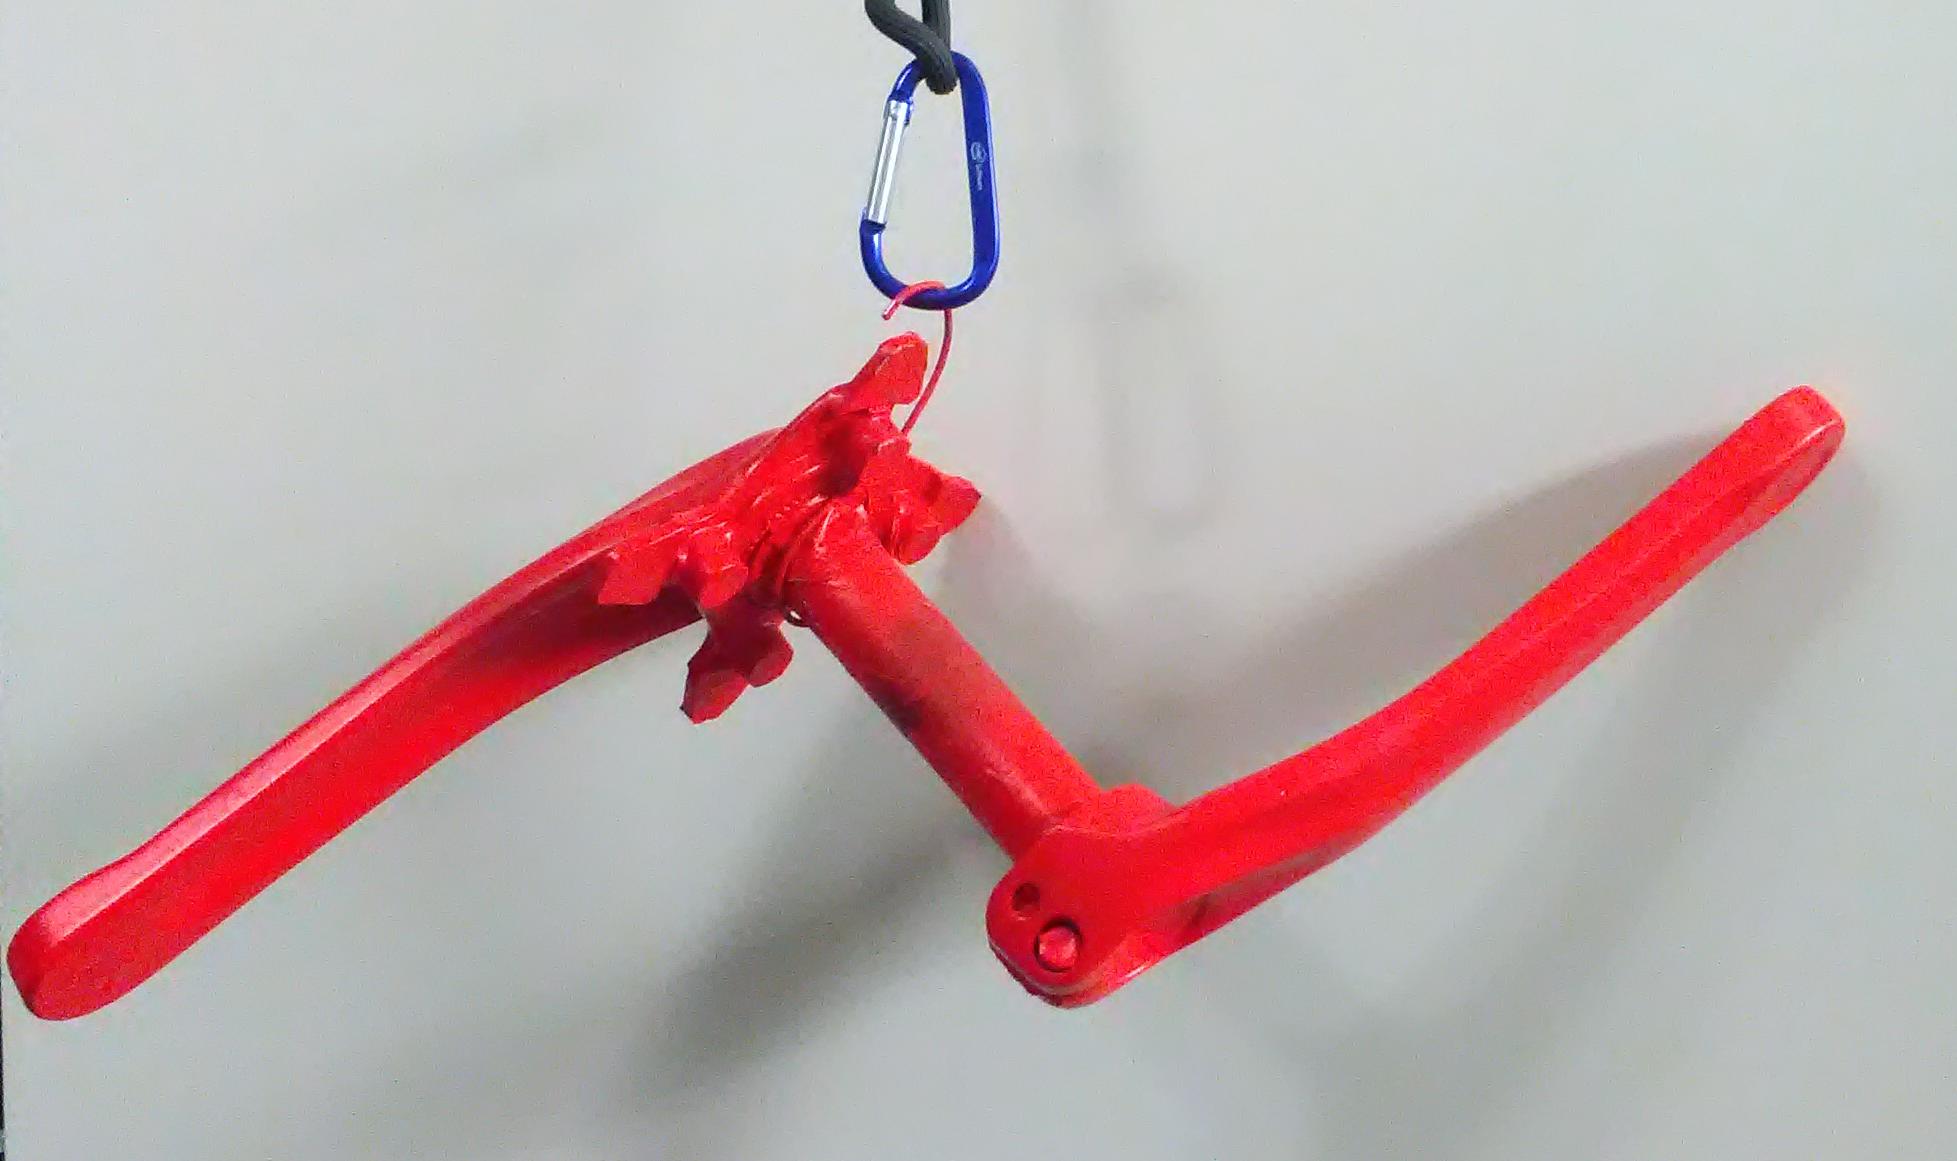
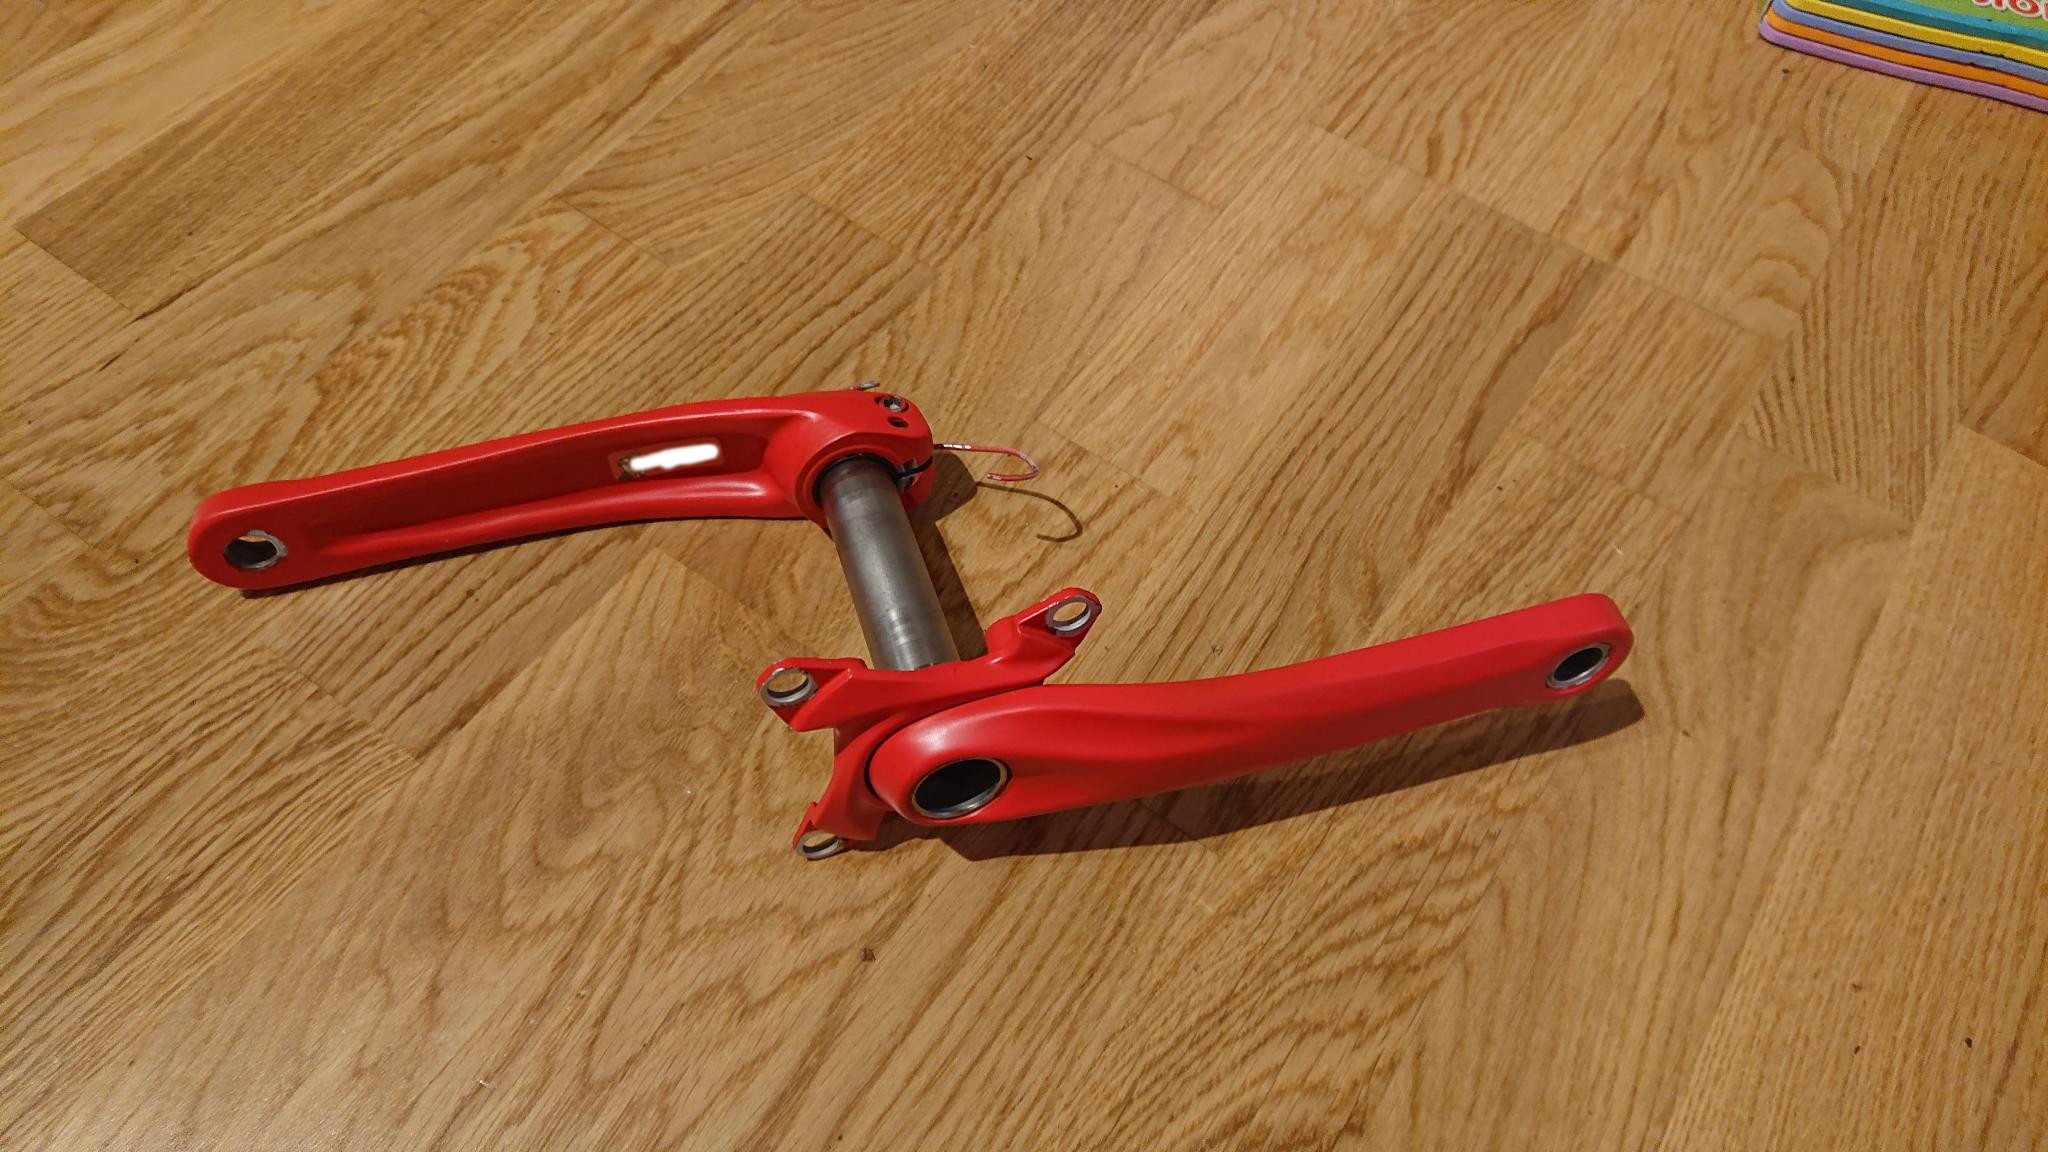
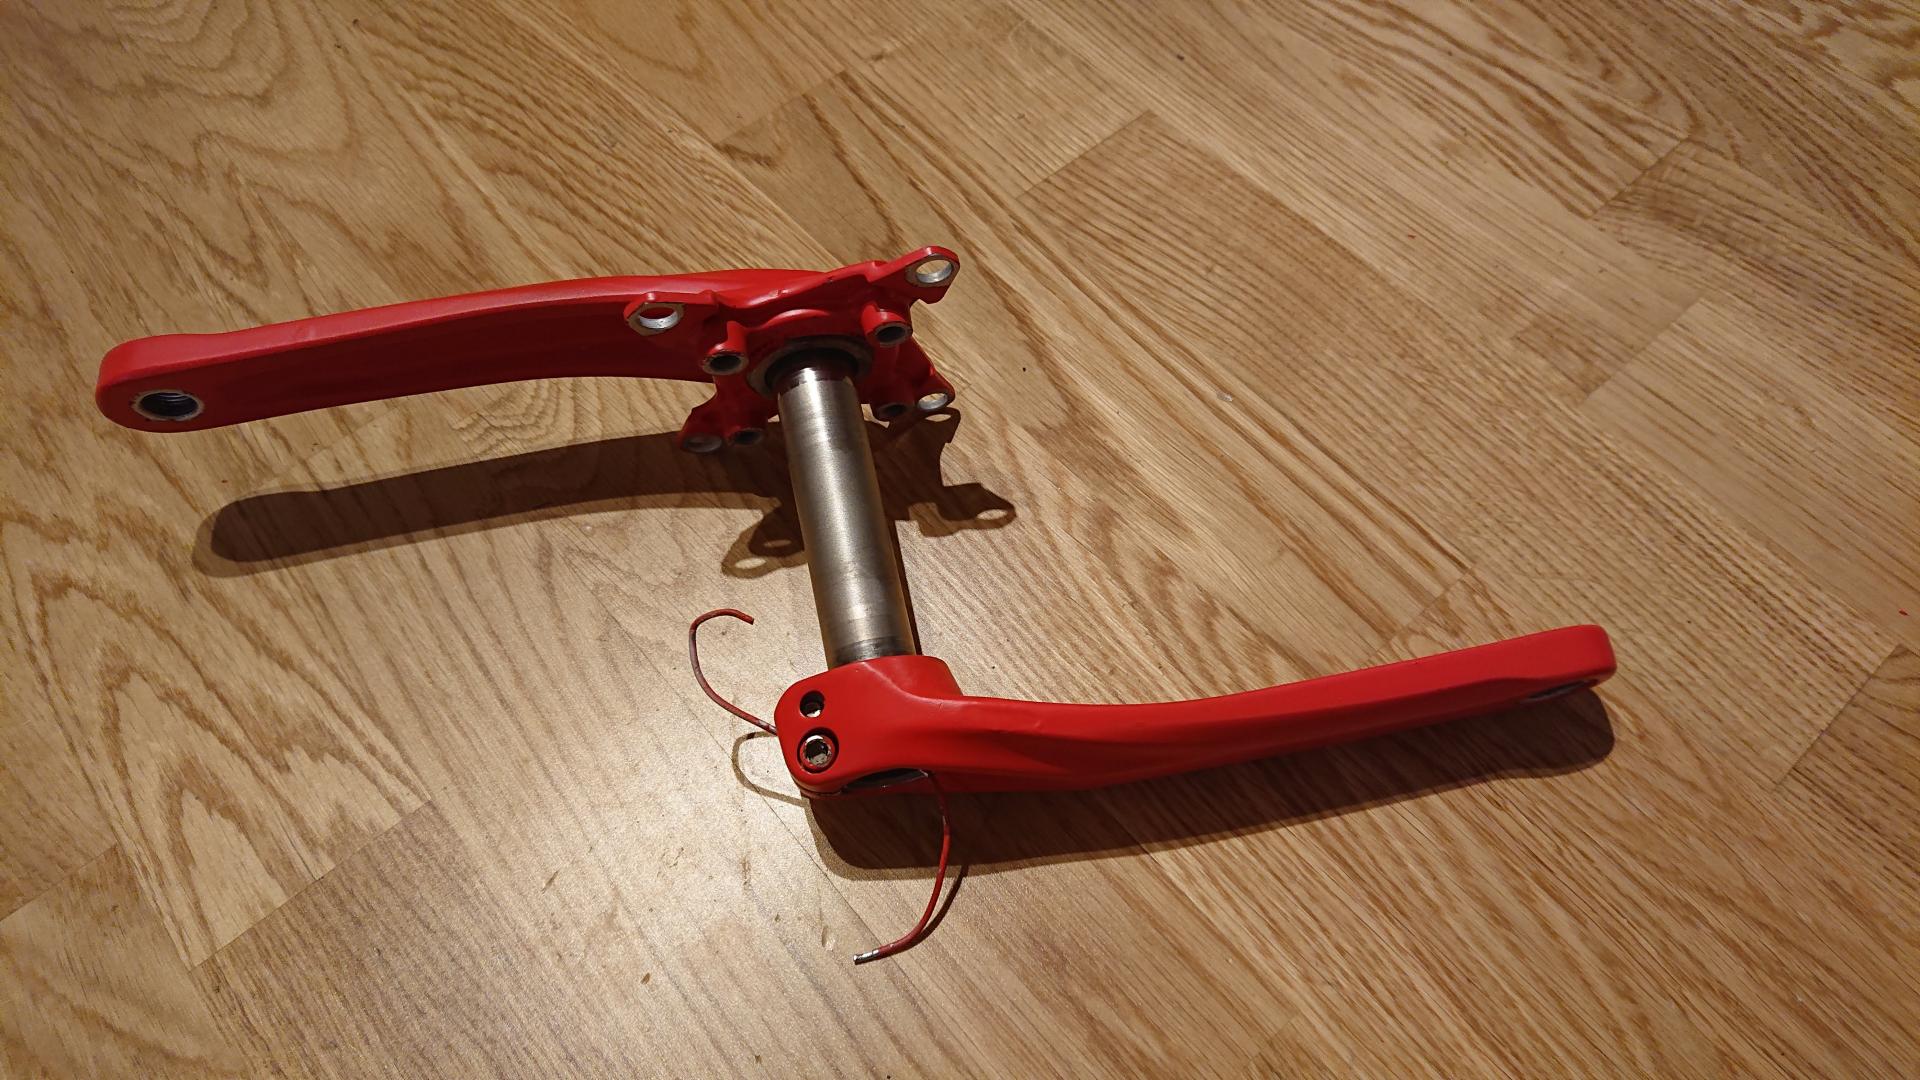
Cranks
Sanded:
Masked with tape before applying primer:
Repainted:
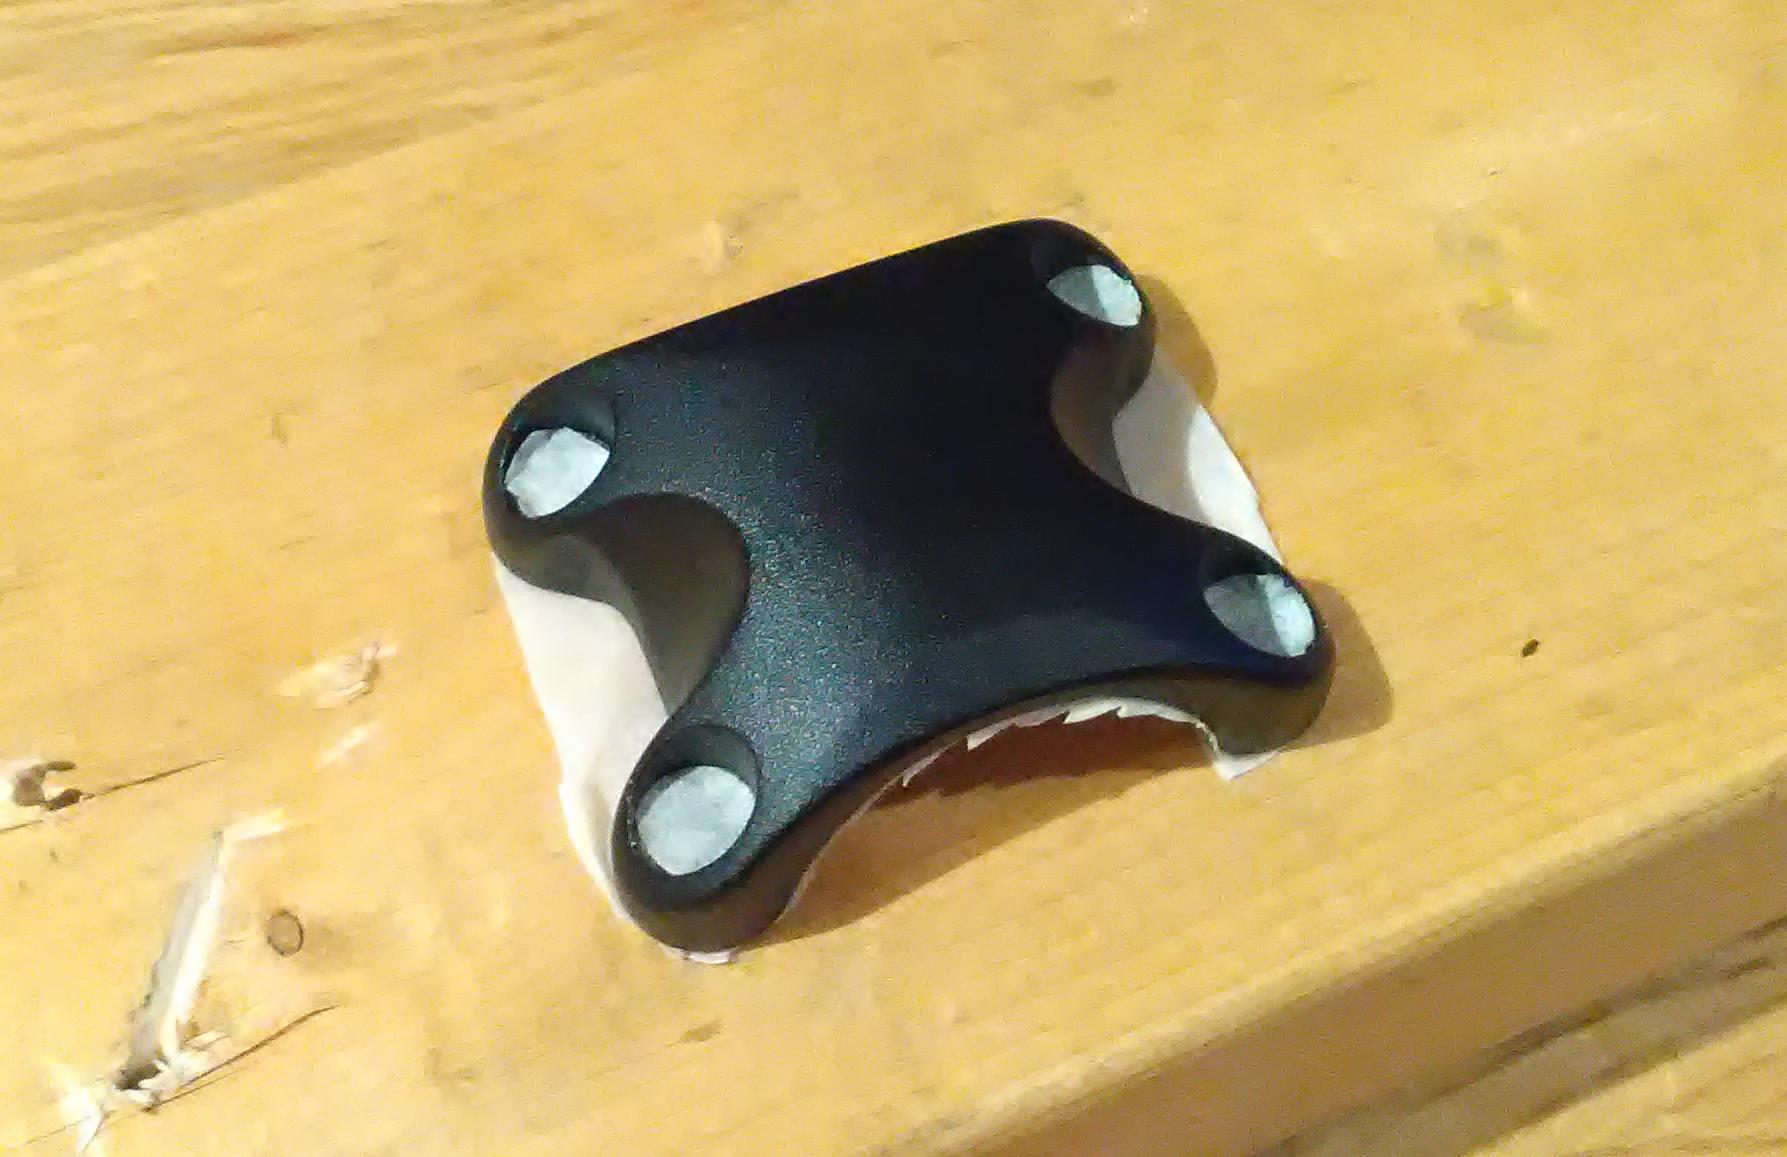
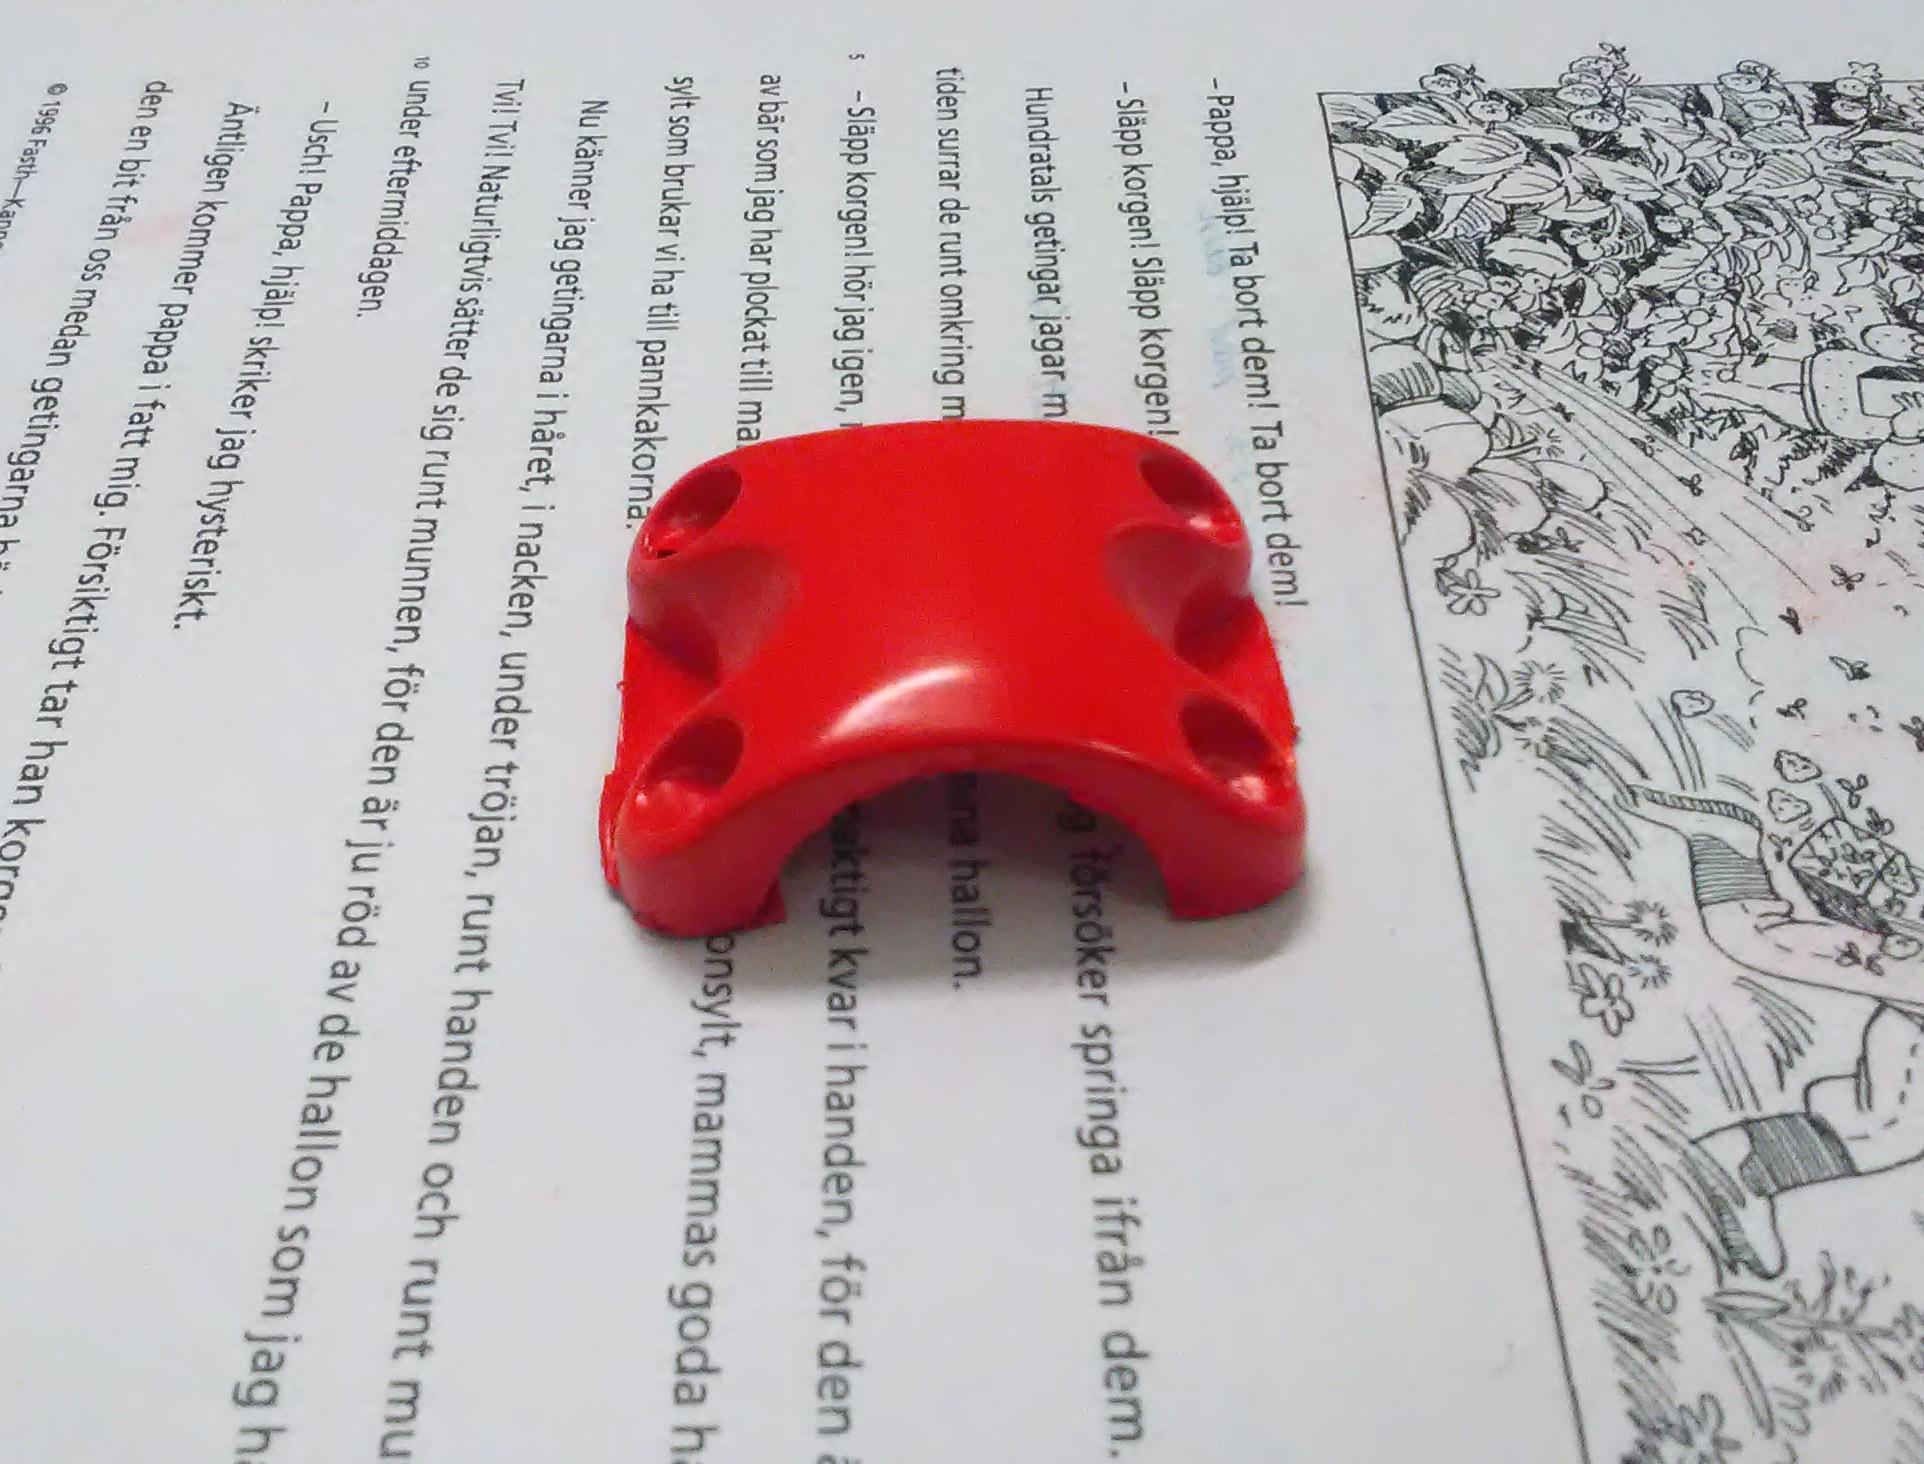
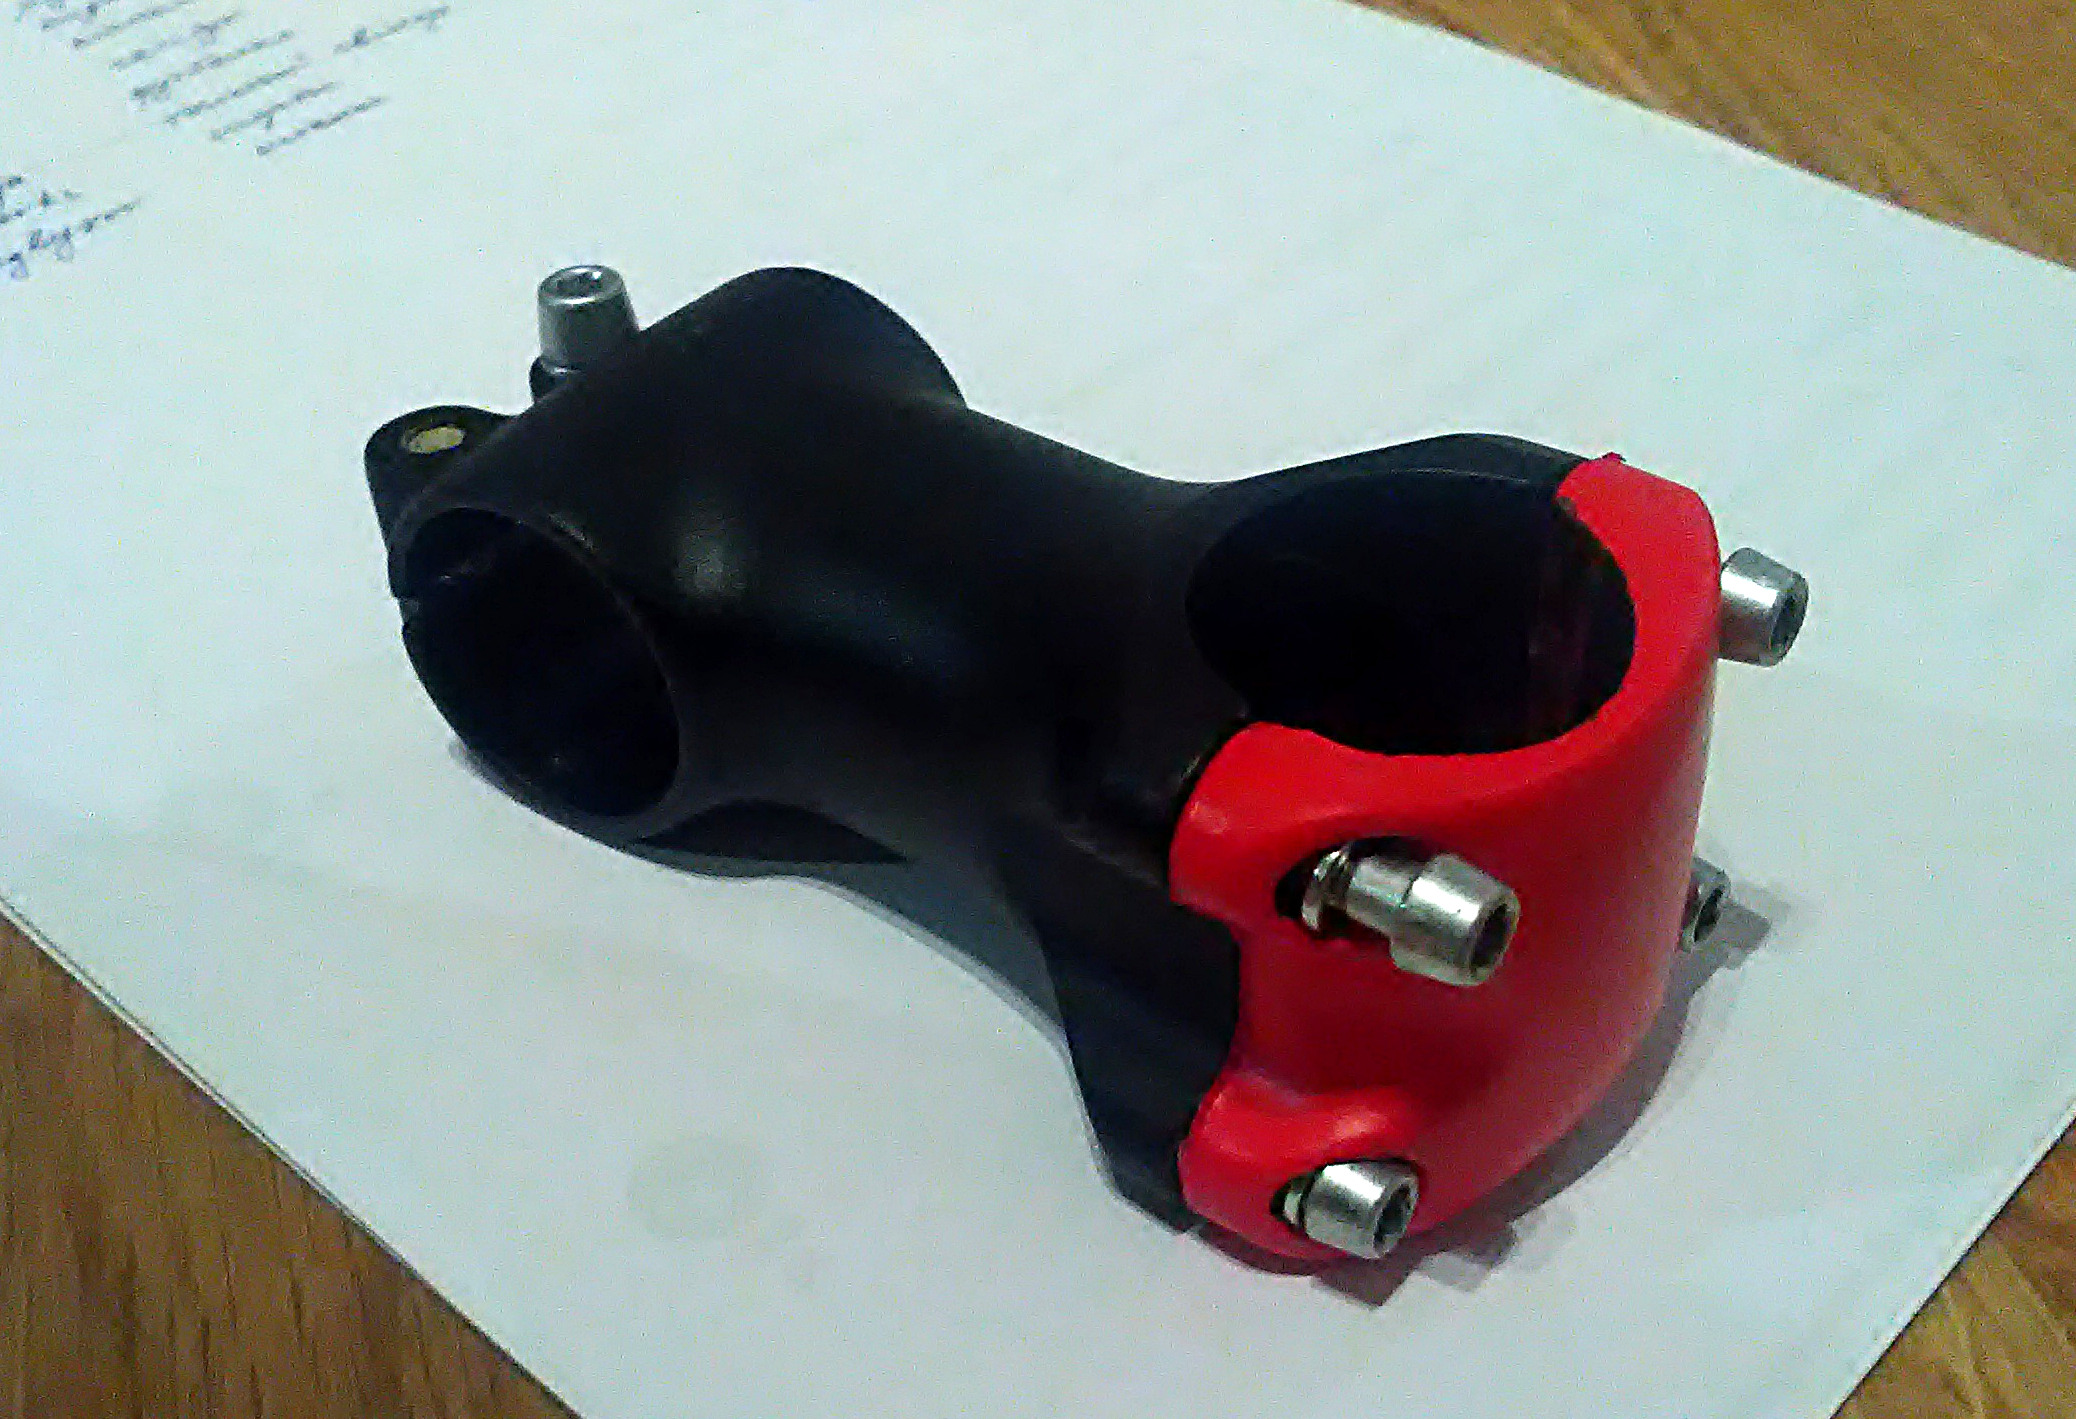
Stem’s front plate
Original view:
Repainted:
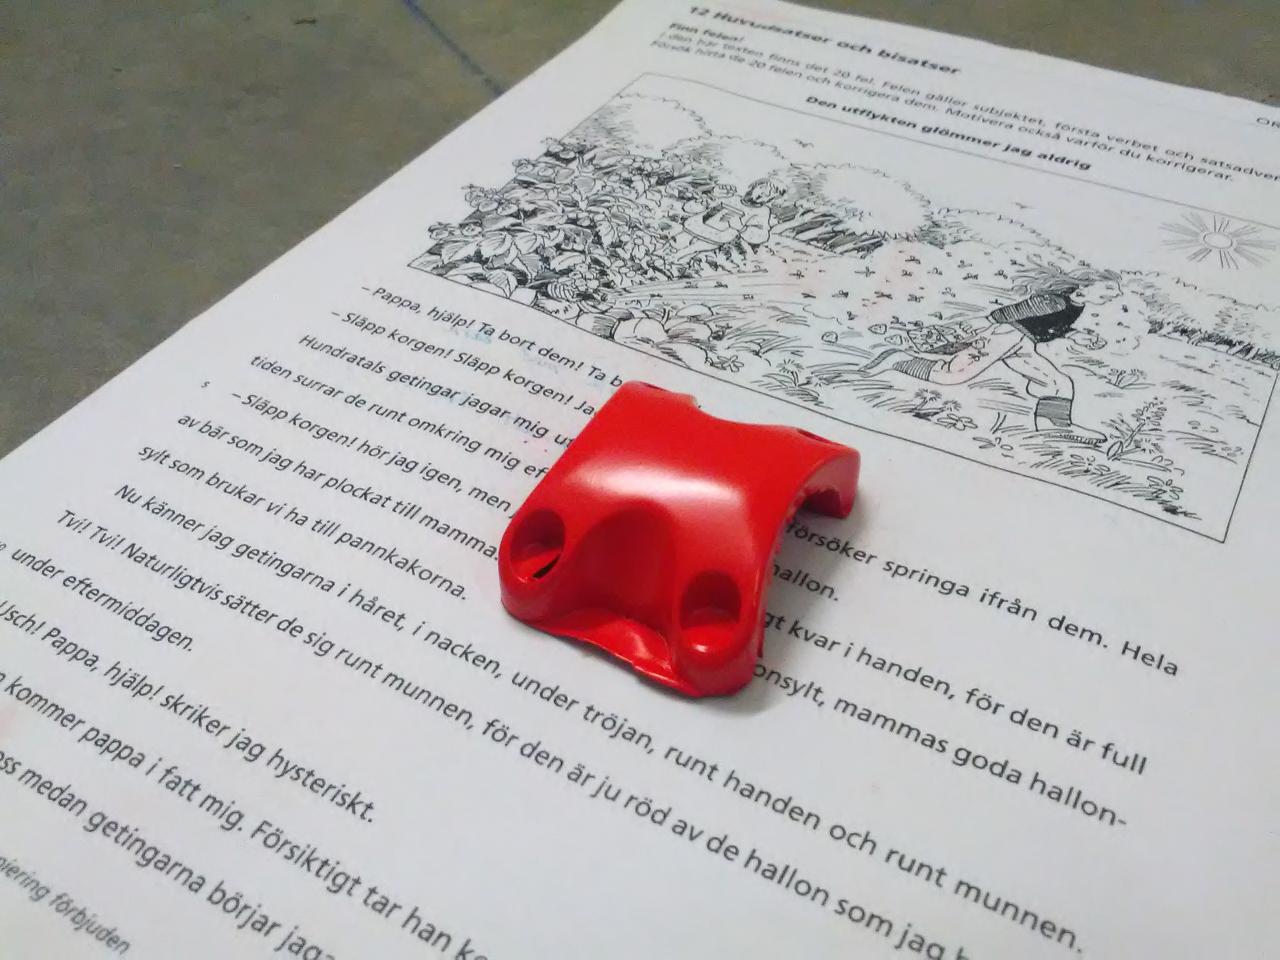
Done:
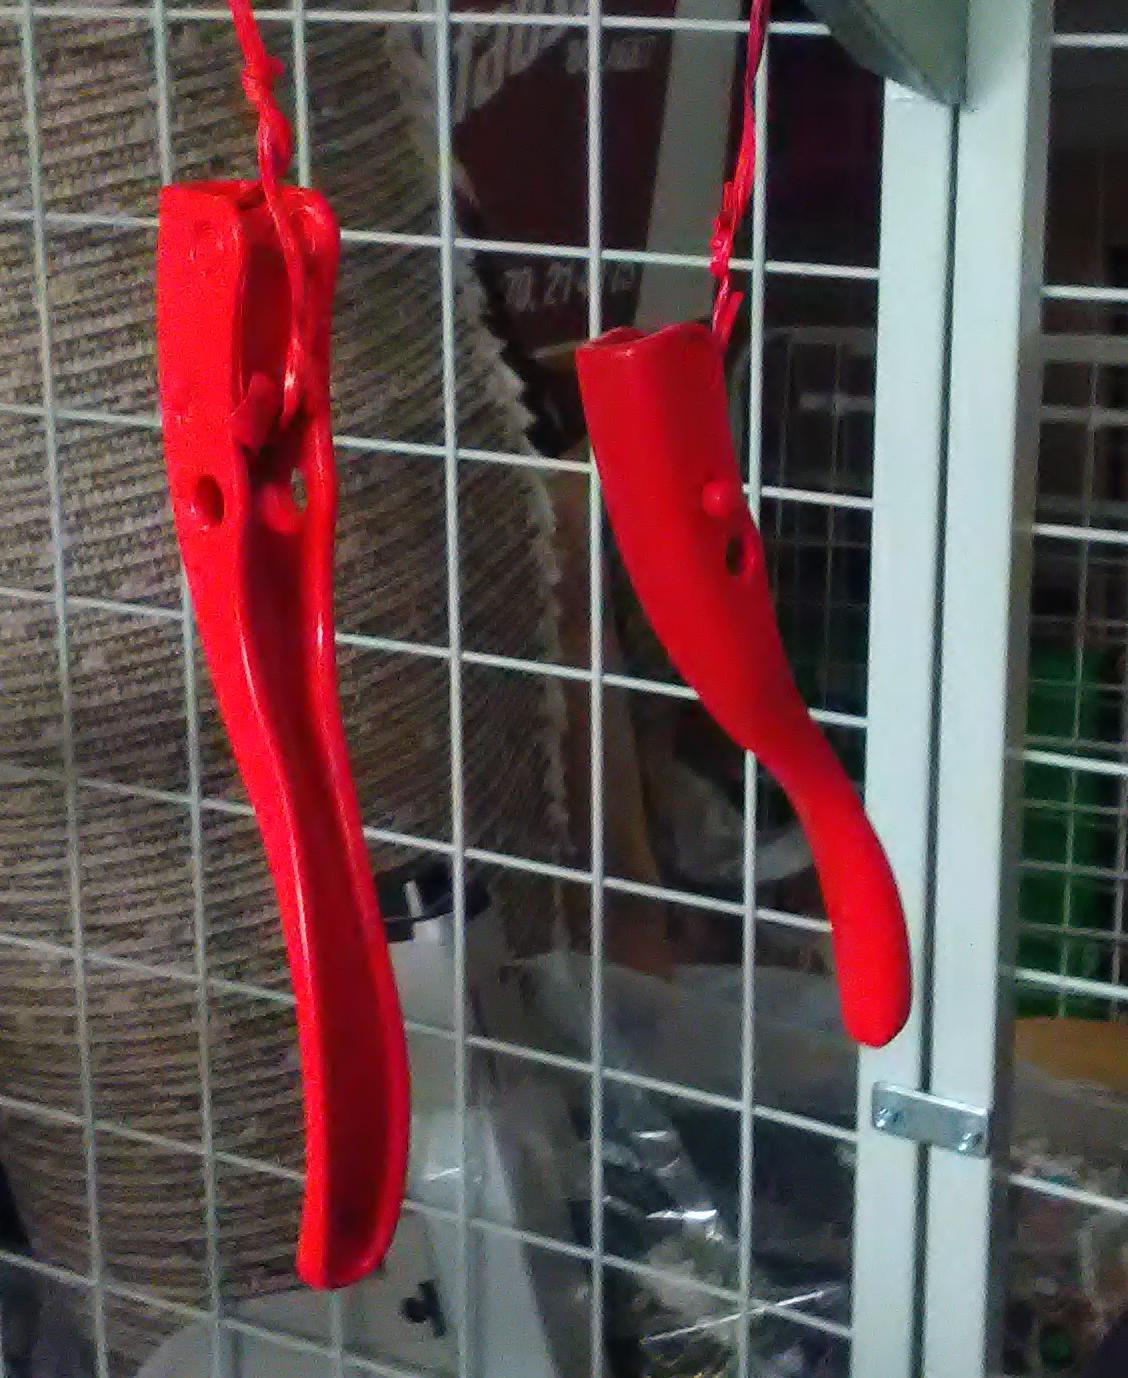
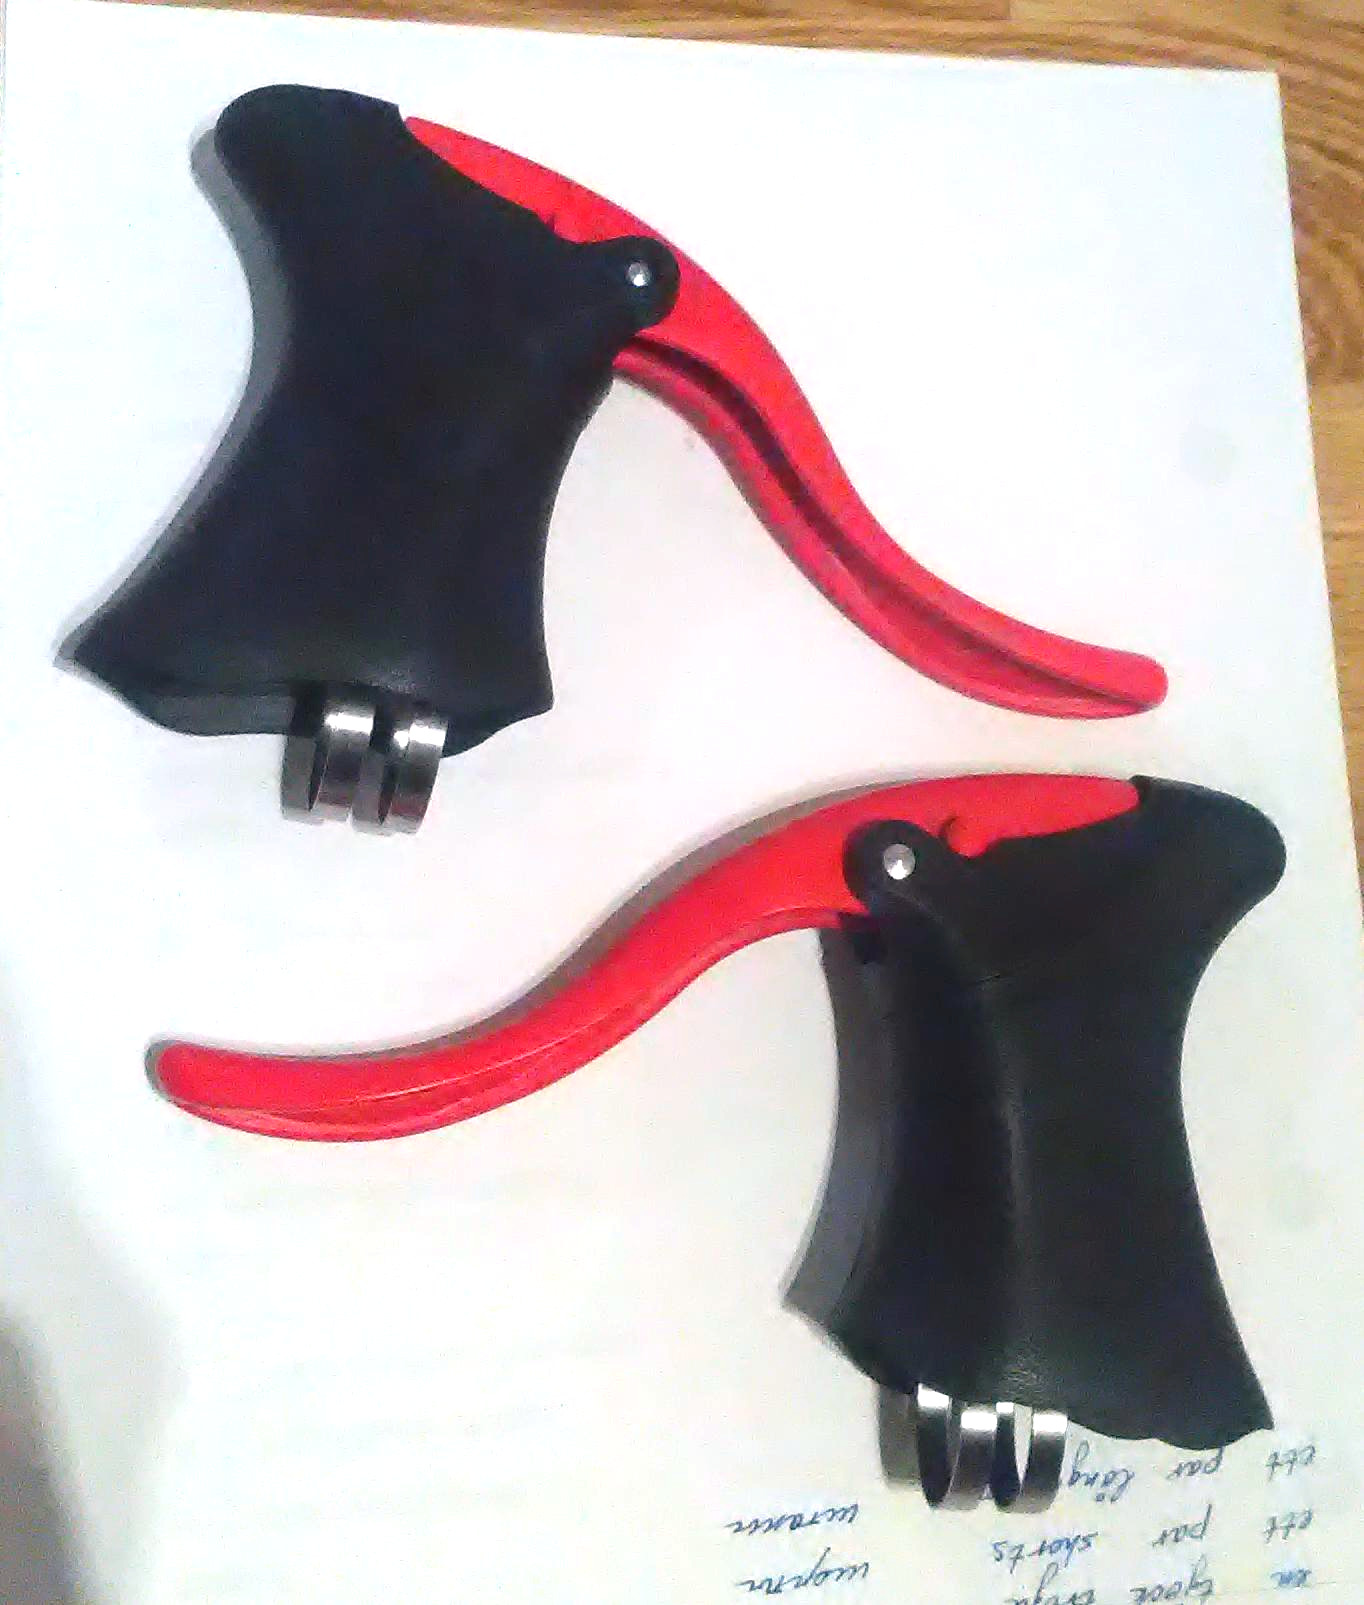
Brake levers
Dismounted from the plastic base:

Repainted:
Finished:
Steering tube spacers
Unfortunately I forgot to take any pictures of them.
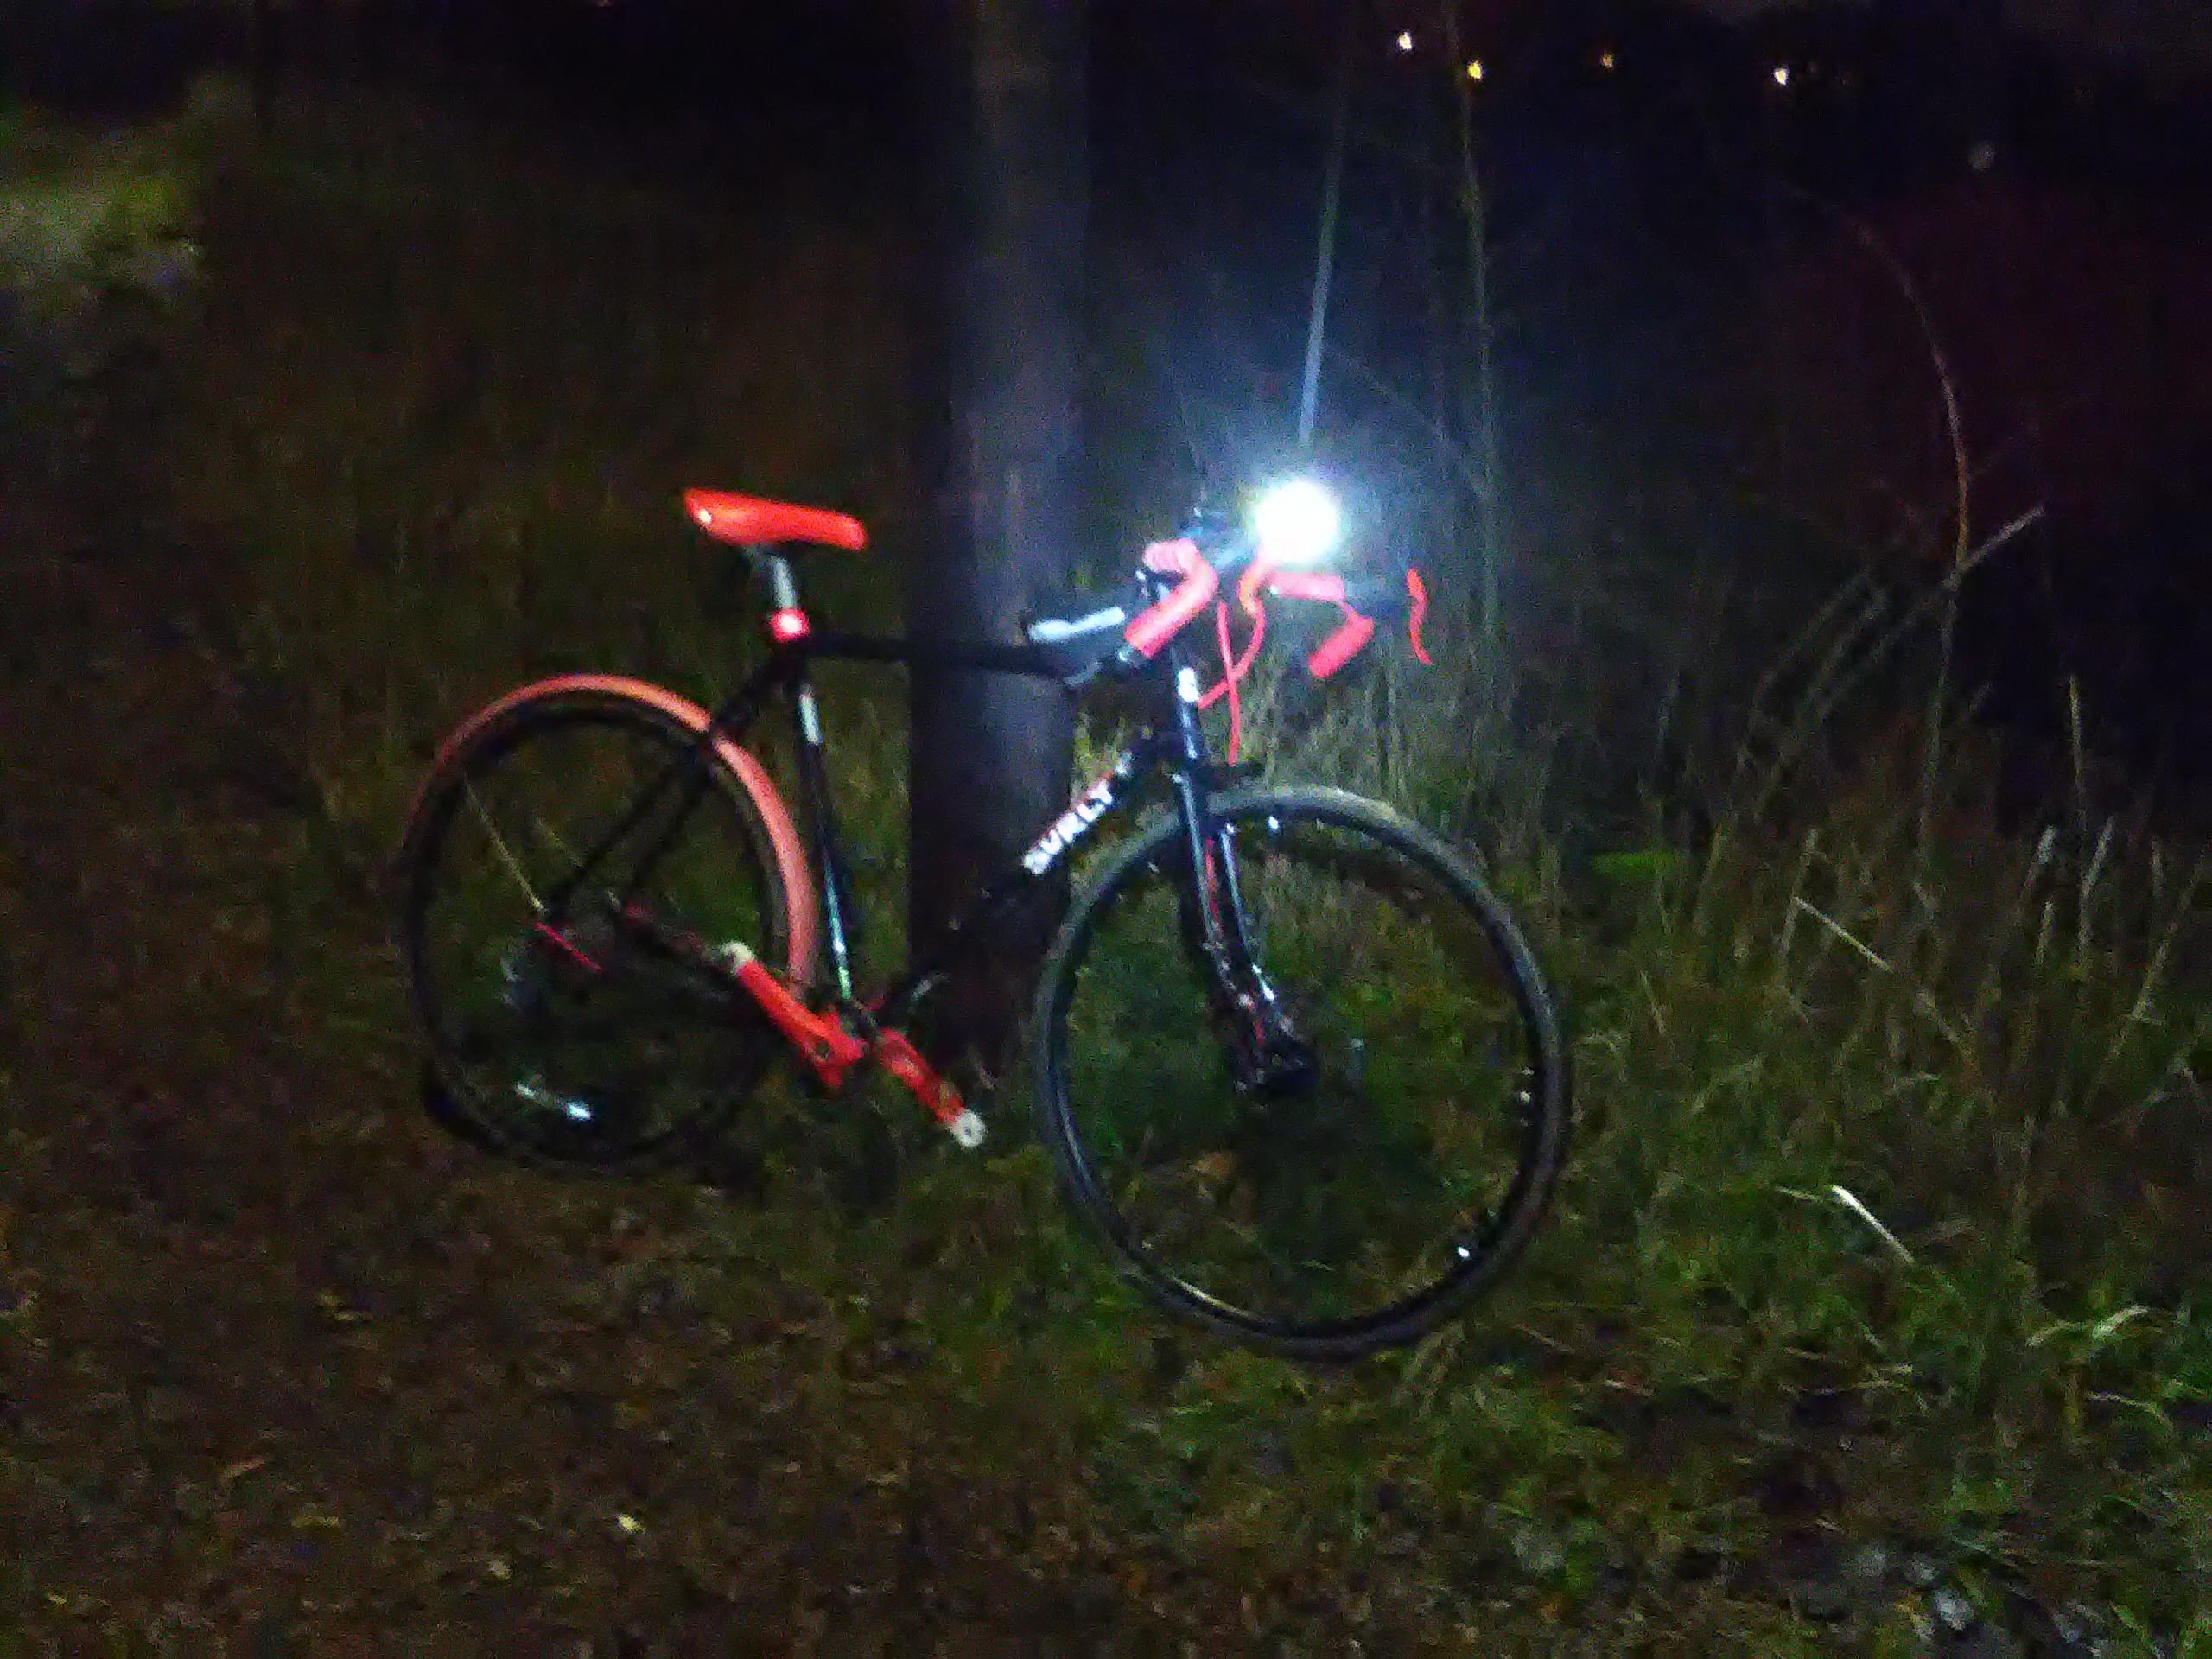
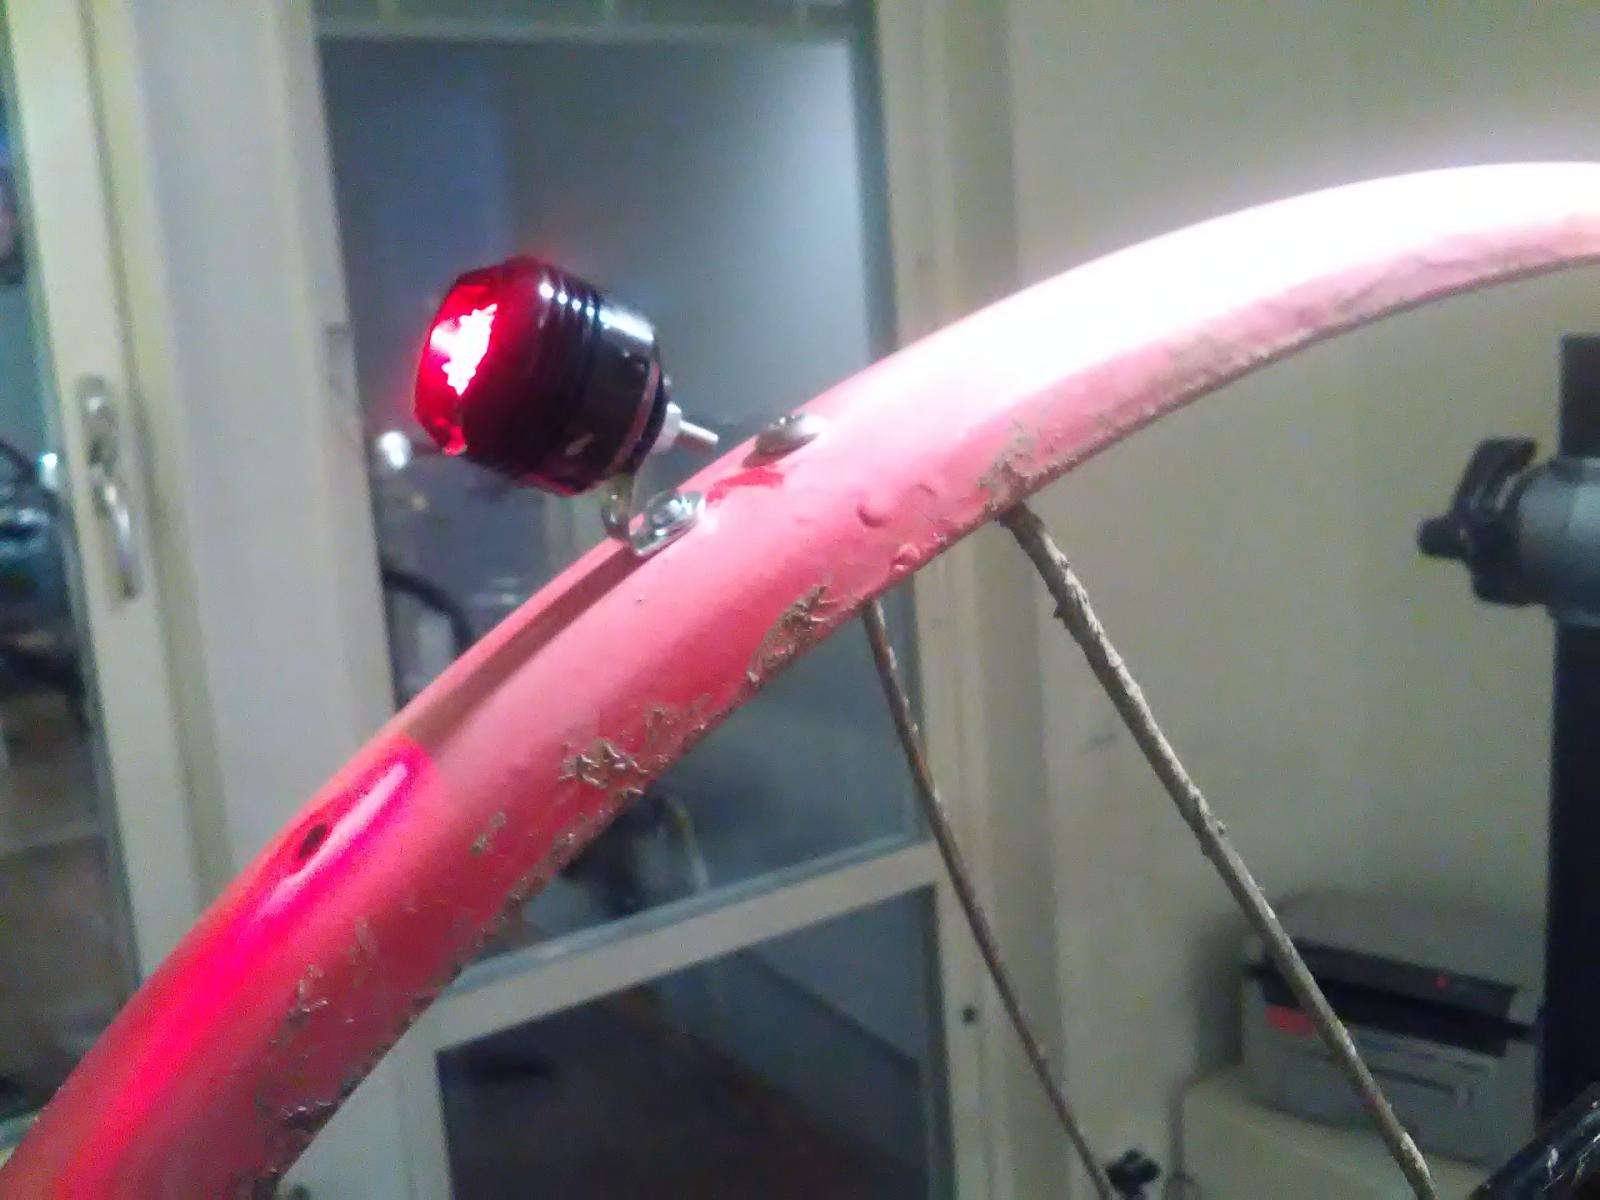
Rear fender
An old scraped aluminium fender that I got from a bike cooperative.
Sanded:
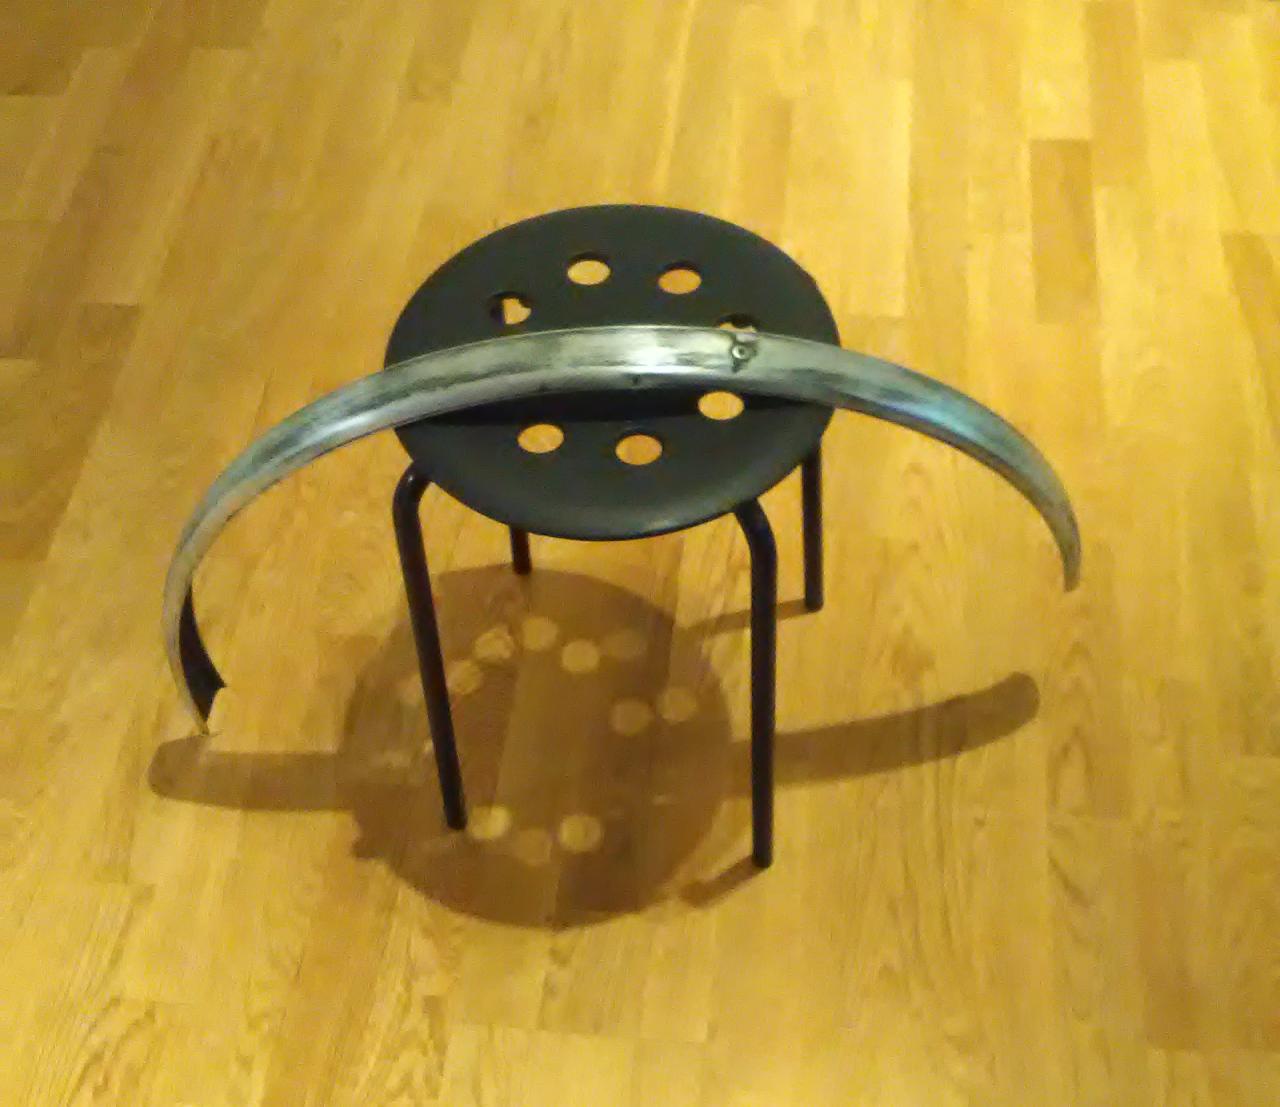
Then I repainted it but forgot to take photos of the process. On a picture below you can see it already mounted on the bike with a rear lamp attached.
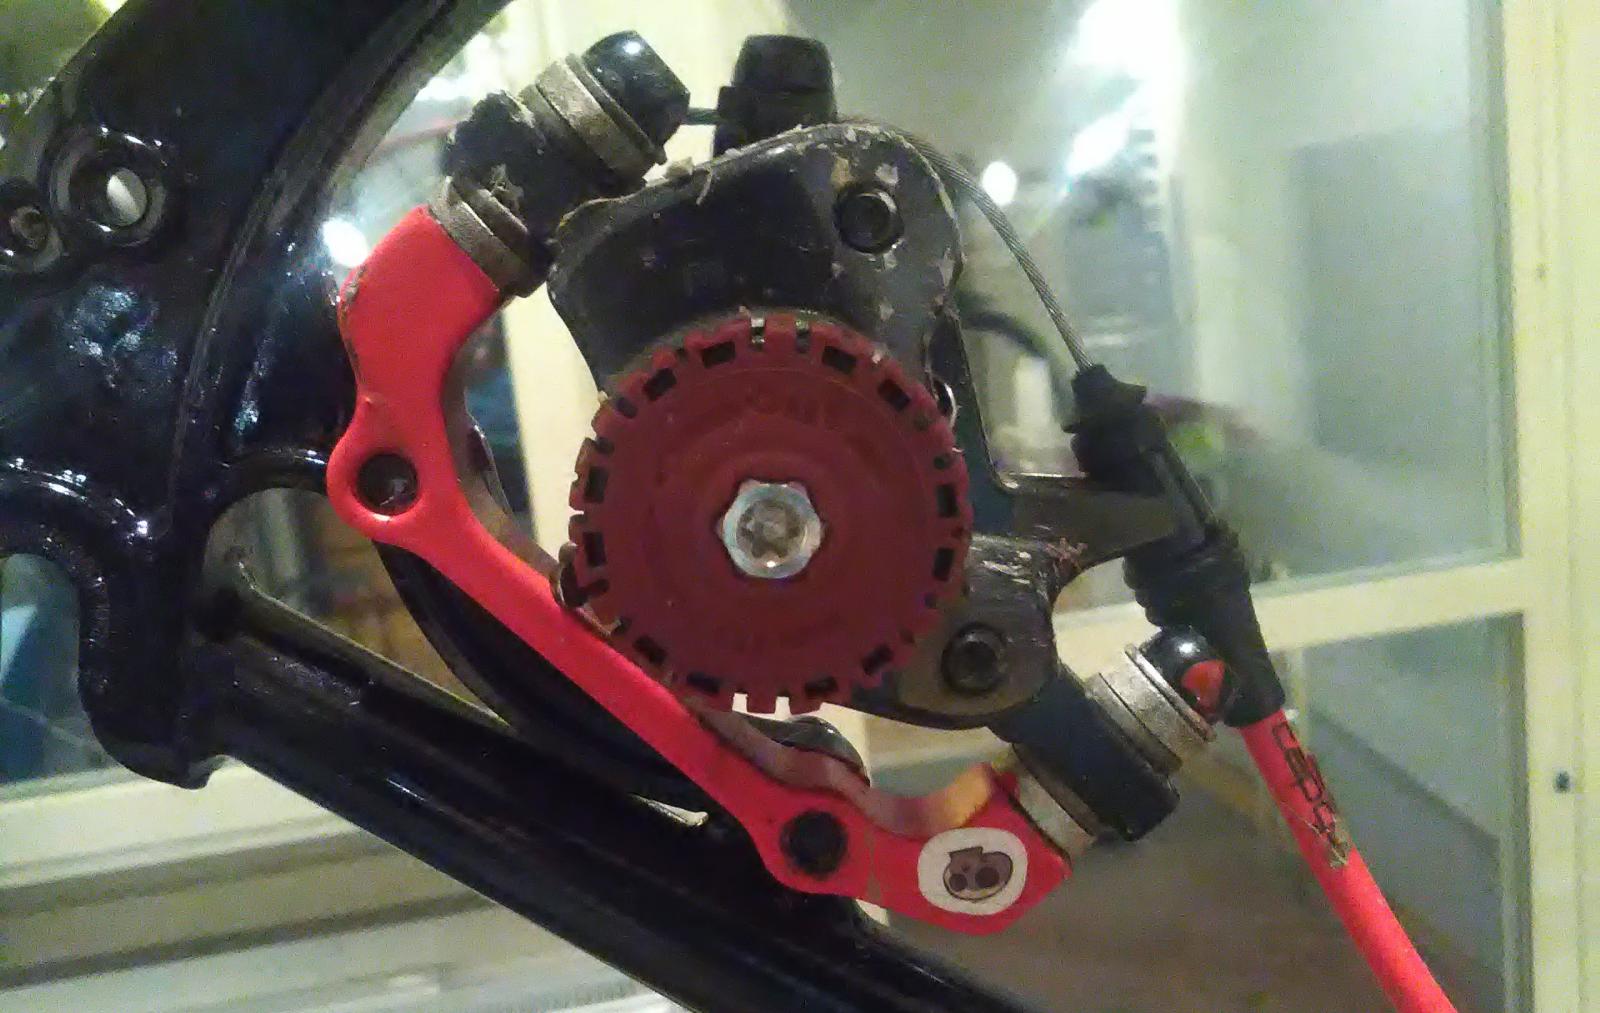
Brake IS/postmount adapters
They looked like this before repainting:
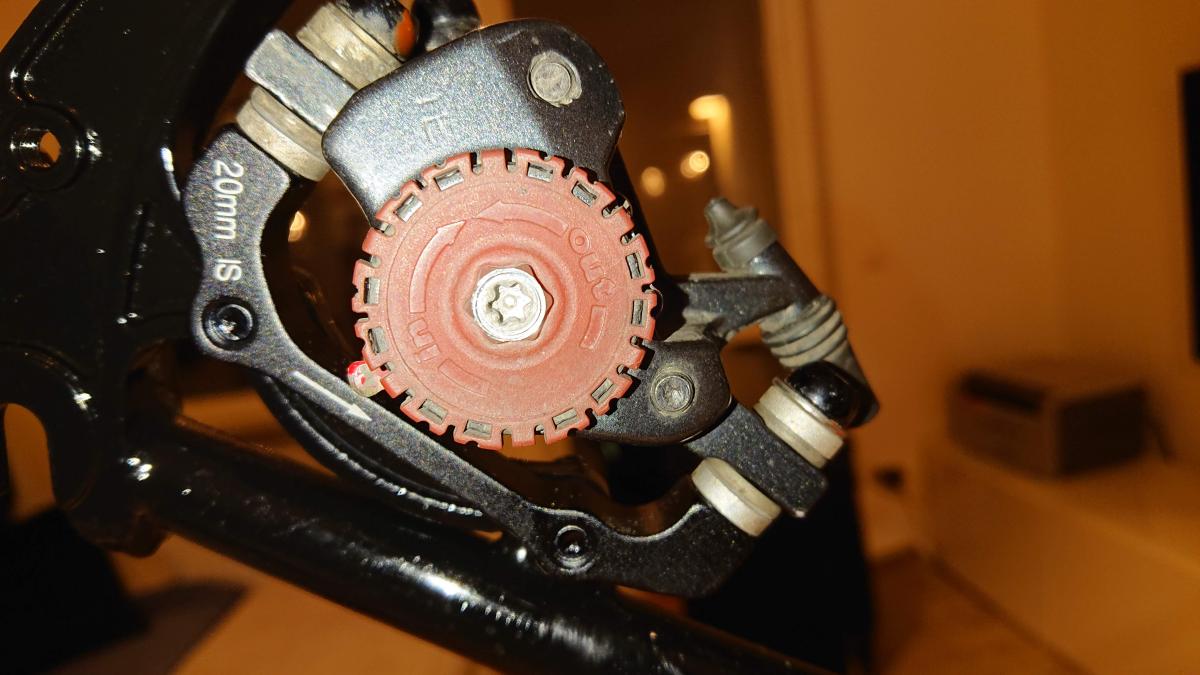
And like this after:
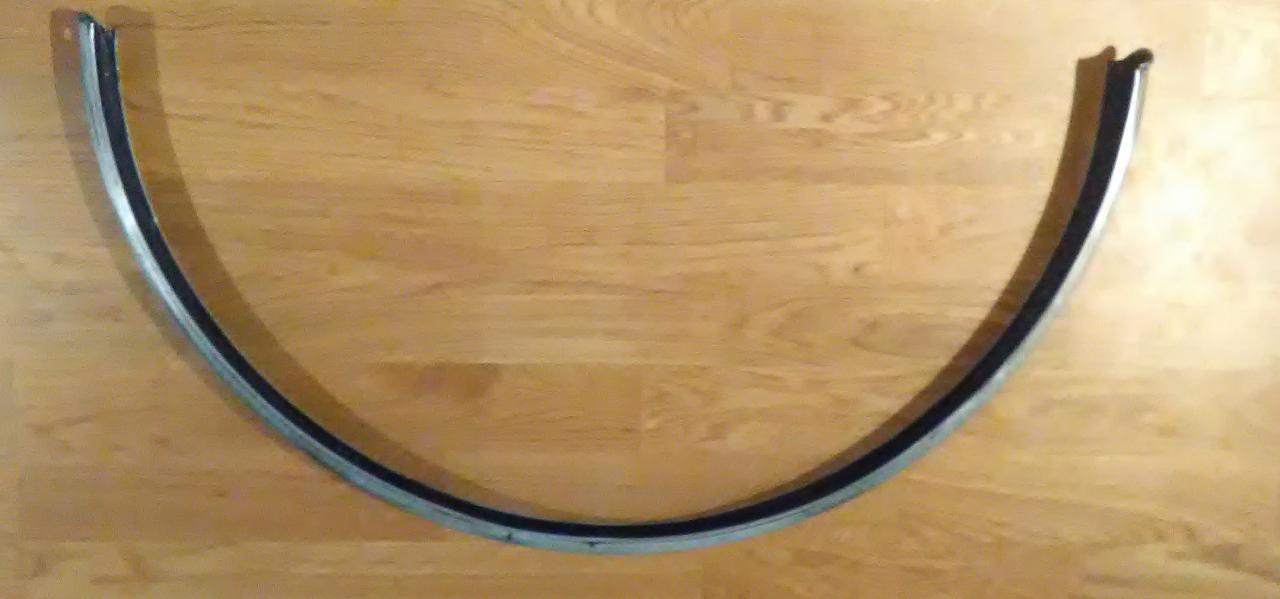
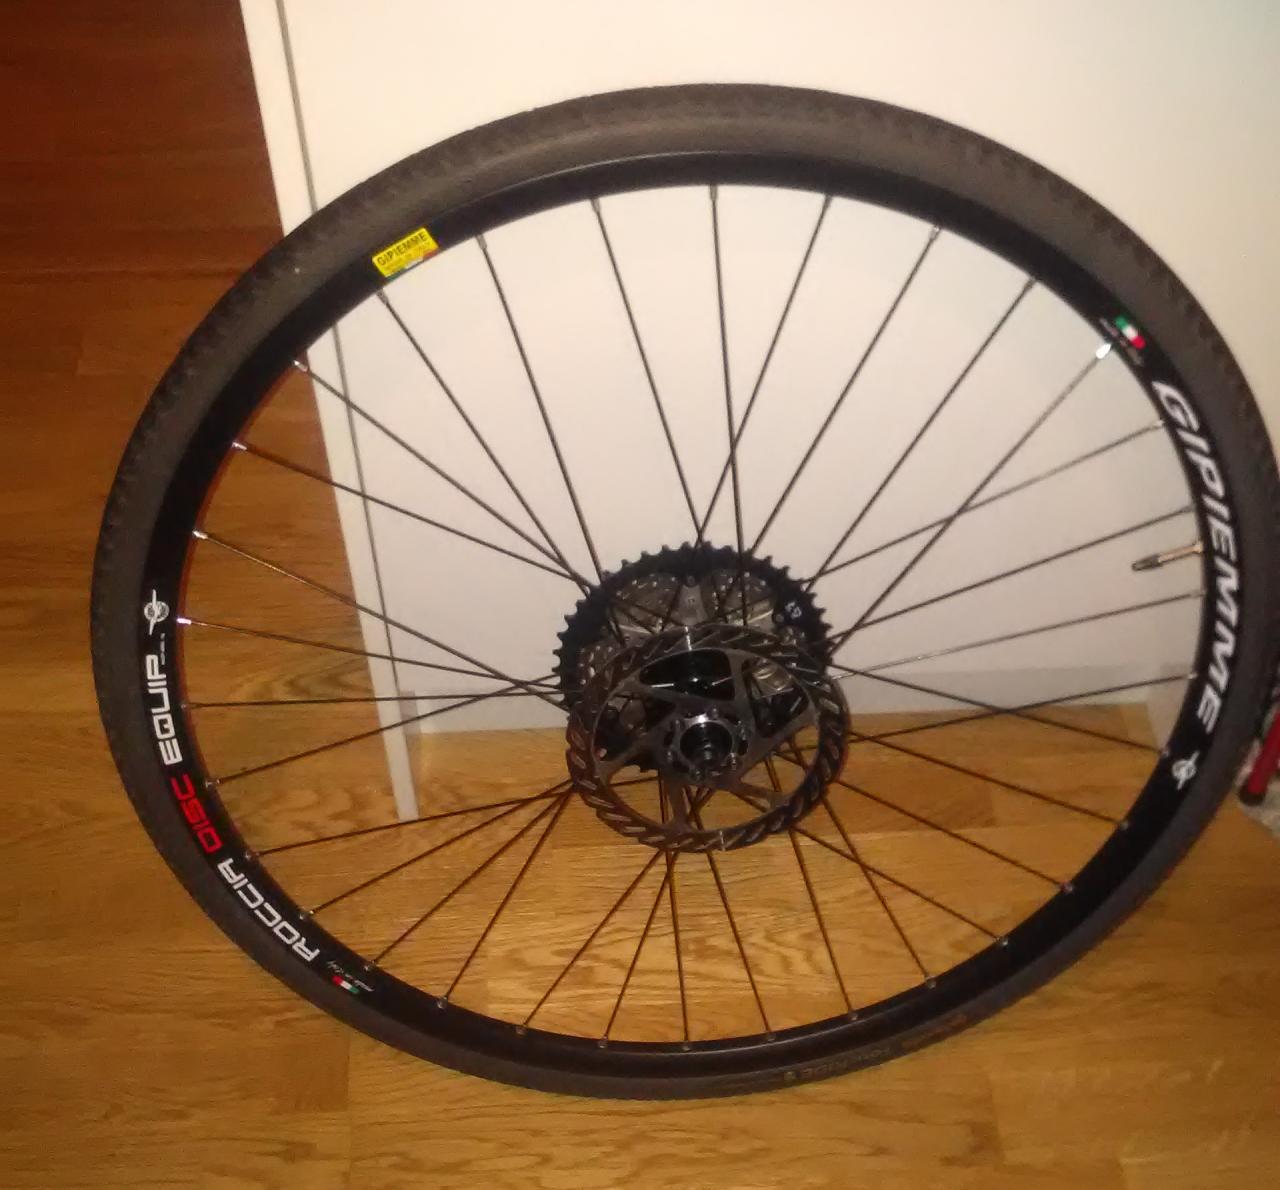
Wheelset
For the wheelset I got Gipiemme Roccia Equipe 29” for disc hubs. Front hub 100 mm, rear hub 135 mm, both with QR-axles and for 6-bolt discs.
Compared with the pictures below, I actually took all the decals off, so that now the wheels are completely black.
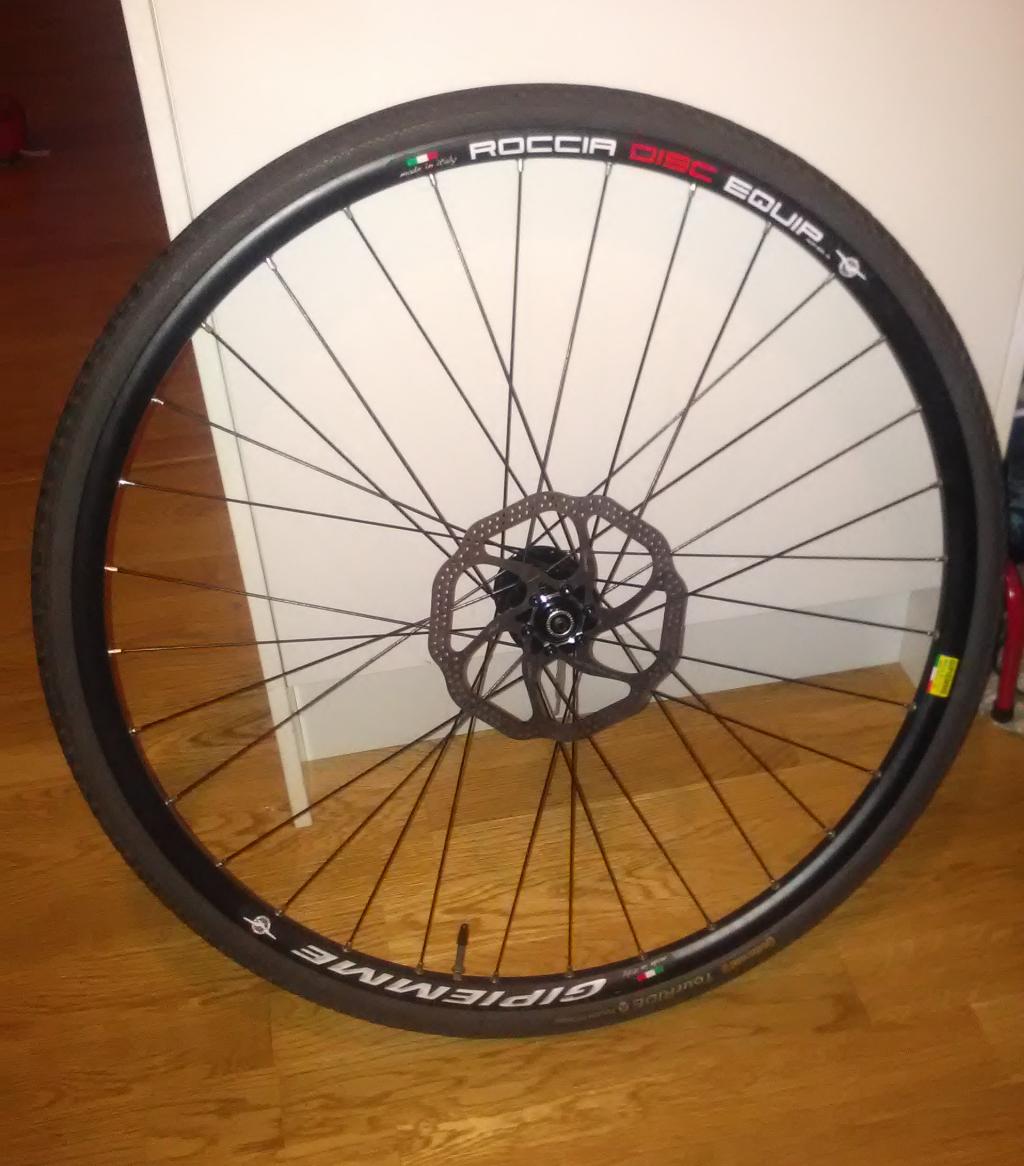
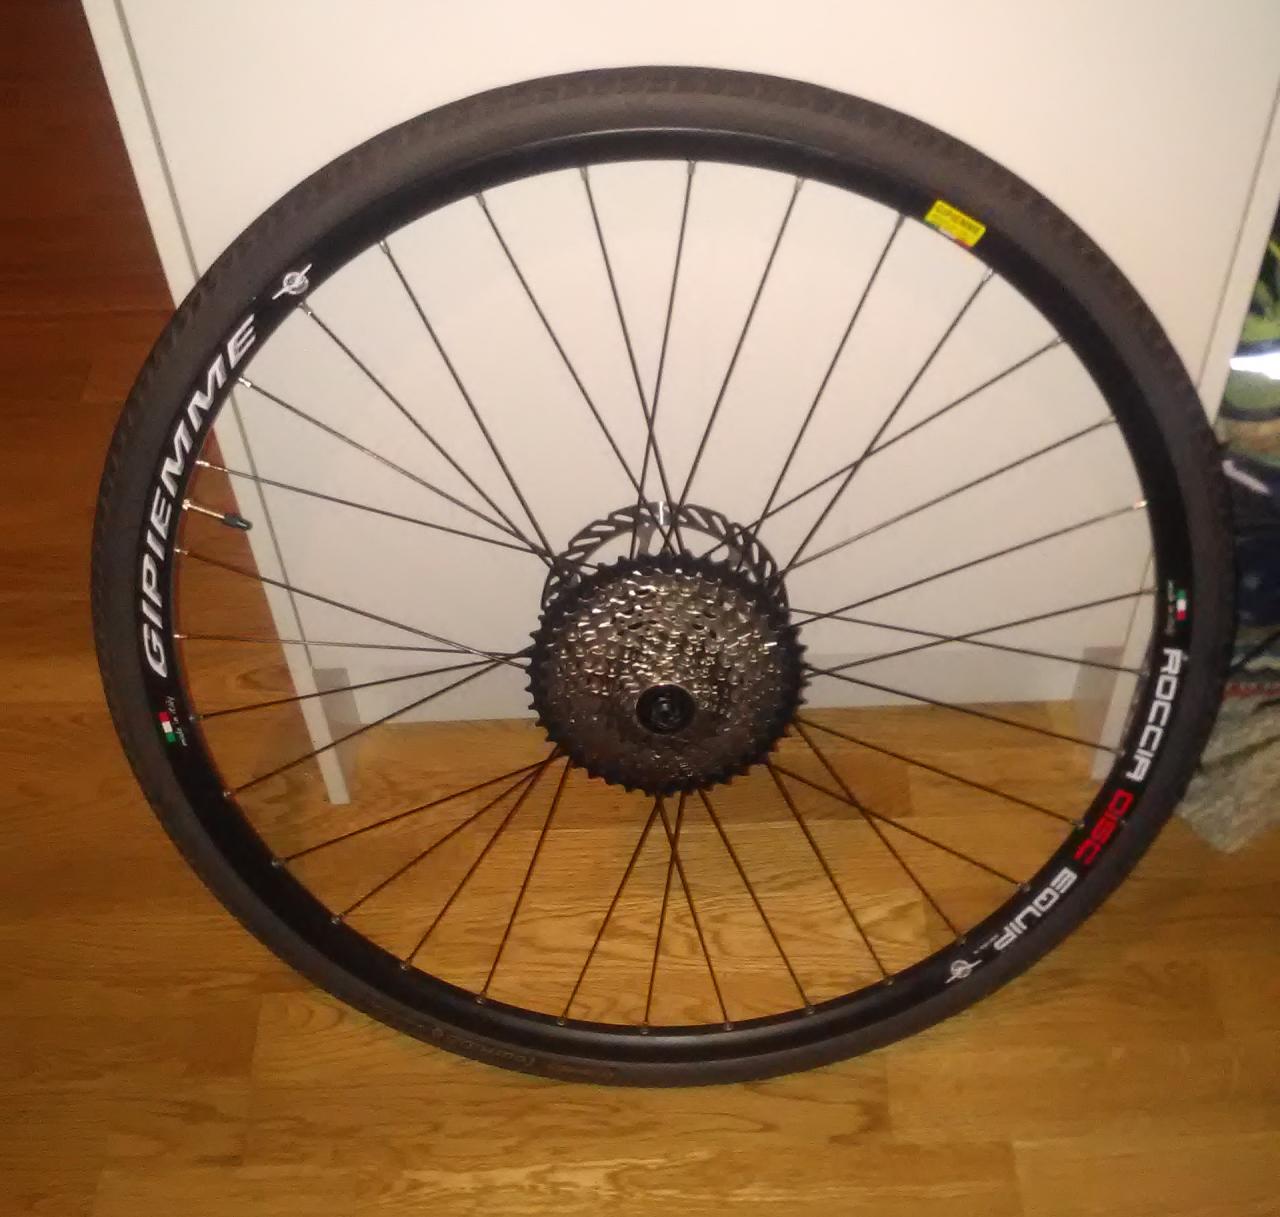
Jag still don’t know what the quality of the wheelset is, but it cost so little that I could not pass the opportunity.
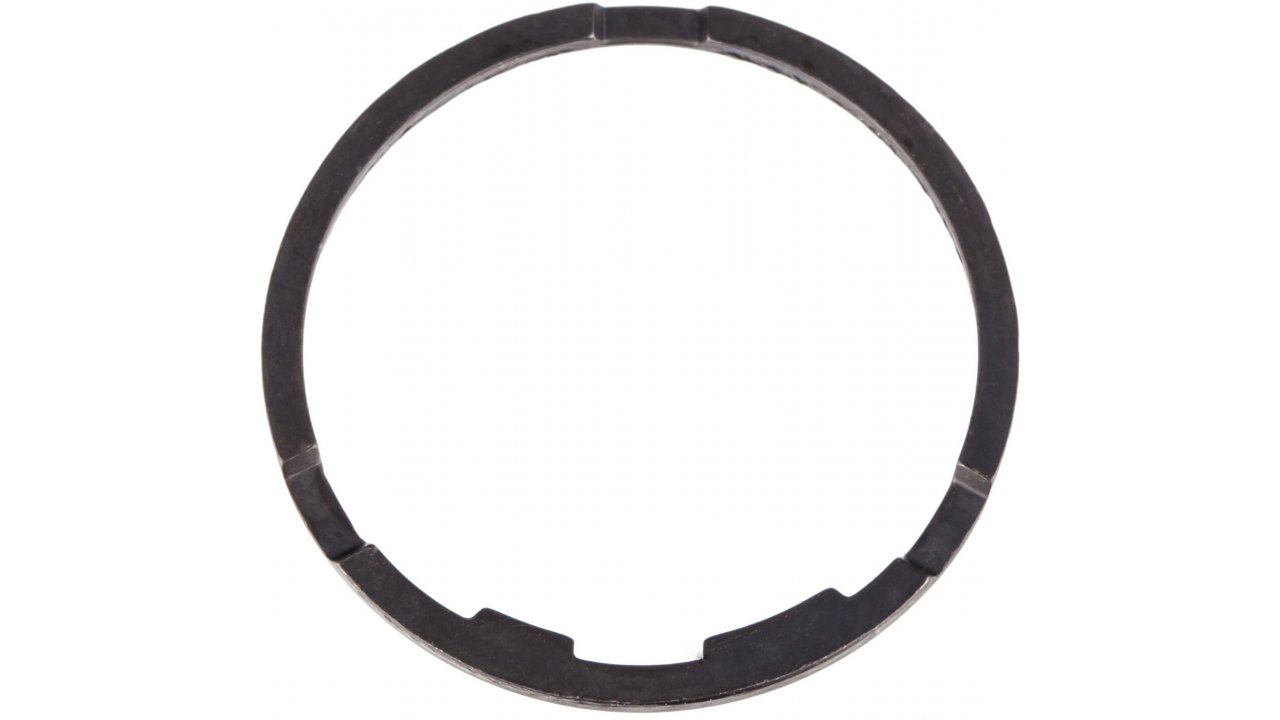
One problem with it was that the freewheel was a bit wider than needed for a 10-speed MTB cassette, as it was designed to fit 11-speed road cassettes.
A cassette spacer with 1,85 mm thick was needed to lock the cassette on the wheel.
As tires I used a bit used Continental RideTour 622-32 from the spare parts box.
Drivetrain
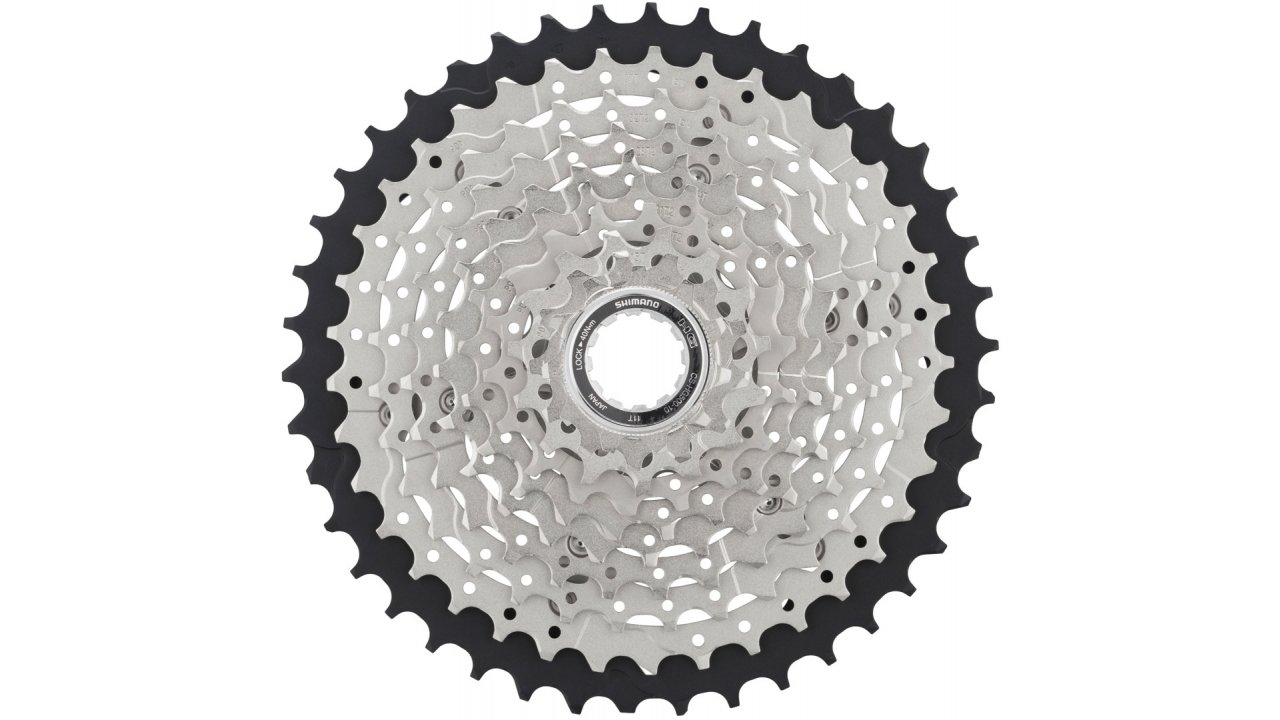
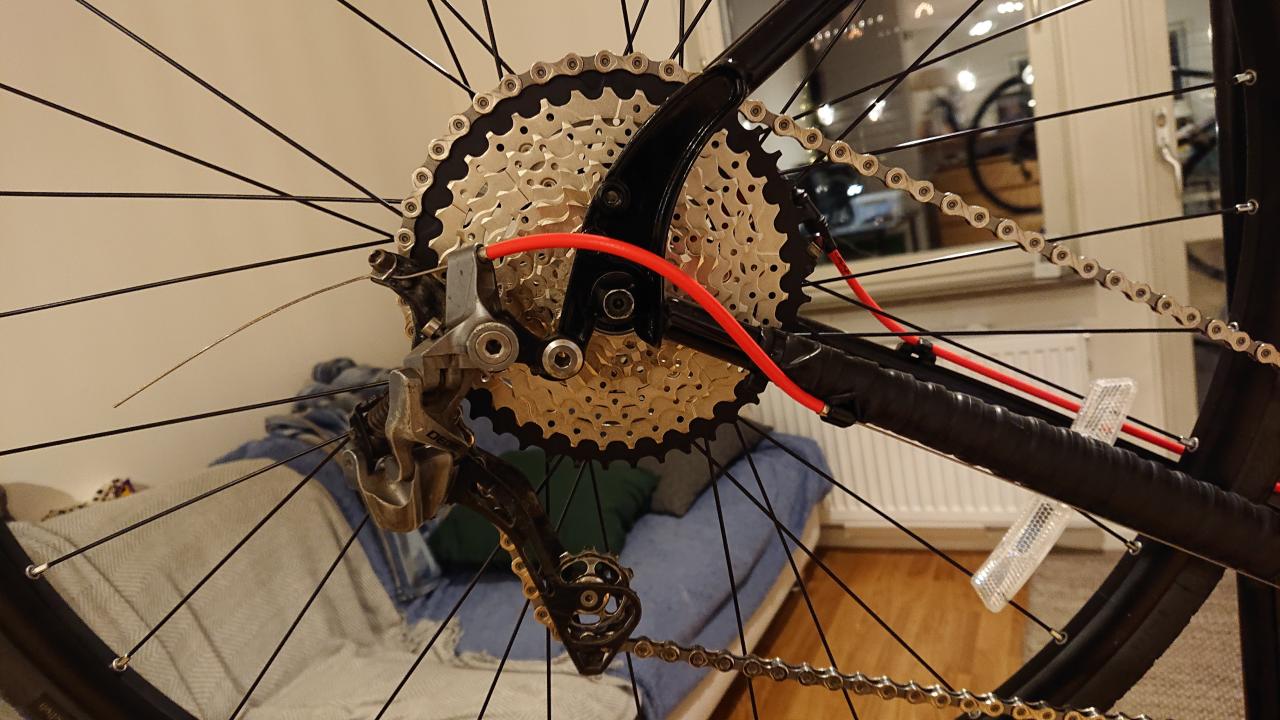
Here comes my strange choice for the drivetrain. It had to be 1×10 with a wide 11-42 cassette and a single 34 teeth chainring up front.
The cassette was all new although I bought it for another project.
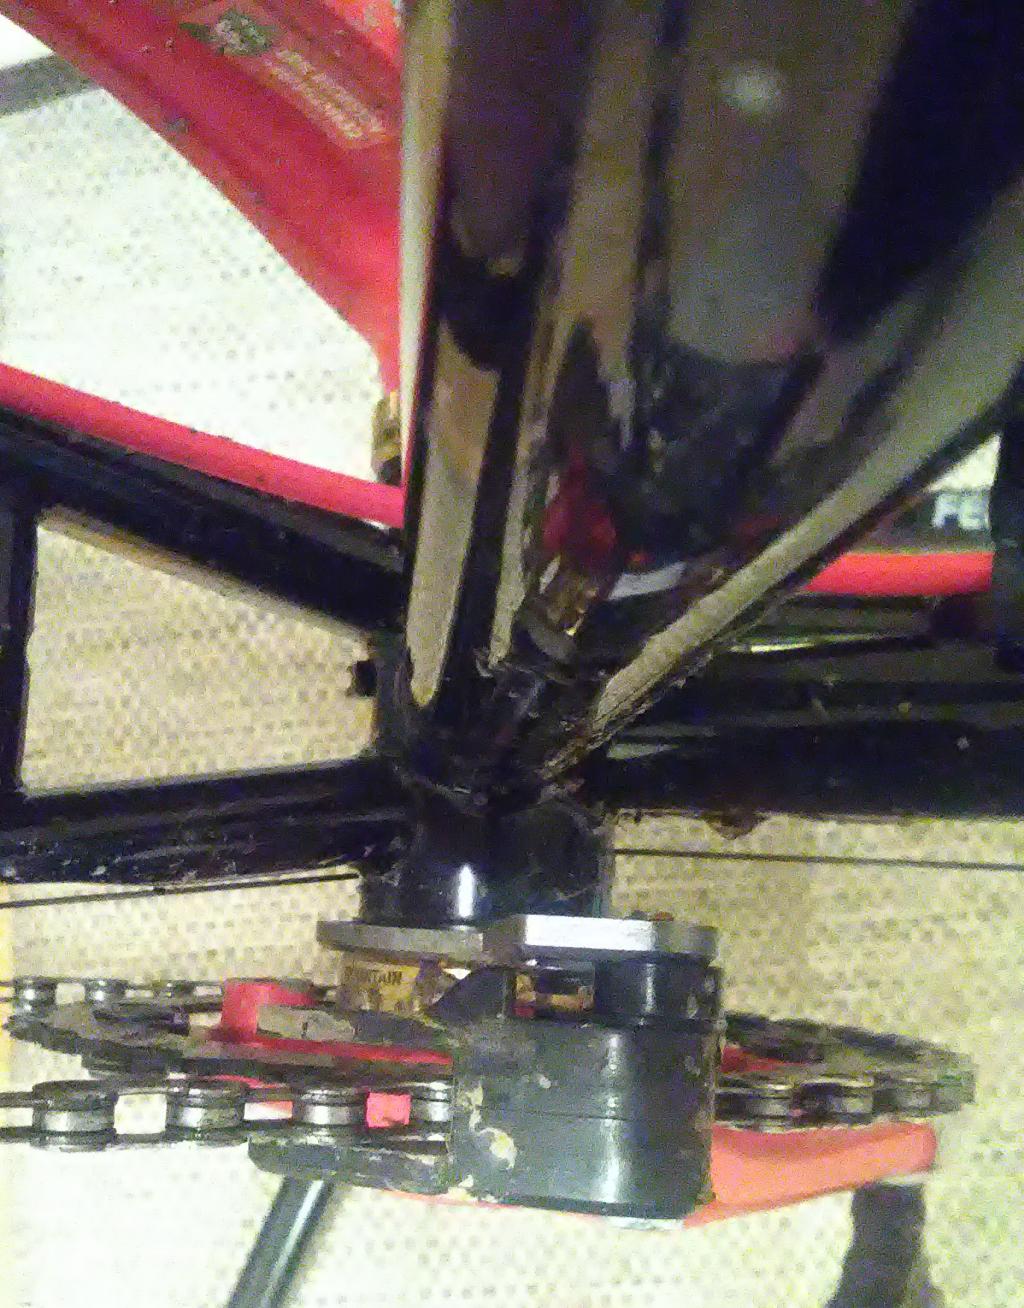
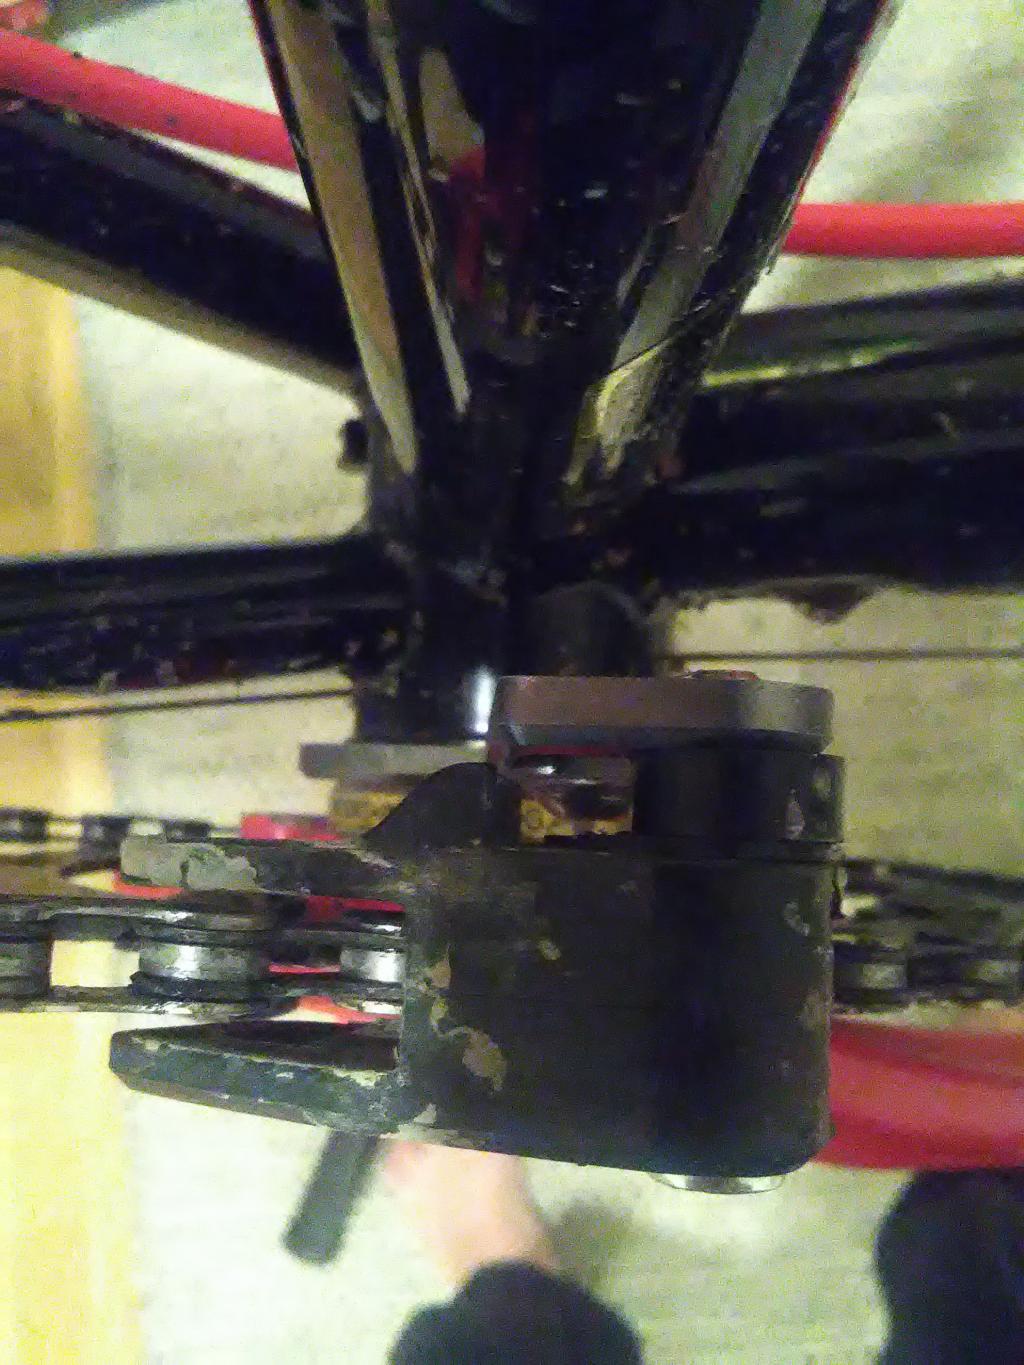
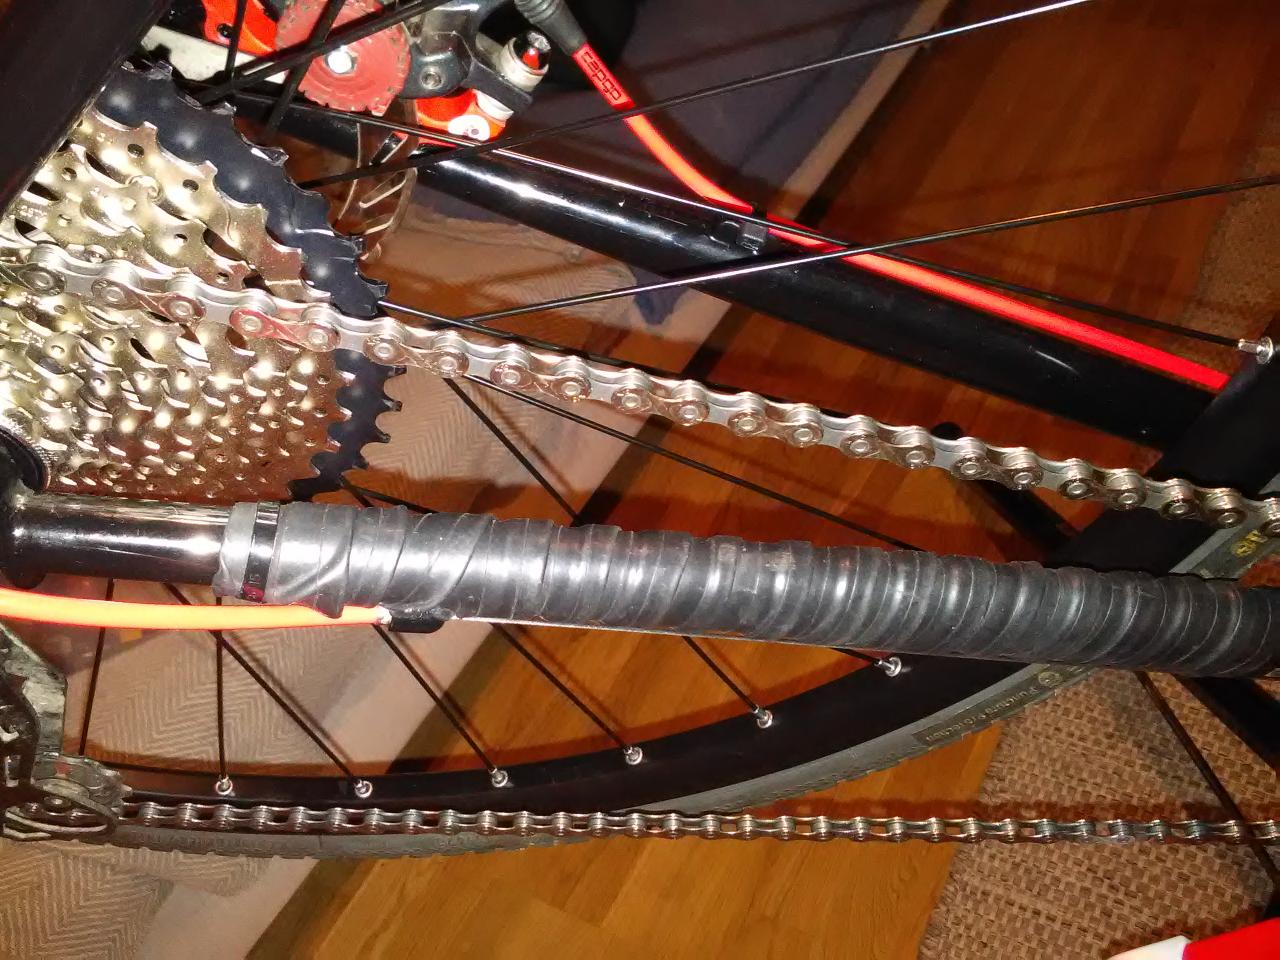
The chainring was a bit used. But it was of steel so this would not play any role. It was neither or “narrow-wide” type and therefore required a chaingiude, which in turn was taken from the spares box.
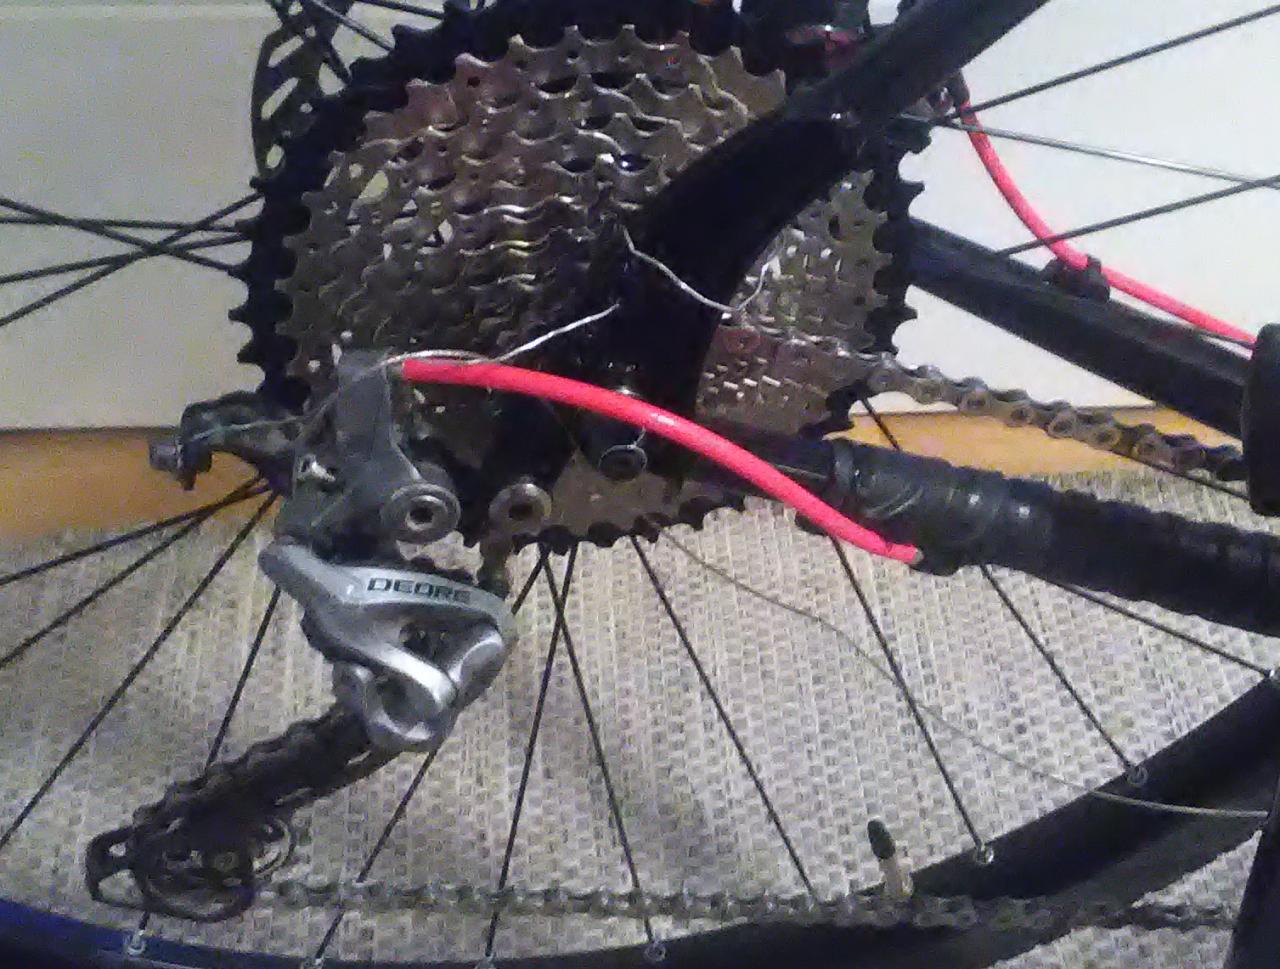
I managed to place the chainguide so close to the chain but at the same time it allowed it to move freely at both ends of the cassette:
When the chain sits on the smallest ring (11 t):
When the chain sits on the biggest ring (42 t):
The chain is a new cheap KMC X10.93.
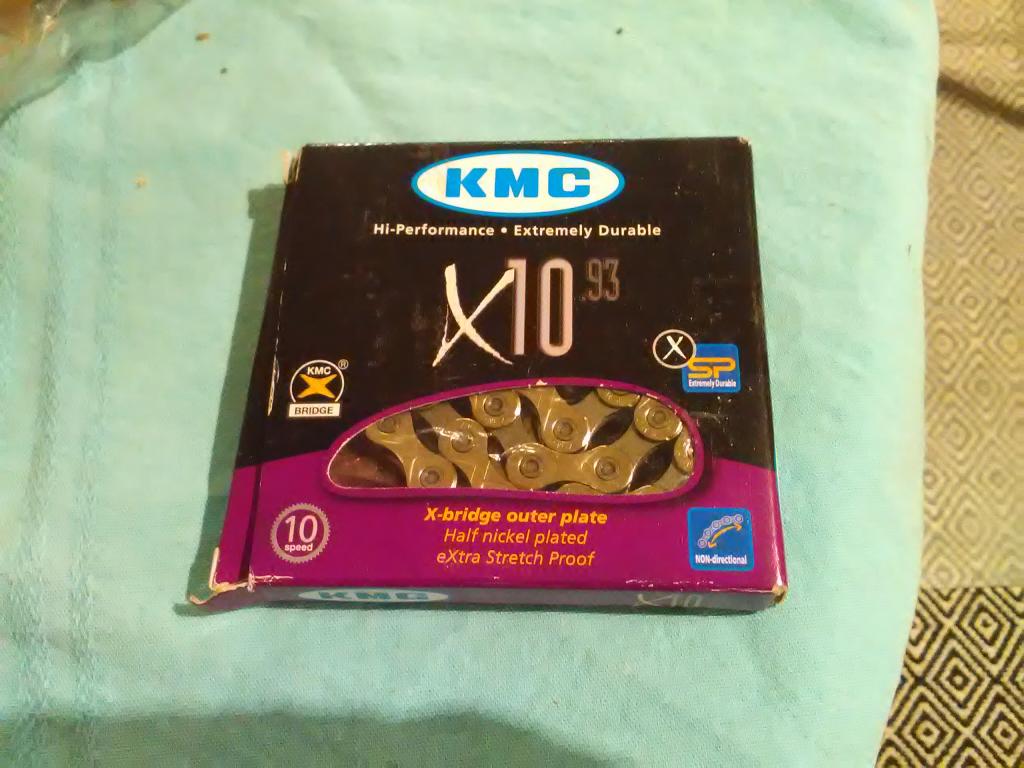
That chain had 114 half-links and it turned out to be a bit too short. It was discovered when the chain sat on the biggest ring, and and that position it stopped touching one of the pulley wheels. Two extra links added to the chain fixed the issue.
Brakes and rear derailleur
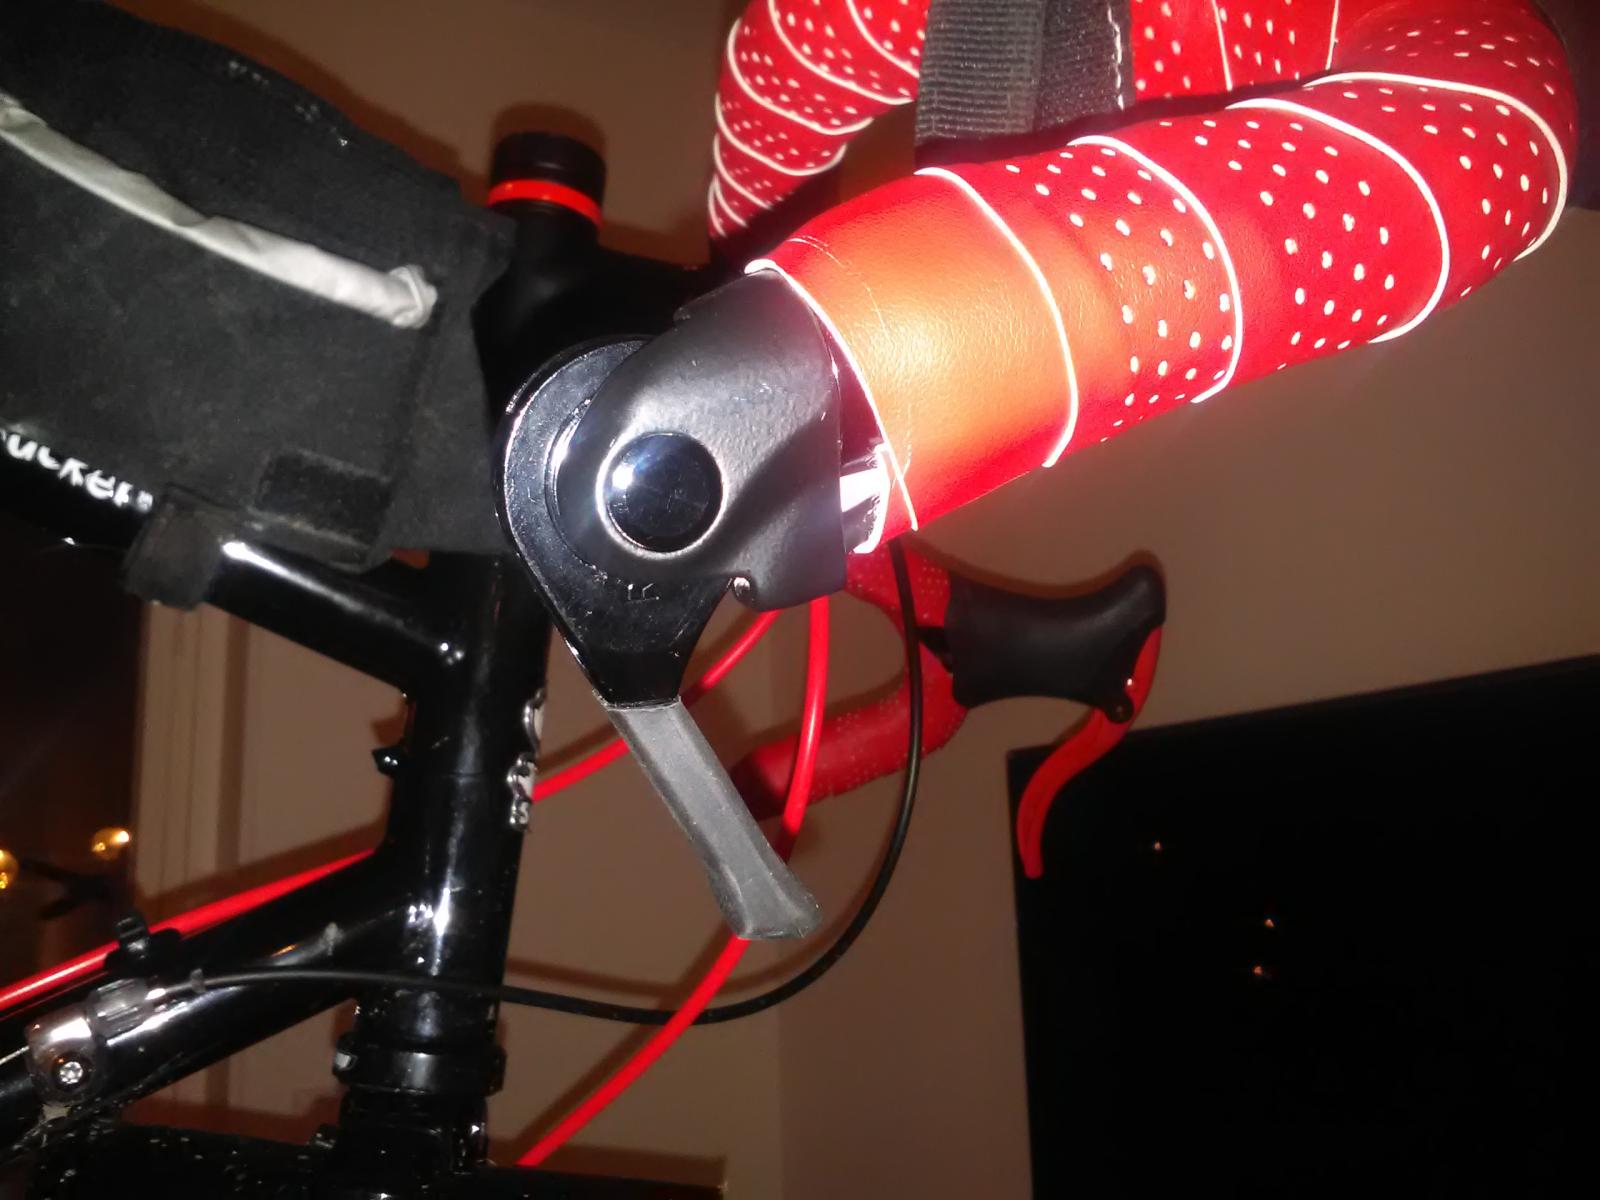
Because I had a pair of Avid BB-7 MTB mechanical brake calipers I wanted to employ them. The problem with them was that they were long-pull type, which meant that regular road bike STI-levers were not compatible because they are short-pull. I ended up with buying Tektro RL-520 that were long-pull and are very cheap.
Then I wanted to reuse my 10-speed MTB-derailleur and mount a new wide cassette. And again there was no compatible shifters that could be installed on a drop handlebar.
The only choice I had was to use a barend shifter, and Microshift happens to manufacture them. I was lucky to find a seller that offered a right shifter alone, as I did not have a fron derailleur and therefore did not need a left shifter.
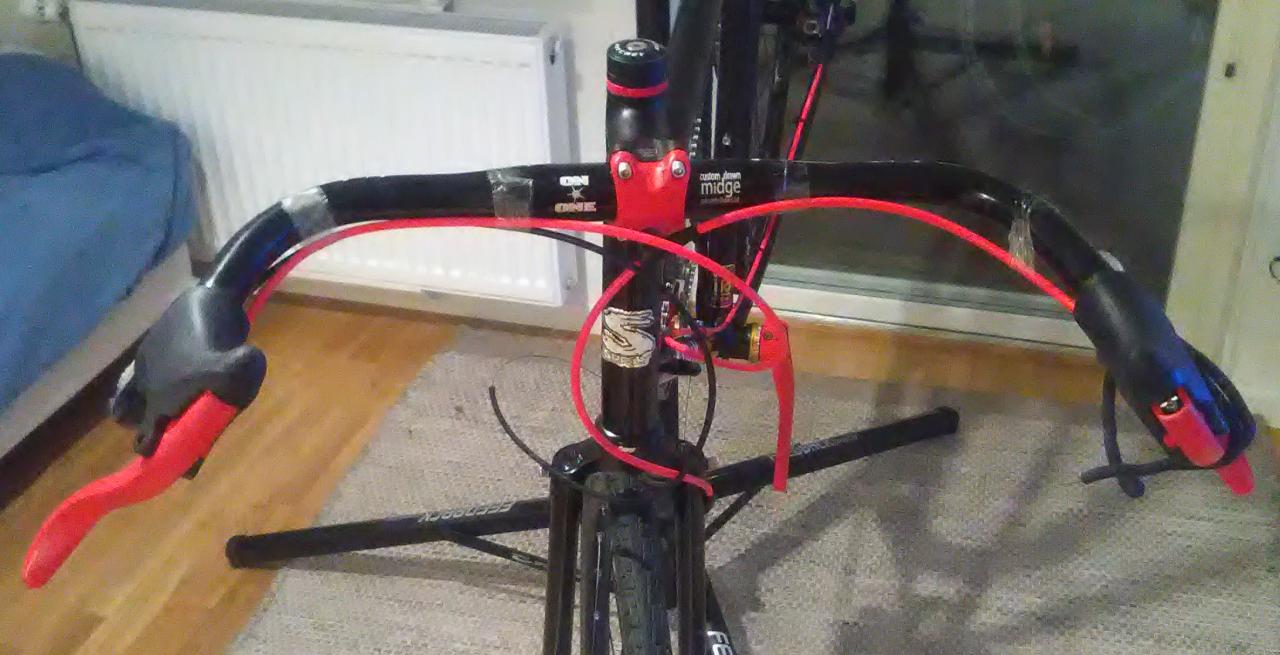
Handlebar
The handlebar is called On-One Midge and it is 55 cm wide. It is wider than typical drop bars and is UCI-illegal. But I do not plan to compete in any serious UCI-sanctioned events.
Then I realized that I did not have any red handlebar tape. One quick visit to Cykloteket fixed that — I bought one made by Fizik.
The rear shifter was inserted into the right end of the handlebar, and a regular plastic plug into the left end.
Preparation of the frameset
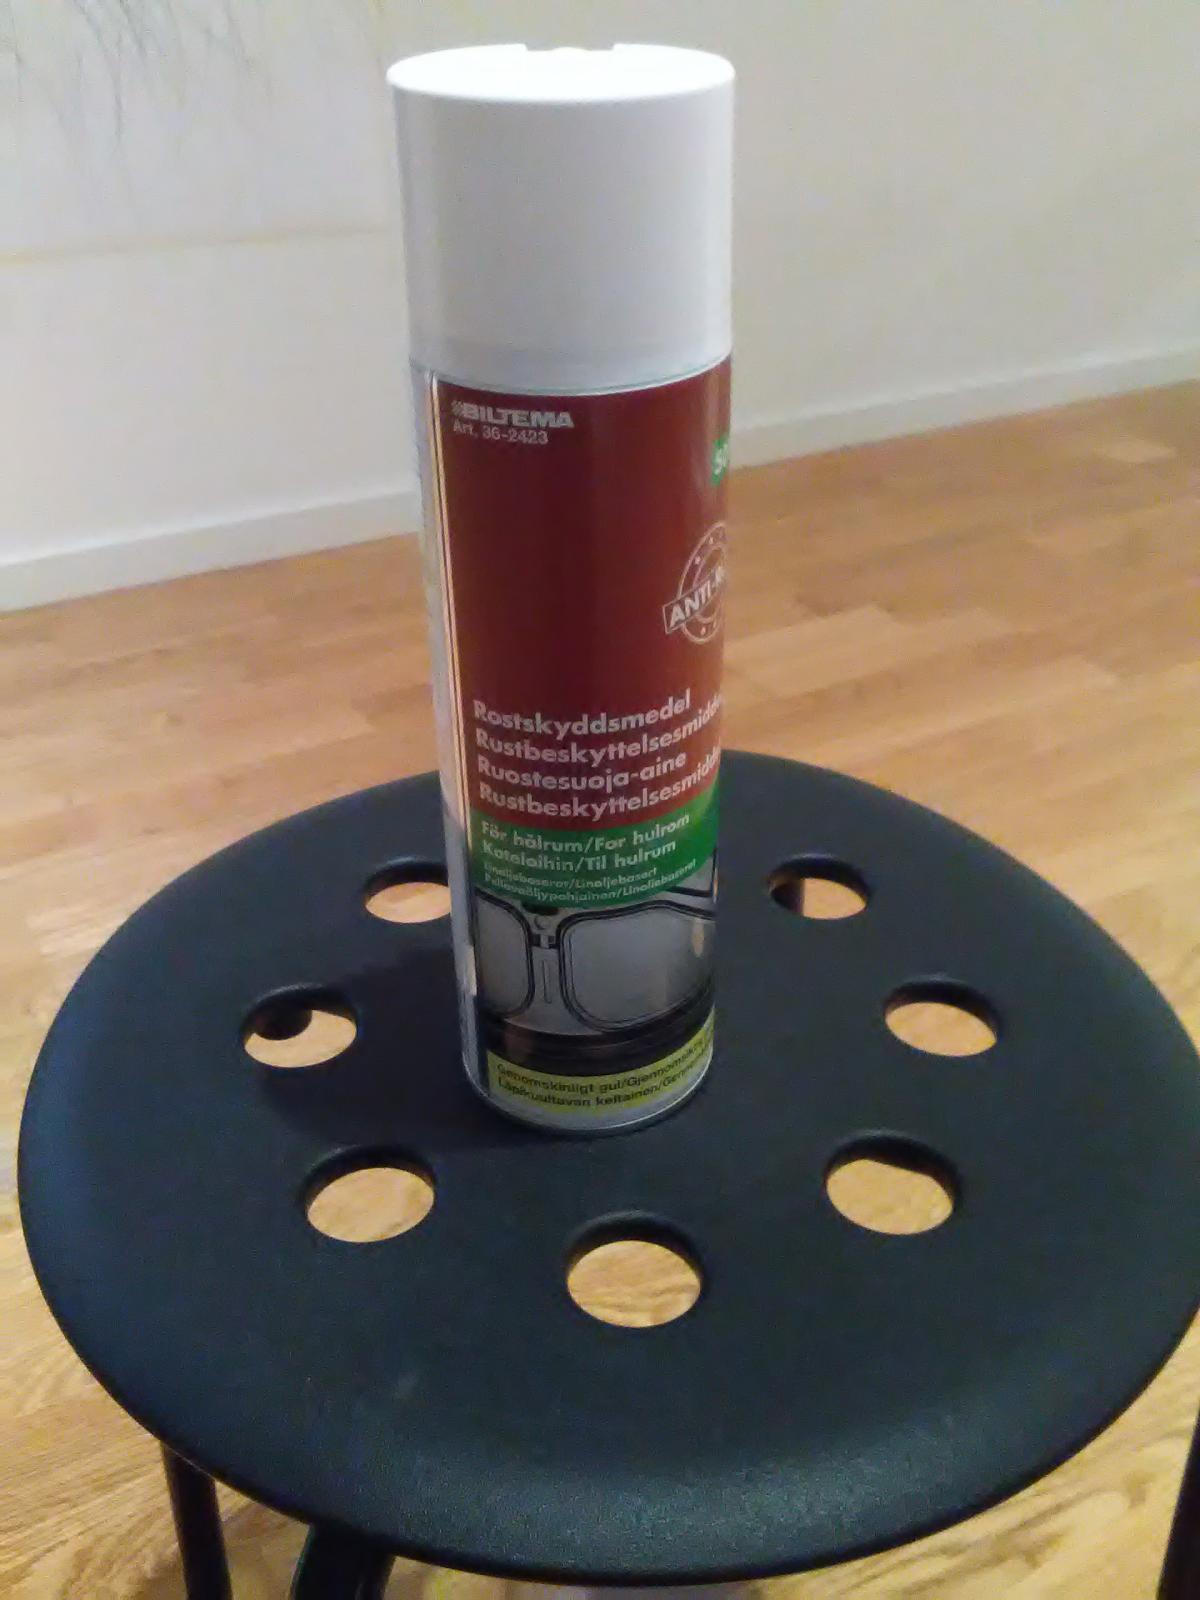
The first step before starting screwing everything together was to protect frame’s inner surfaces from rust. The process is described at Surly’s web page. They recommend cooked linseed oil-based products for that.
Such a spray I bought at Biltema:
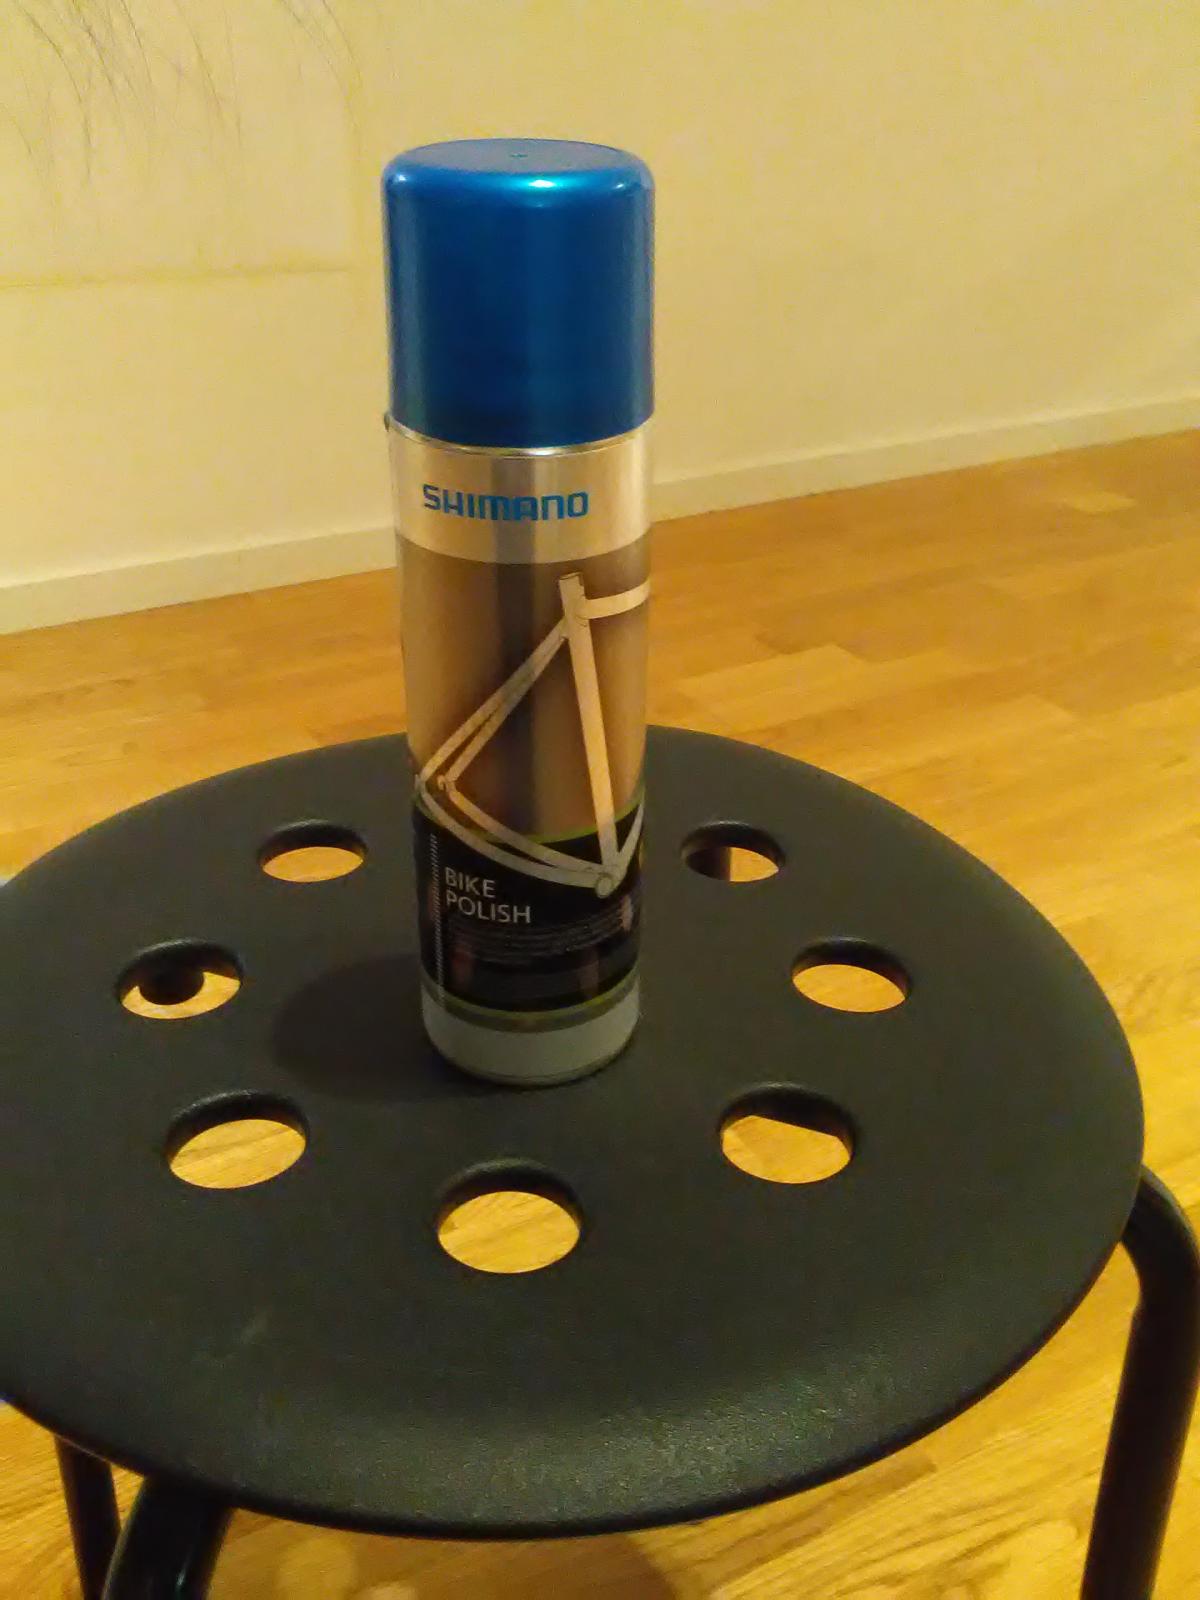
Besides that I covered the outer surfaces of the frameset with Shimano’s polish:
Different bits
Shimano’s cable stops of which only one was used on the bike:
Chain guide that was moved from Avalanche. It was mounted as a bottom bracket spacer between the right cup and the bottom braket tube. No IGS-mounts were neccessary. On the picture below you can see its copy that is still stored in the spares box.
Construction process
Finally it was time to put everything together. Pictures below illustate some of important moments of the process, when I didn’t forget to take pictures.
DIY chainstay protector made of an old tube.
För att montera styrlagers skålar lånade jag verktyget av min vän.
To press in headset cups I borrowed a tool from my friend.
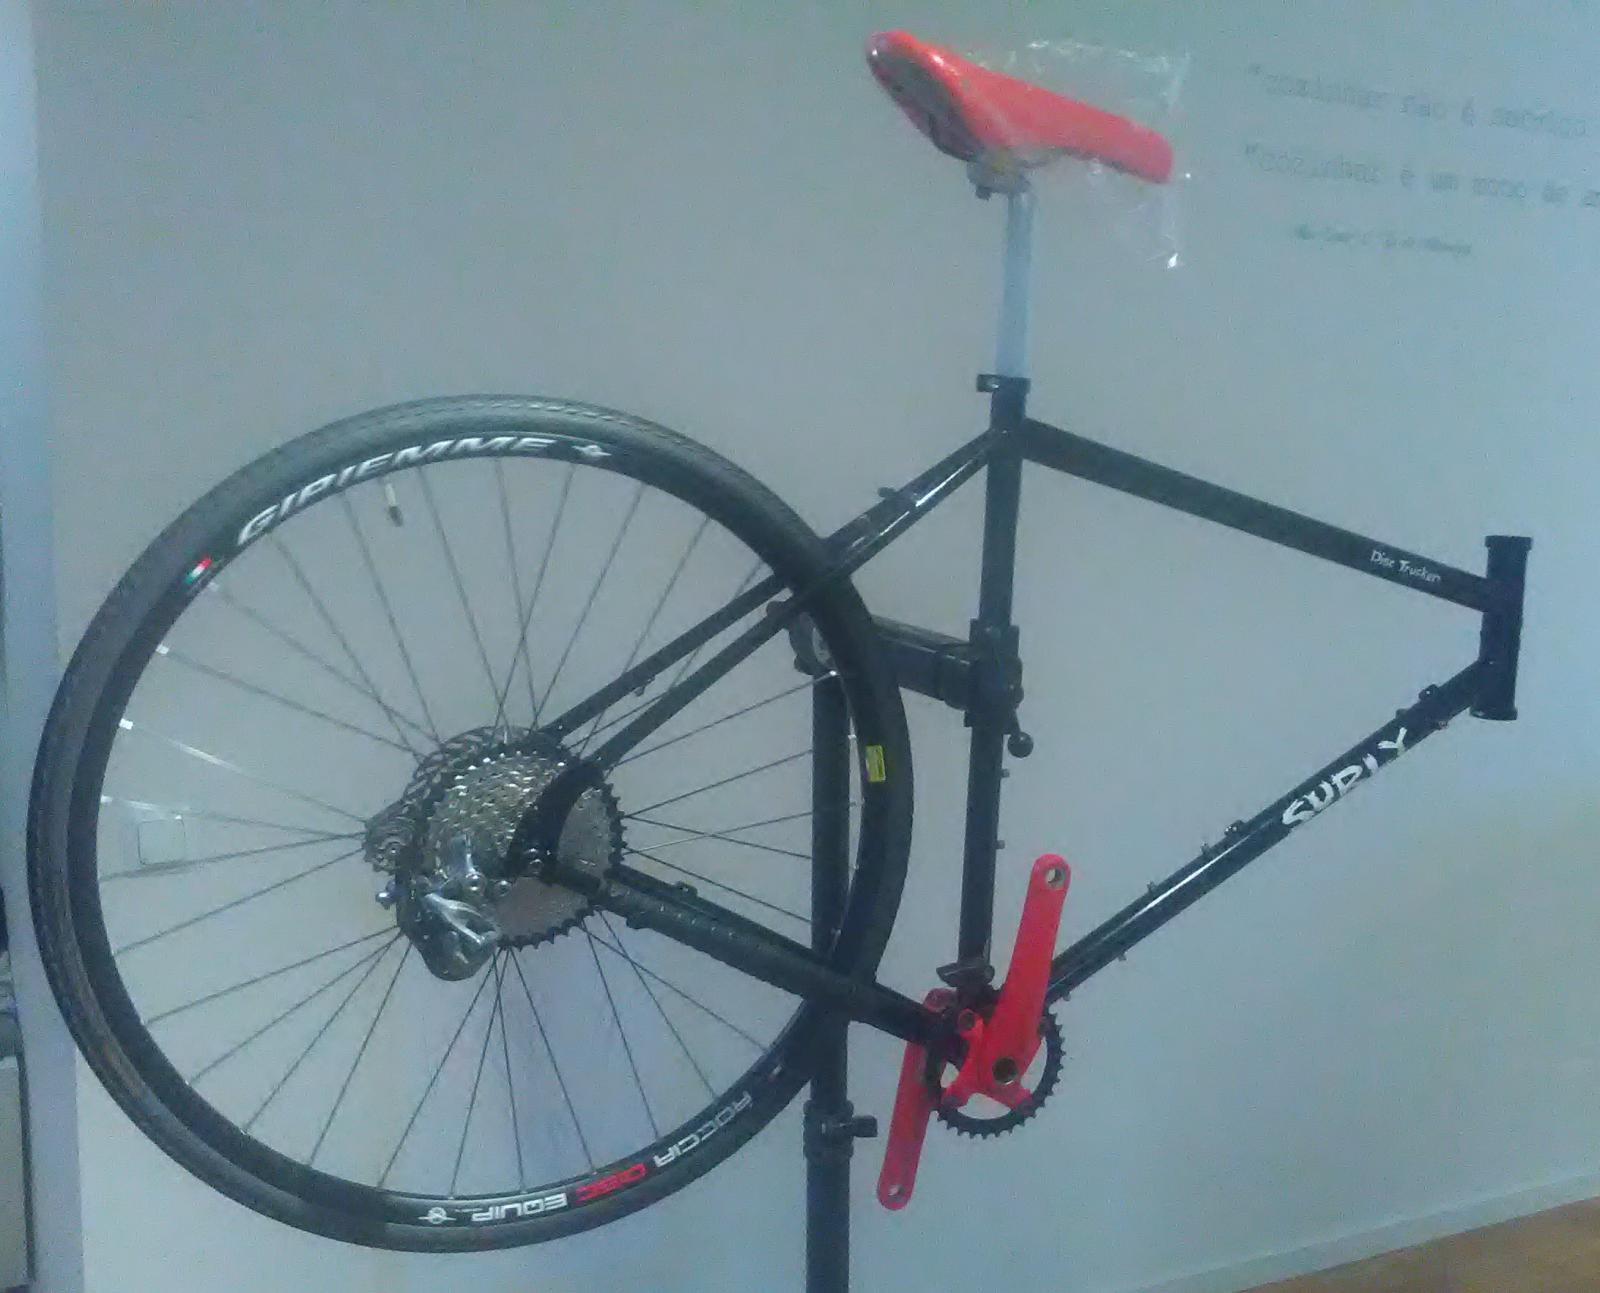
Styrlagret, bakhjulet, bakväxeln och vevpartiet sittande på ramen:
Headset, rear wheel, rear derailleur and bottom bracket are already attached:
One tool that I didn’t have was a solid tube used to press the crown race down on the fork’s crown.
I read somewhere on the net that one can try using a PVC-tubing of right diameter instead.
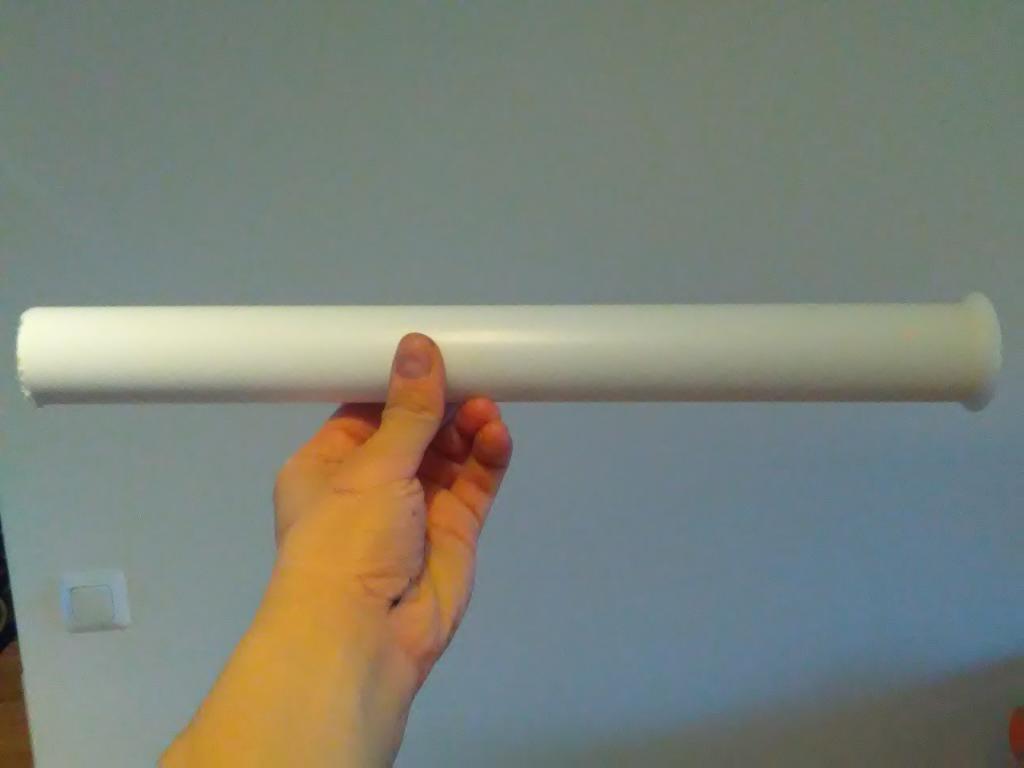
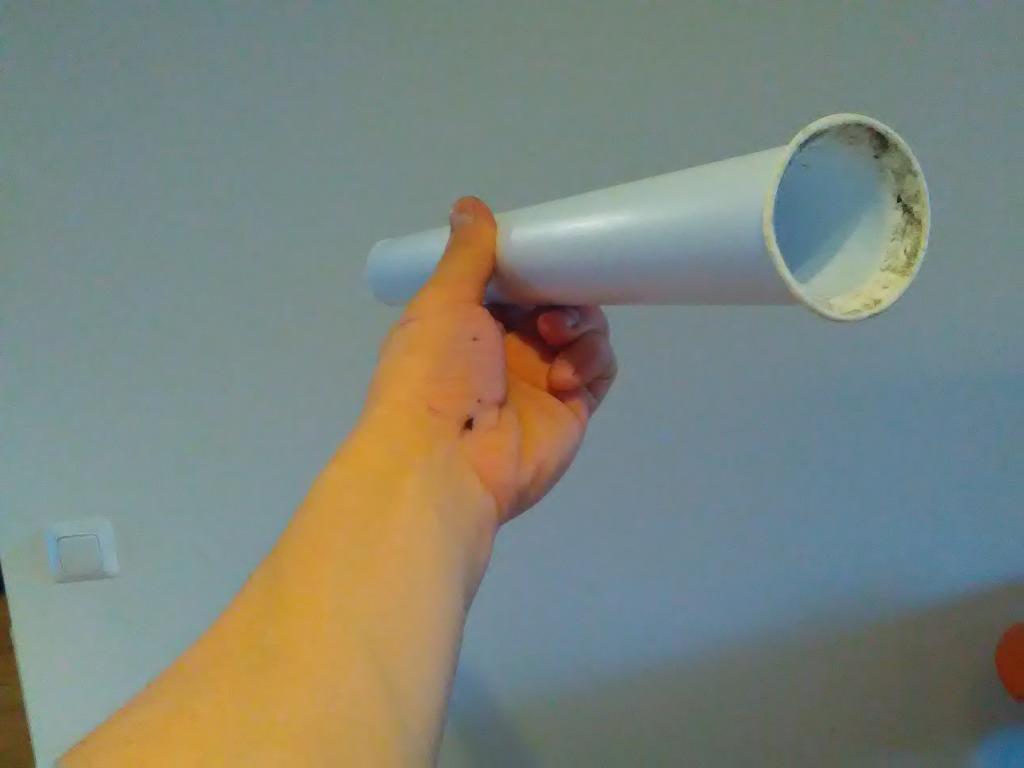
It turned out to be the toughest and most risky operation of the whole build.
The difference between crown race’s inner diameter and crowns outer diameter should be in range between 0.1mm and 0.25 mm.
If the difference too small then the race would sit too loose. If it is too big then there is a risk that the crown race would crack.
The same rules apply to the headset cups (inner diameter) and the head tube’s inner diameter.
Below is a paper sheet with my measurements done with digital calipers:
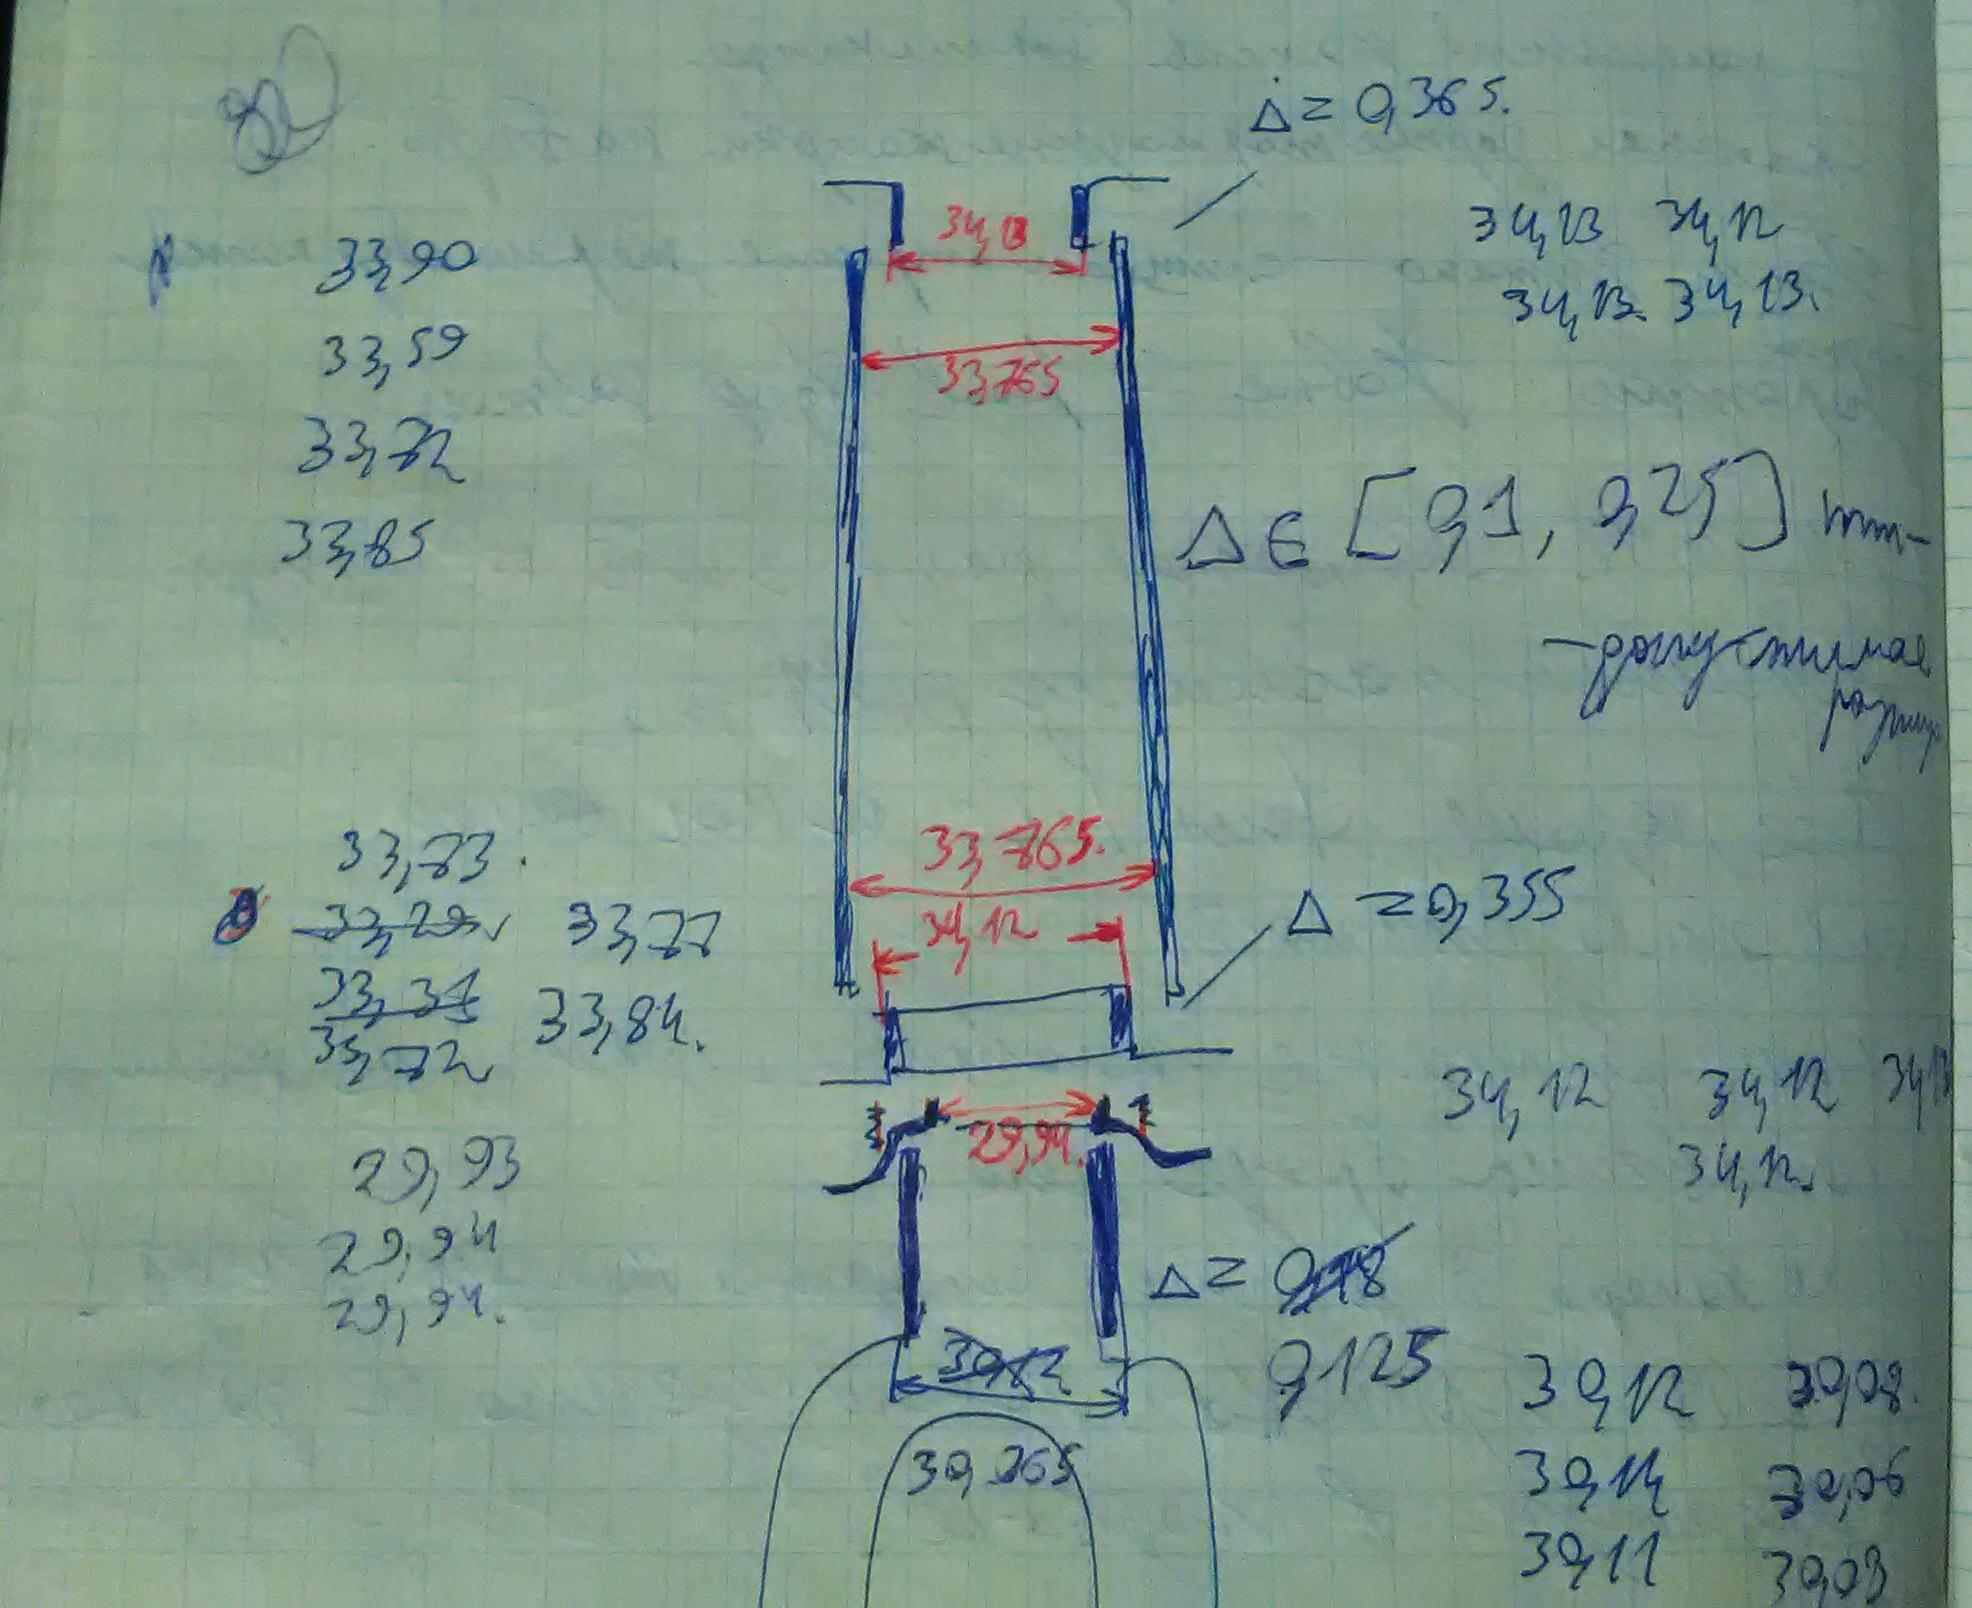
For upper and lower cups the difference was bigger than recommended: Δ = 0.365 mm and Δ = 0.355 mm. For crown race/fork’s crown it was Δ = 0.18 mm.
Possibly the reasone for that was that both the fork and the frame are painted during manufacturing process. A thin layer of paint adds a few decimals of a millimeter to their diameters.
I had no special tools used to precisely adjust the diameter of tubes. Therefore I slowly filed the surfaces with a regular round file and measured new diameters after each pass until the difference was within acceptable range.
Despite my efforts and preparations it was almost impossible to seat the crown race on the fork’s crown. The stubborn ring would not slide down evenly. And the PVC-tube began to expand at the end that touched the ring. I wasted several hours and endless number of attempts until I succeeded.
It was much easier to press in the cups into the headtube because I had a proper tool for that.
The fork’s steering tube just before shortening with all spacers in place:
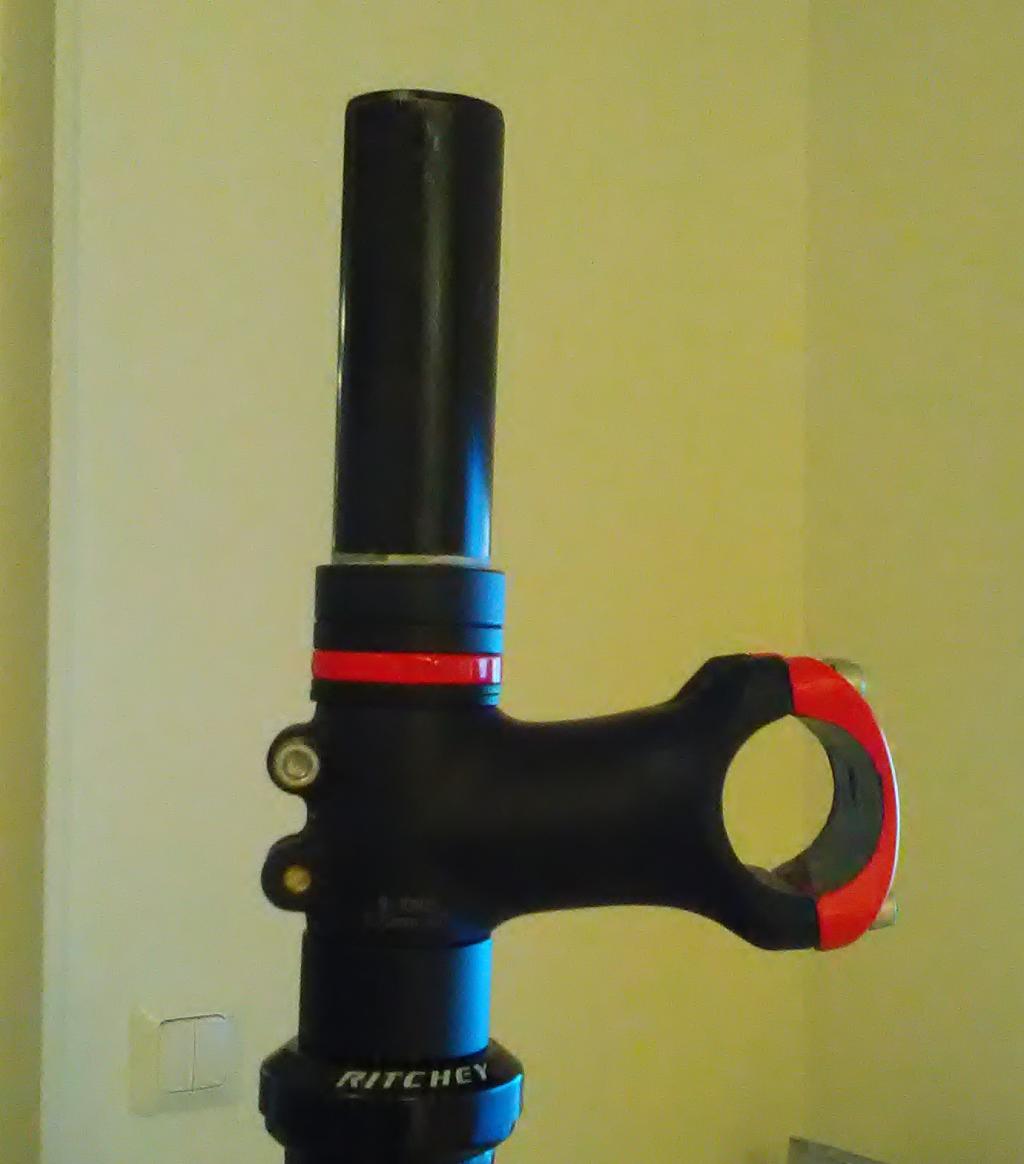
At the picture one can also see a mark where a cut would be done. In reality, the cut would lie about 3 mm lower than that.
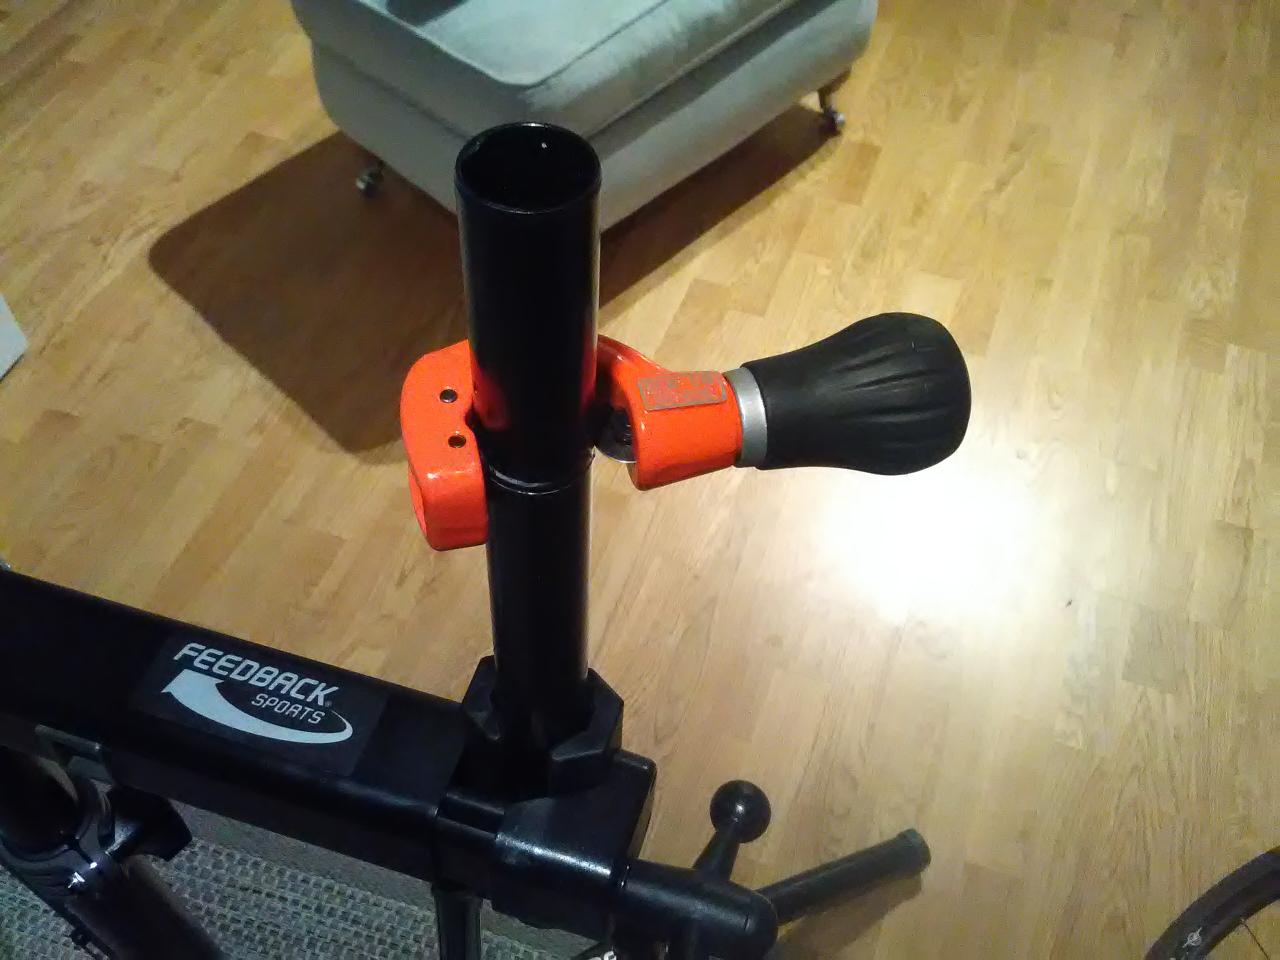
Just about to start cutting with the pipe cutter:
Alla pieces placed on the handlebar:
I considered for a moment to mount the shifter on the down tube instead of the cable stop. But then I discovered that in that position the shifter would interfere with the fork’s crown when it is turned:
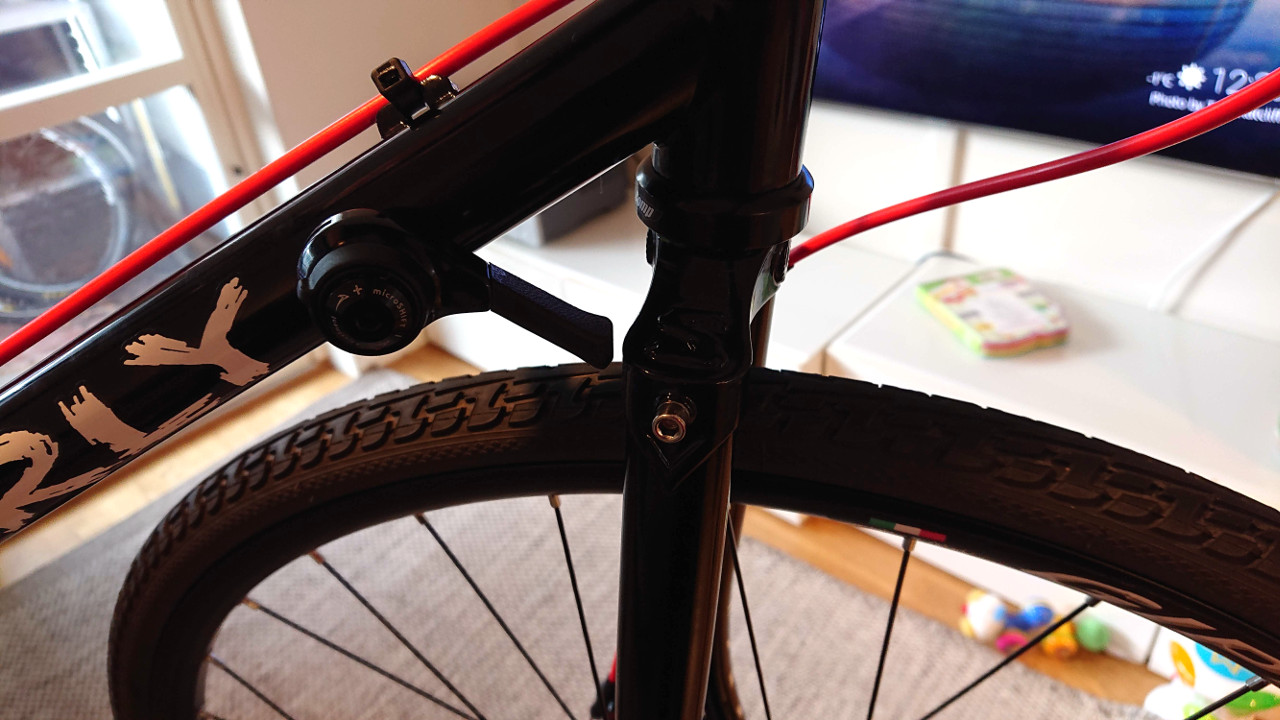
Shimano Deore derailleur with a longer B-screw (M4×25). I checked manually that the derailleur cage clears all the cogs. It did that with a chain that had 116 halv-links.
I used a short piece of the brake housing between the derailleur and a cable stop on the chainstay. While brake housing compresses when bent and that affects shifting negatively, in this case no movement happens. At the handlebar where the housing does bend I used a piece of regular compressionless shifting housing.
Here sits the barend shifter in the handlebar’s end:
And now almost all parts are in place on the frame:
Costs
Here is a link to a spreadsheet with all variants of components that I considered.
I believe that the project fitted the budget. But be aware that different consumables such as grease, rust protector etc. were not included into the cost calculation.