Santa Cruz Hightower build
Discussion around the build: Happyride forum.
It was time to get me another bike.
Goals
- Frame geometry roughly mathcing my existing hardtail. That is not too long, not too slack.
- Gaffelns slag mellan 130 mm och 150 mm. Bakdämparens slag mellan 120 och 150 mm.
- Not a pre-built bicycle, but a naked frame (possibly with a shock). I wanted to install specific components on the bicycle and did not want to waste money and time at taking apart a working bike.
Components choice
Frame
I had a list of requirements for the frame I wanted.
- Full suspension. I already have a hardtail and plan to keep it in the future. Making one more hardtail would be redundant.
- Steel. All my existing bikes are made of steel, and I wanted to keep it so.
- Singlepivot. I want to service my bikes myself. Having minimum number of bearings to change is important to me. I wanted to sacrifice a bit of backend performance of a simpler frame design that uses fewer components.
- Cheap. Obviously! but most obviously unattainable…
- External cable routing. As a home mechanic, I prefer to have easy access to all cables and hoses.
It turned out that I would violate all these requirements except the first one. The frame material became aluminum, double linkage replaced the dreams of single pivot, there was little chance of getting something cheap, and I struggled with internal routing.
Why steel and single pivot did not happen
Originally I wanted to choose a frame from one of the following steel manufacturers: Starling, [Cotic] (https://www.cotic.co.uk/product/jeht), Pipedream. Orange also sells single pivot frames, but in aluminum.
All of the above manufacturers are located in the UK. The country that so eagerly wanted to leave the EU’s trade area. Together with the global shortage of bicycles, this creates uncertainties.
- Brexit raises prices on everything sold from the UK. Goodbye nice things from PlanetX, CRC etc.
- Perhaps more importantly, it creates delays in deliveries with customs processing goods.
I can bear to wait for a smaller spare part to slowly travel the world. In the past, I used to order some unusual bicycle stuff from American Ebay and then wait for several weeks until things crossed the ocean. But I did not want to risk the frame.
My main choice for the frame, Starling Swoop, did not realize itself because:
- The lead time after ordering and pre-payment was 12 weeks. If I ordered it in September, the frame would come to me this Christmas (probably later).
- Starling did not have any suitable rear shocks for sale (expensive gucci EXT Storia did not count). It was only possible to buy a “naked” frame. I had an email exchange with Starling’s owner, in which he did not confirm that my possible choice for rear shock (Manitou Mara) would match the frame. Nor could Manitou’s customer service respond to my inquiries satisfactorily.
I also thought about:
- RAAW Jibb (Germany). It was more expensive than I wanted.
- Ferrum LV145 is a single pivot in steel. However, the shop is in the USA, which also creates risks with delivery times, customs fees and possible warranty matters.
- Nicolai… too damn expensive.
Why Santa Cruz Hightower
So, it was Santa Cruz Hightower 29 aluminum.
A few reasons.
- The frame was available right now. Its price was within the price range I had set for e.g. Starling.
- Frame size M had approximately same dimensions as my hardtail had.
- Rear travel 145 mm and fork travel 150 mm were within my limits.
- Lifetime guarantee for the frame and free frame bearings for life. I read that their bearings are well protected against dirt.
- Internal cable routing was reported to be well thought and easy to perform on this frame. It turned out to not be true as we will see.
Fork
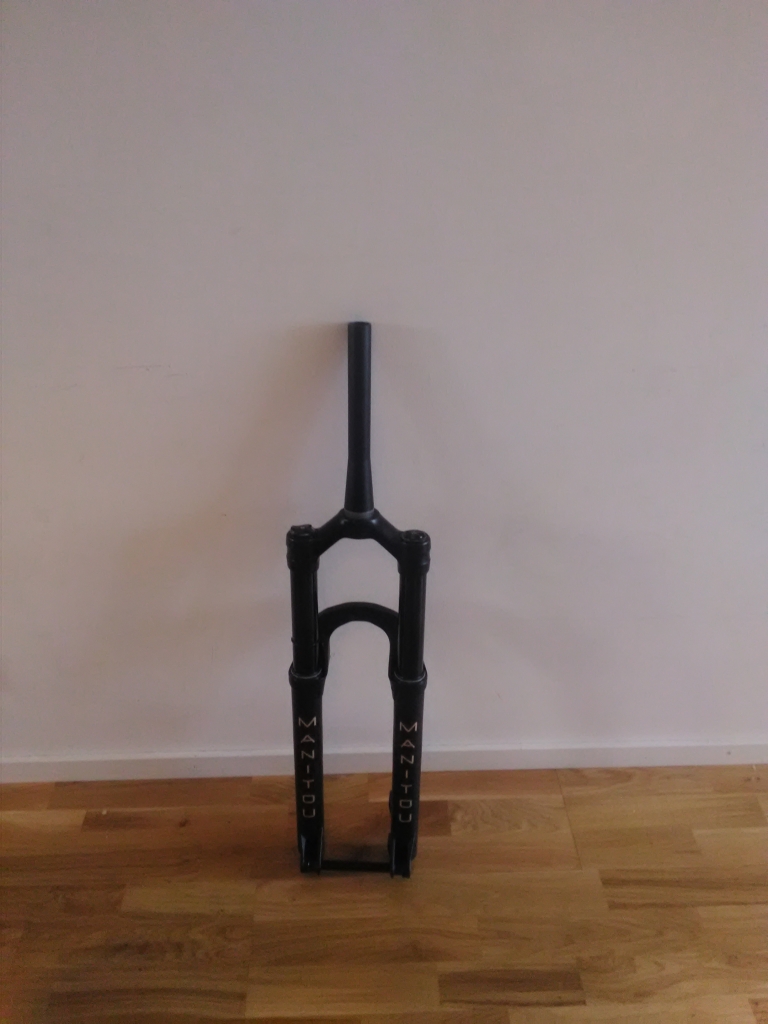
I like Manitou stuff because they are easy to disassemble and rebuild at home. So I got a Manitou Mezzer Expert.
Mezzer is perhaps overbuilt for my needs with its 37 mm large stanchions. But I could not find a Mattoc (with 34 mm legs) that had 150 mm stroke and would fit 29” wheels. I suspect that such a model does not exist in reality. Mattoc 29” can be had only up to 140 mm.
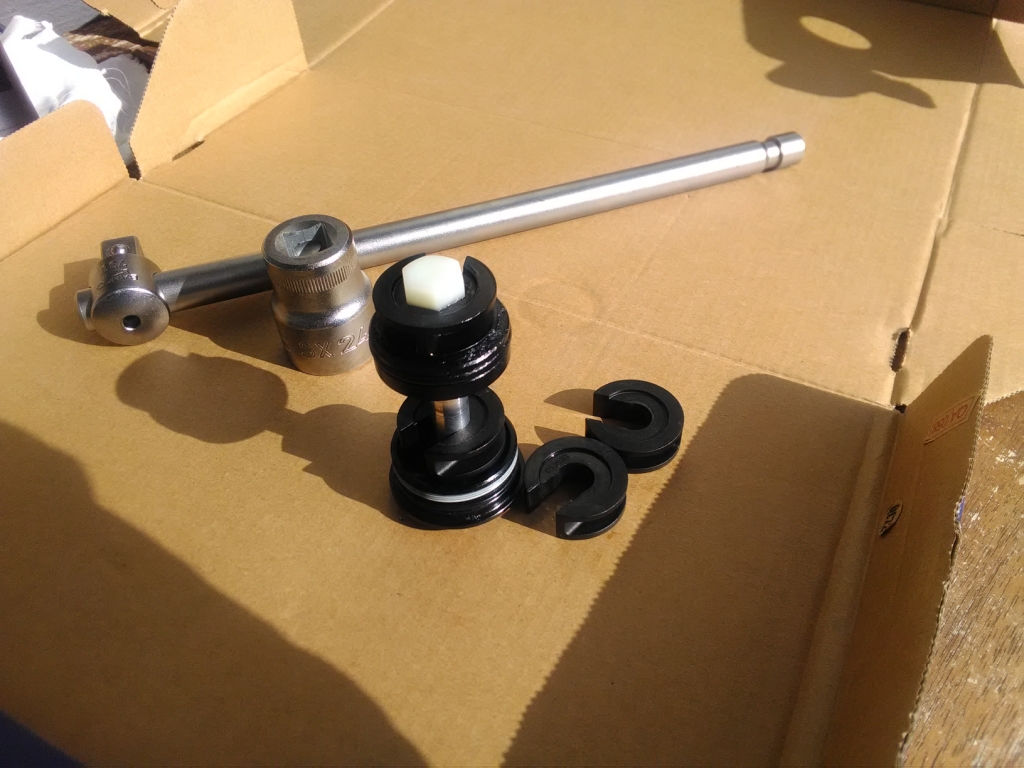
Mezzer comes with a 180 mm stroke, but it can be lowered to 140 mm. I needed to shorten it to 150 mm, which I did.
First, change the configuration in the IVA unit by moving two black pucks:
Then add 3 pucks into the air spring. A few pictures of the fork during the rebuild.
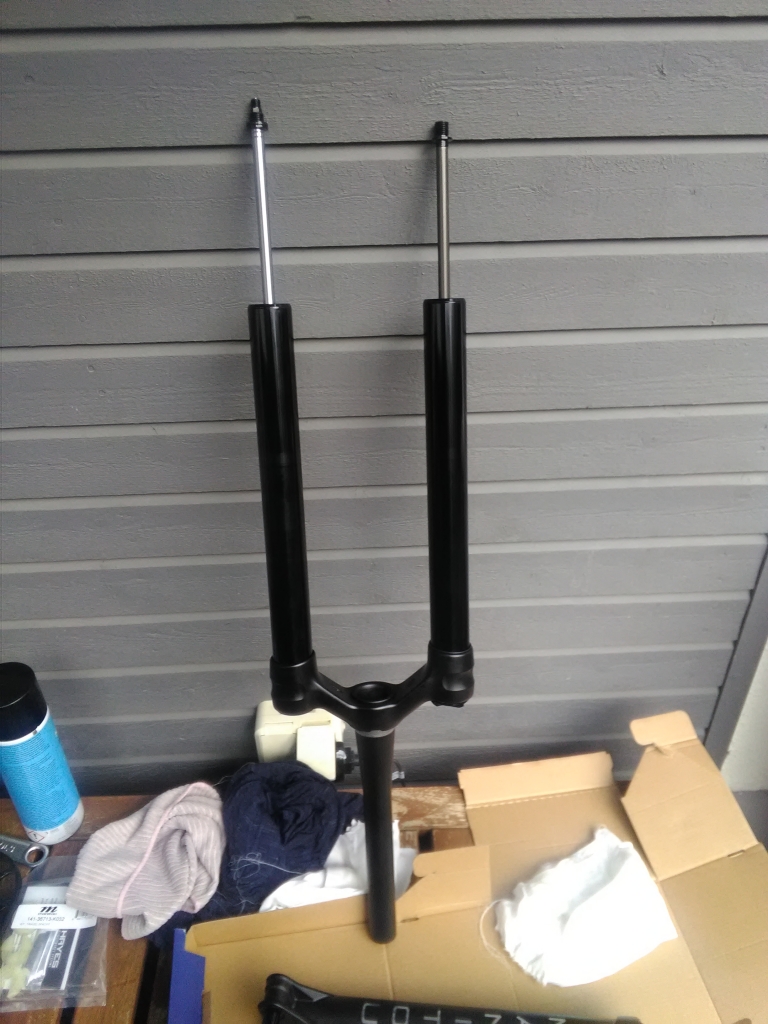

Below the fork is shortened to 150 mm stroke.
Mezzer came with a front fender and a cable guide which are attached with small screws.
![Mudguard] [{static}/images/scht/05-stankskarm.jpg)
A screw for the cable guide came with a faulty head. The hole for a hex key was missing:
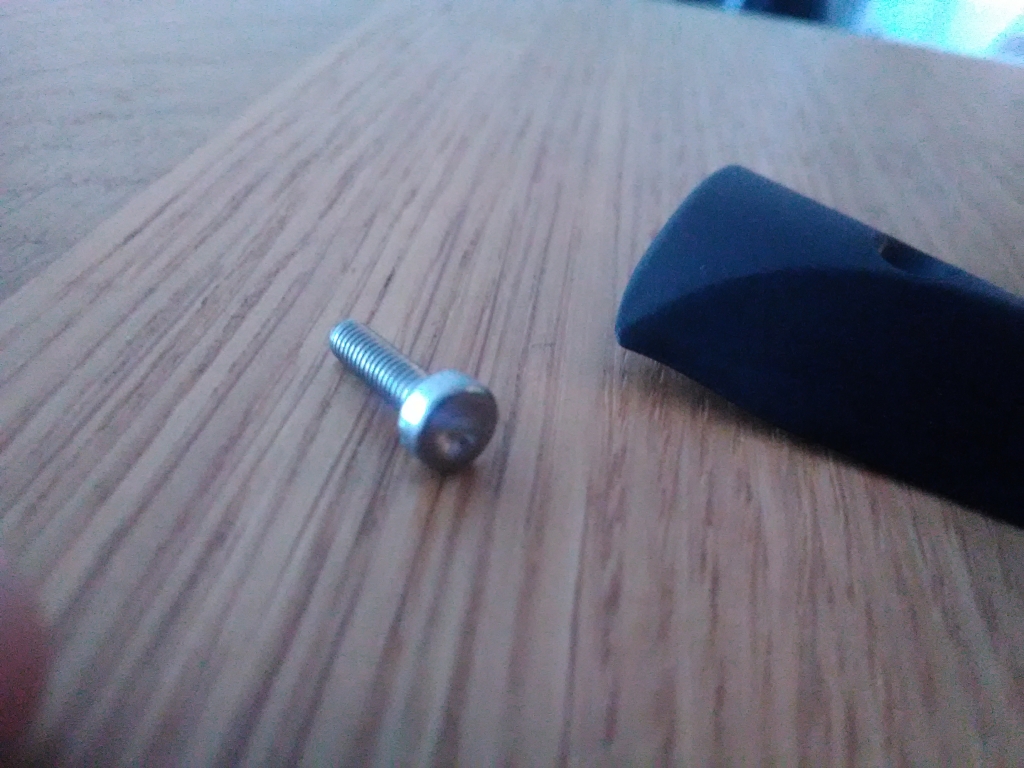
Luckily, a pedal pin from my spare part box had the appropriate size and thread pitch. So it was possible to attach the guide.
Rear shock
To complete this fork, a Manitou Mara or Mara Pro damper would have been perfect.
But the ordered frame took the damper choice out of the equation. So it became RockShox Super Deluxe Select+ . What a stupid naming nomenclature. Neither word means anything specific. Anyway…
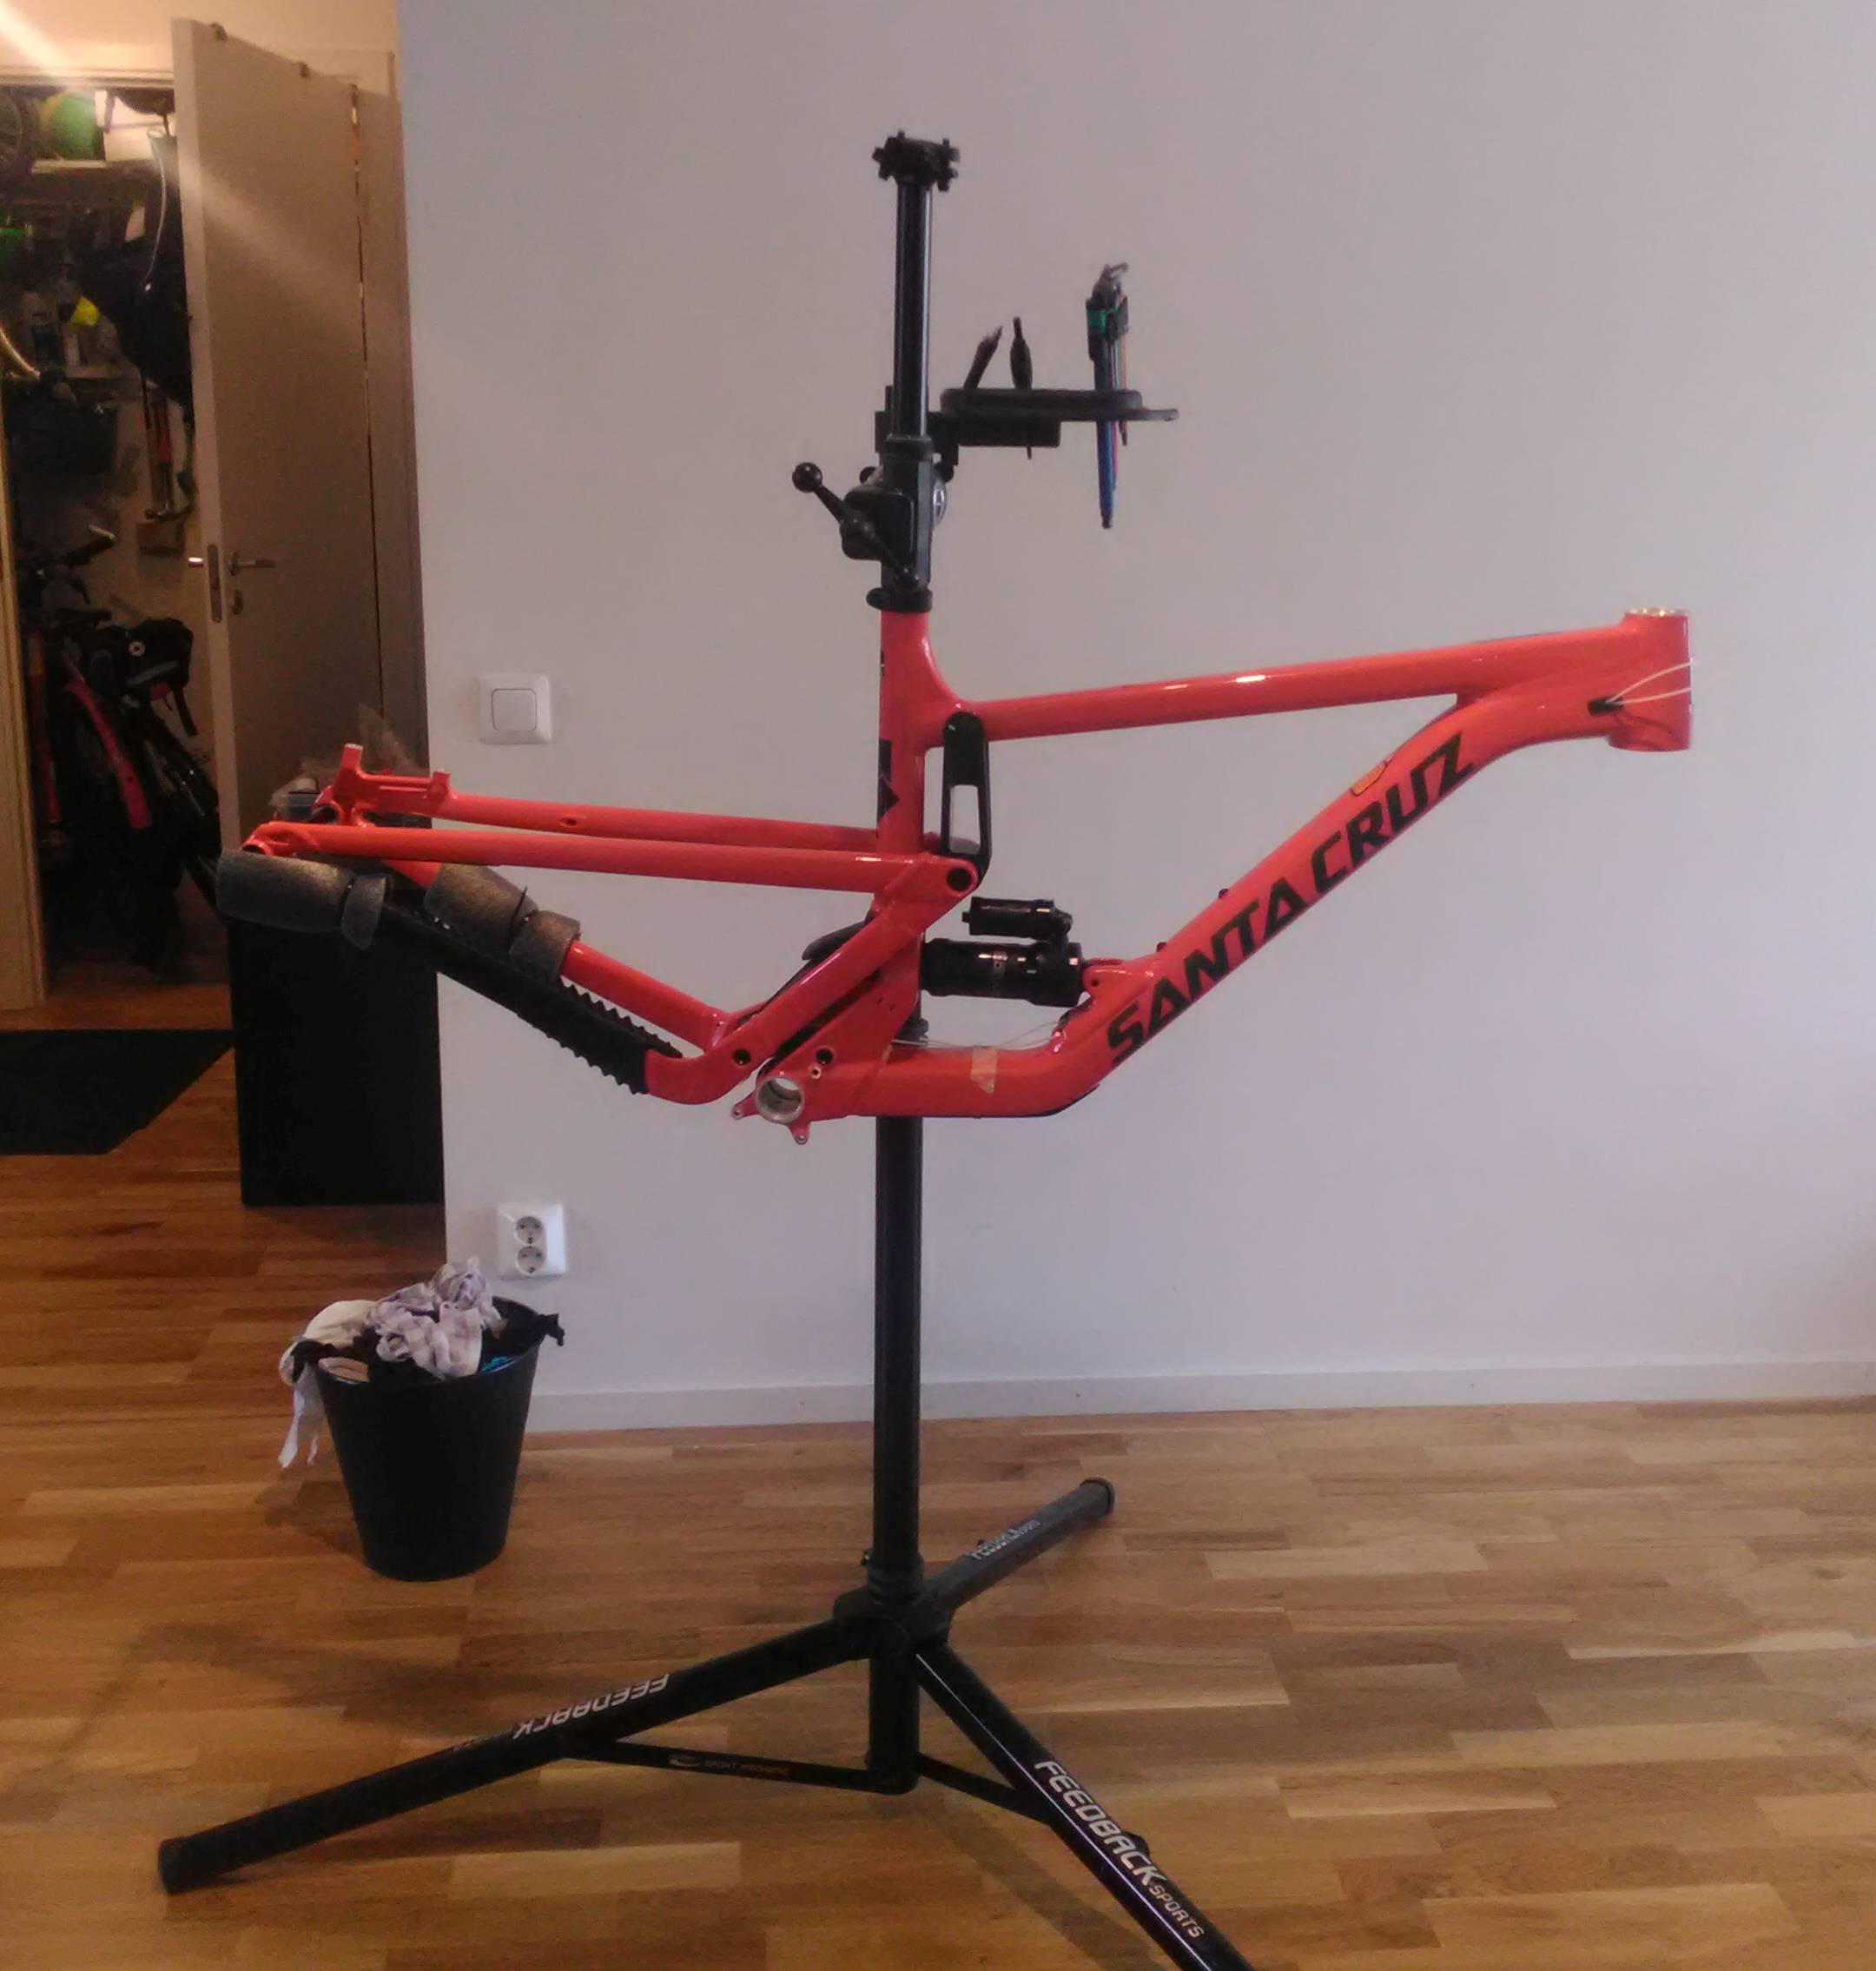
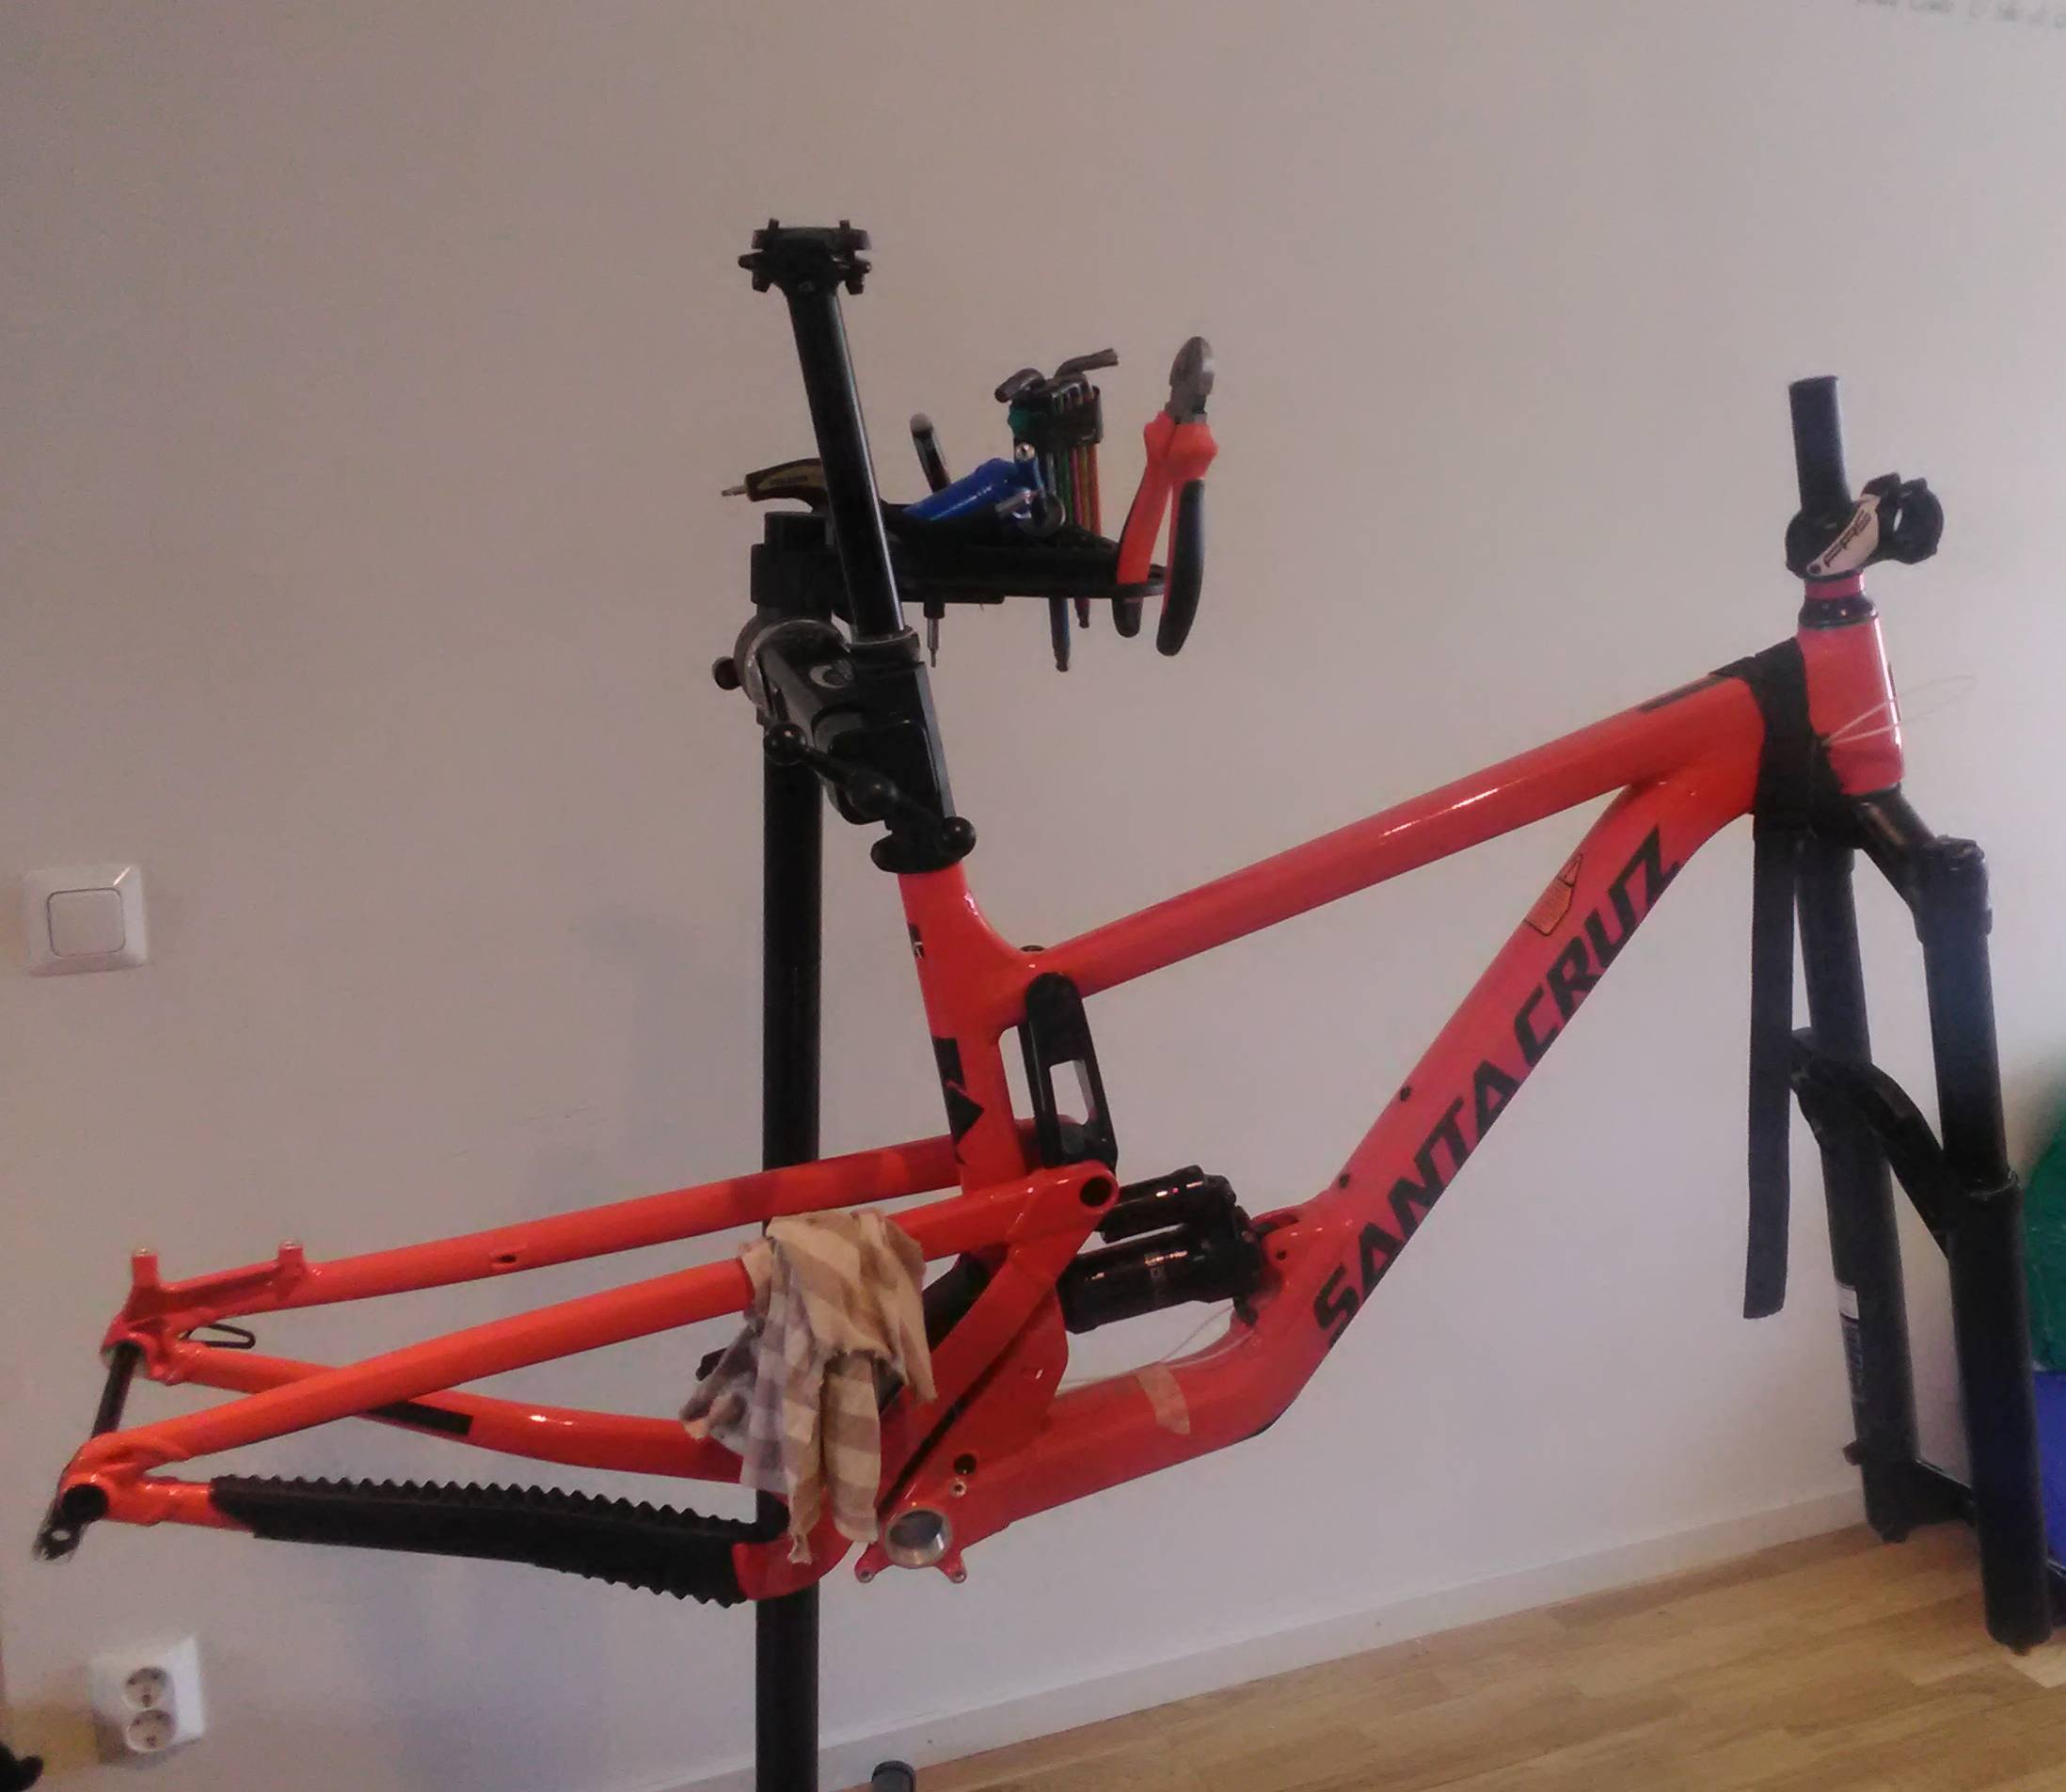
This is what the frame and the fork looked like at the beginning of the process:
Saddle post
Crank Brothers Highline with 170 mm stroke. Simple, cheap and easily serviced at home.
I am impressed with the service manuals available for it. They are carefully detailed.
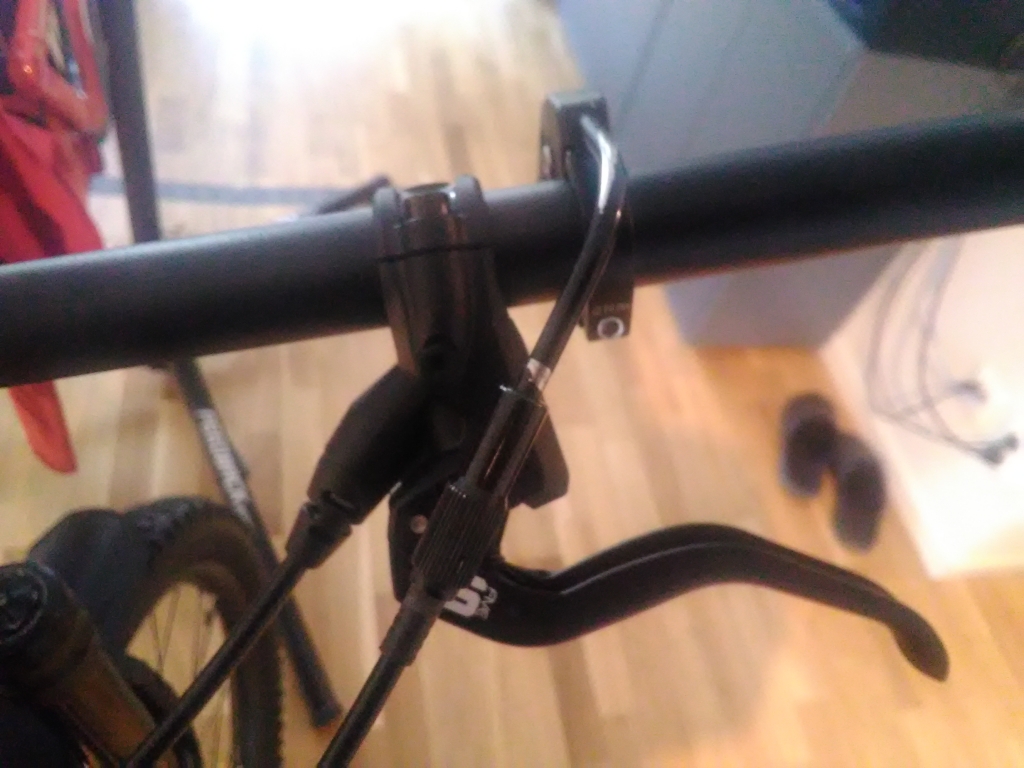
I had an older dropper lever by Brand-X which I used in this build. Although it is not 1×-specific, it is actually more ergonomic than another, 1× -specific, lever which I have on another bike.
Cranks
I got the Shimano FC-MT510-1 in 175 mm arm length and 30 teeth on the front chainring. Speaking of the chainring, I have second thoughts that my choice is not the most optimal.
Given that it is a full suspension frame, I might have gone with shorter crank arms, 172.5 or even 170 mm, to reduce the probability of pedal strikes. At the same time, it would mean using a smaller front chainring with 28 or 26 teeth to compensate for harder gears ratios.
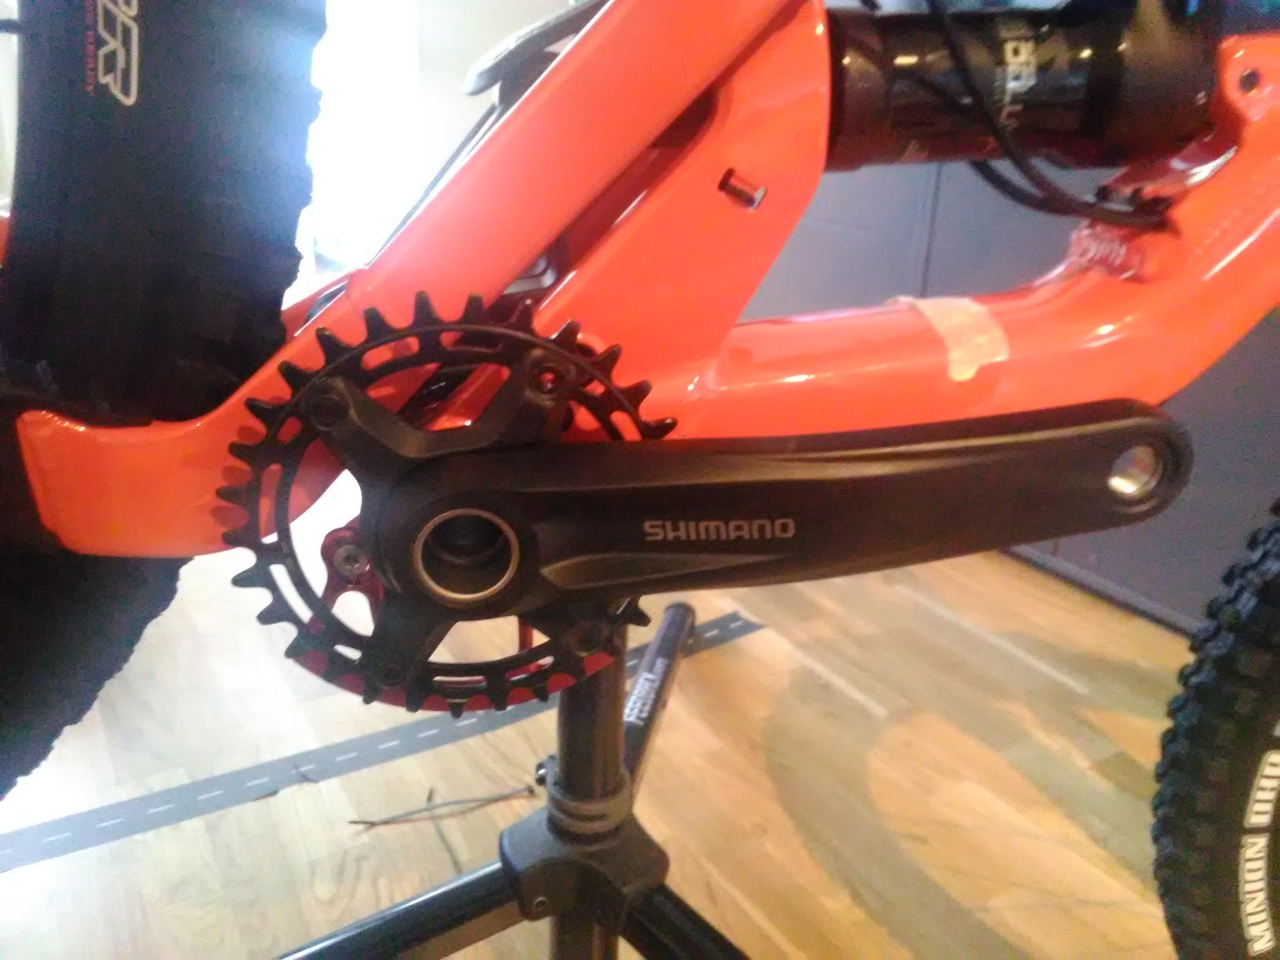
A small bash guard under the chainring should reduce the chances of damaging teeth:
For pedals, I screwed a pair of Promax Dirtjump that were in the spare box after another failed bike build. They are certainly too thick and cause unnecessary pedal strikes. Maybe I should replace them with thinner ones.
Drivetrain
10-speed Shimano Hyperglide cassettes have now become wide enough for 1×drivetrains. Neither SRAM XD nor Shimano Microspline hubs interest me. On this bike I have a Shimano with 11/46 teeth that lied in the spare box. I would have gone with Microshift’s 11/48 cassette but it was not available.
Brakes
My another MTB bike has Magura MT4 which I like a lot. I have nothing against Shimano’s or SRAM’s brakes, but Magura works for me and I already have everything for bleeding them.
For this build, I wanted to go with something more powerful. So it became a pair of MT5 that has four pistons per caliper.
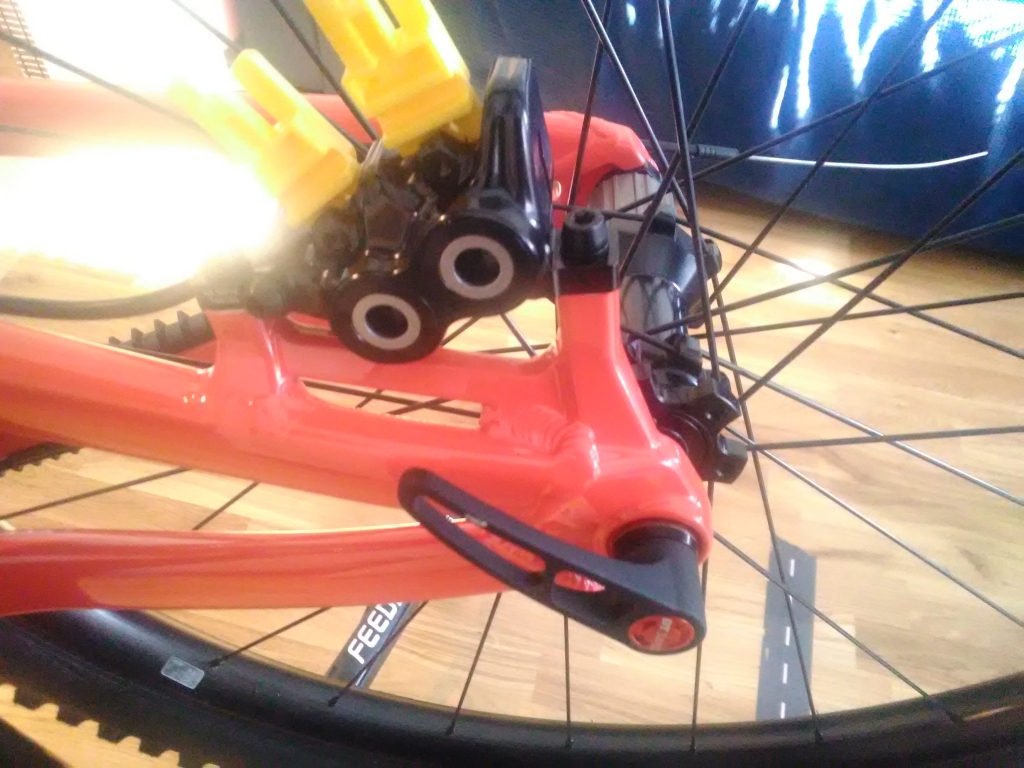
I got a couple of new brake discs in 180 mm diameter. However, not Magura’s own expensive Storm (which are 2.0 mm thick) but cheap noname in 1.8 mm thickness.
Wheels
Wheel size played little role for me. Well, I had a slight preference for 27.5”. The “mullet” (29” front, 27.5” rear) does not impress me and I would rather avoid such thing.
It was 29” in the end. I got a pair of Fulcrum E-Metal 5 because they were two seasons old and therefore on sale.
In the picture below, the wheels are with all the decals removed.
Handlebar
My other MTB has Spank Spoon in 785 mm width and 25 mm rise. No complaints with it. So the new bike got the same model.
The Process
Unboxing
(Unfortunately I did not take any pictures of unboxing) The frame itself came in an inconspicuous box without any trademarks, which I greatly appreciated. In addition to the frame, you get a spare derailleur hanger, some transparent protective film, a useless manual book with compact disc and other debris.
Internal cable routing
I read somewhere online that Santa Cruz frames have the simplest routing. If that were true, I would be afraid to imagine how difficult it is with other manufacturers.
I had to drag three cables through the different tubes of the frame.
- Dropper post cable.
- Rear derailleur cable.
- Hydraulic line of the rear brake.
I spent maybe half the of time solving the routing puzzle.
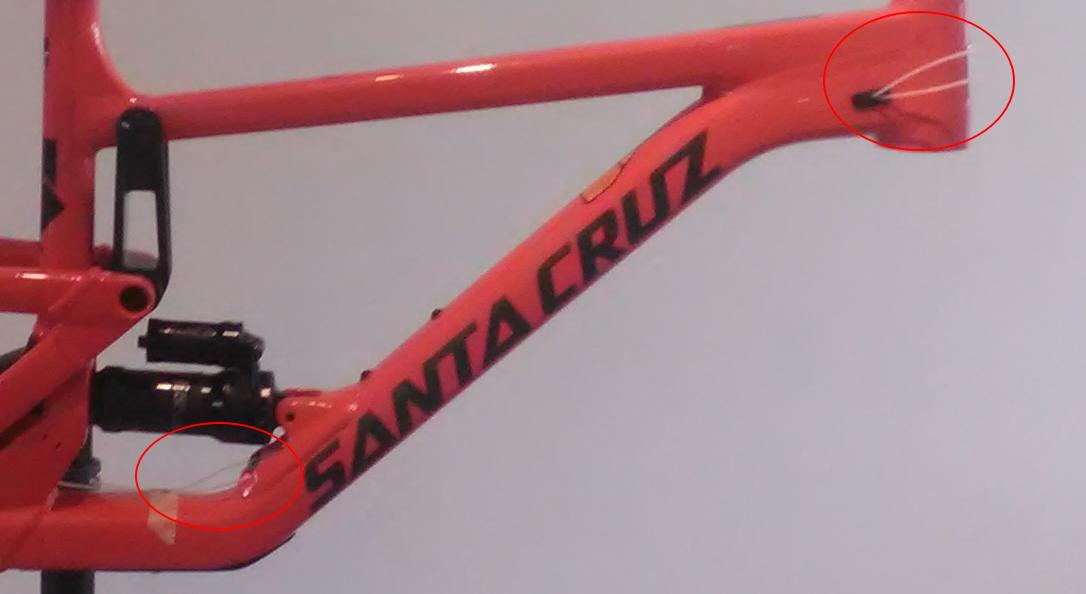
Dropper post cable
The problems started immediately when I tried to draw a seemingly easiest cable. Pulling it through the seat tube went more or less quickly. But where should it go after that?
There were two visible holes in the lower tube with two preset plastic tubes and two corresponding upper openings.
But I had three cables to pull through the lower tube. Neither of these visible holes could hold two cables at the same time.
One would think that there must be more manuals, videos, etc. online. It was not the case (UPDATE: it was documented, but I missed this picture). Santa Cruz website provide explanations for some older frame models that do not fit my frame. Advertising and review pictures on the bike releaved little.
- All more expensive carbon fiber Hightowers come with SRAM AXS wireless parts that do not need three cables.
- Variants in aluminum have in some invisible way managed to pull the third cable through the frame.
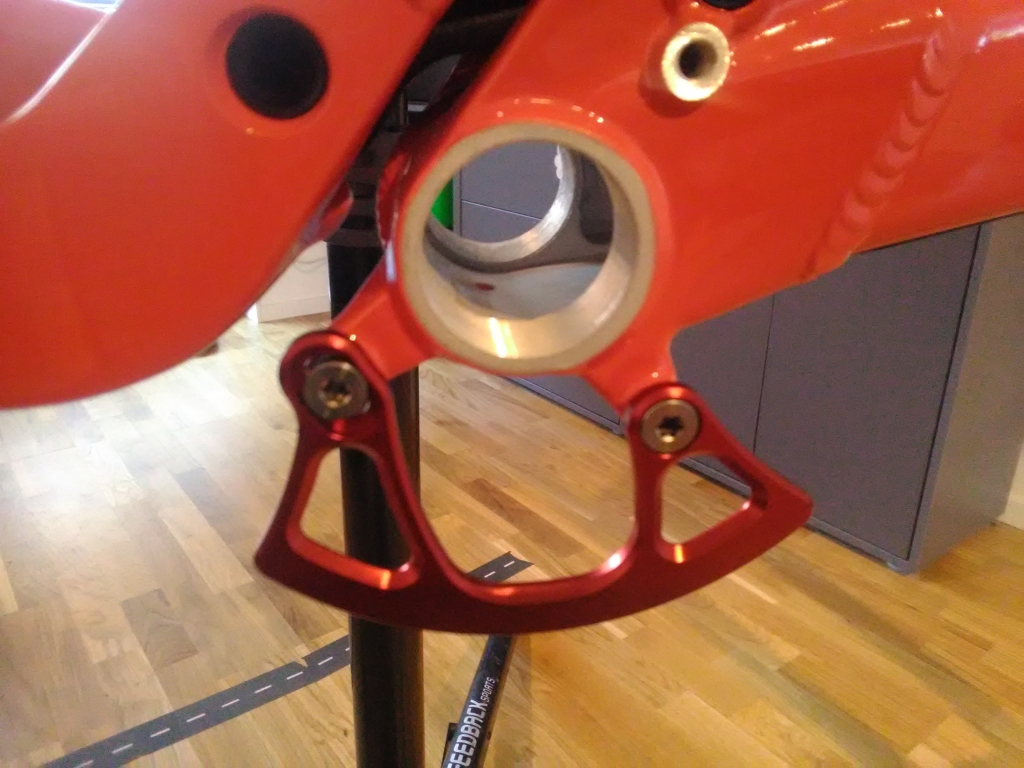
I was almost ready to give up and route the seatpost cable externally with cable ties around the lower tube. By pure chance, I finally discovered a third hole.
It was well hidden under the linkage:
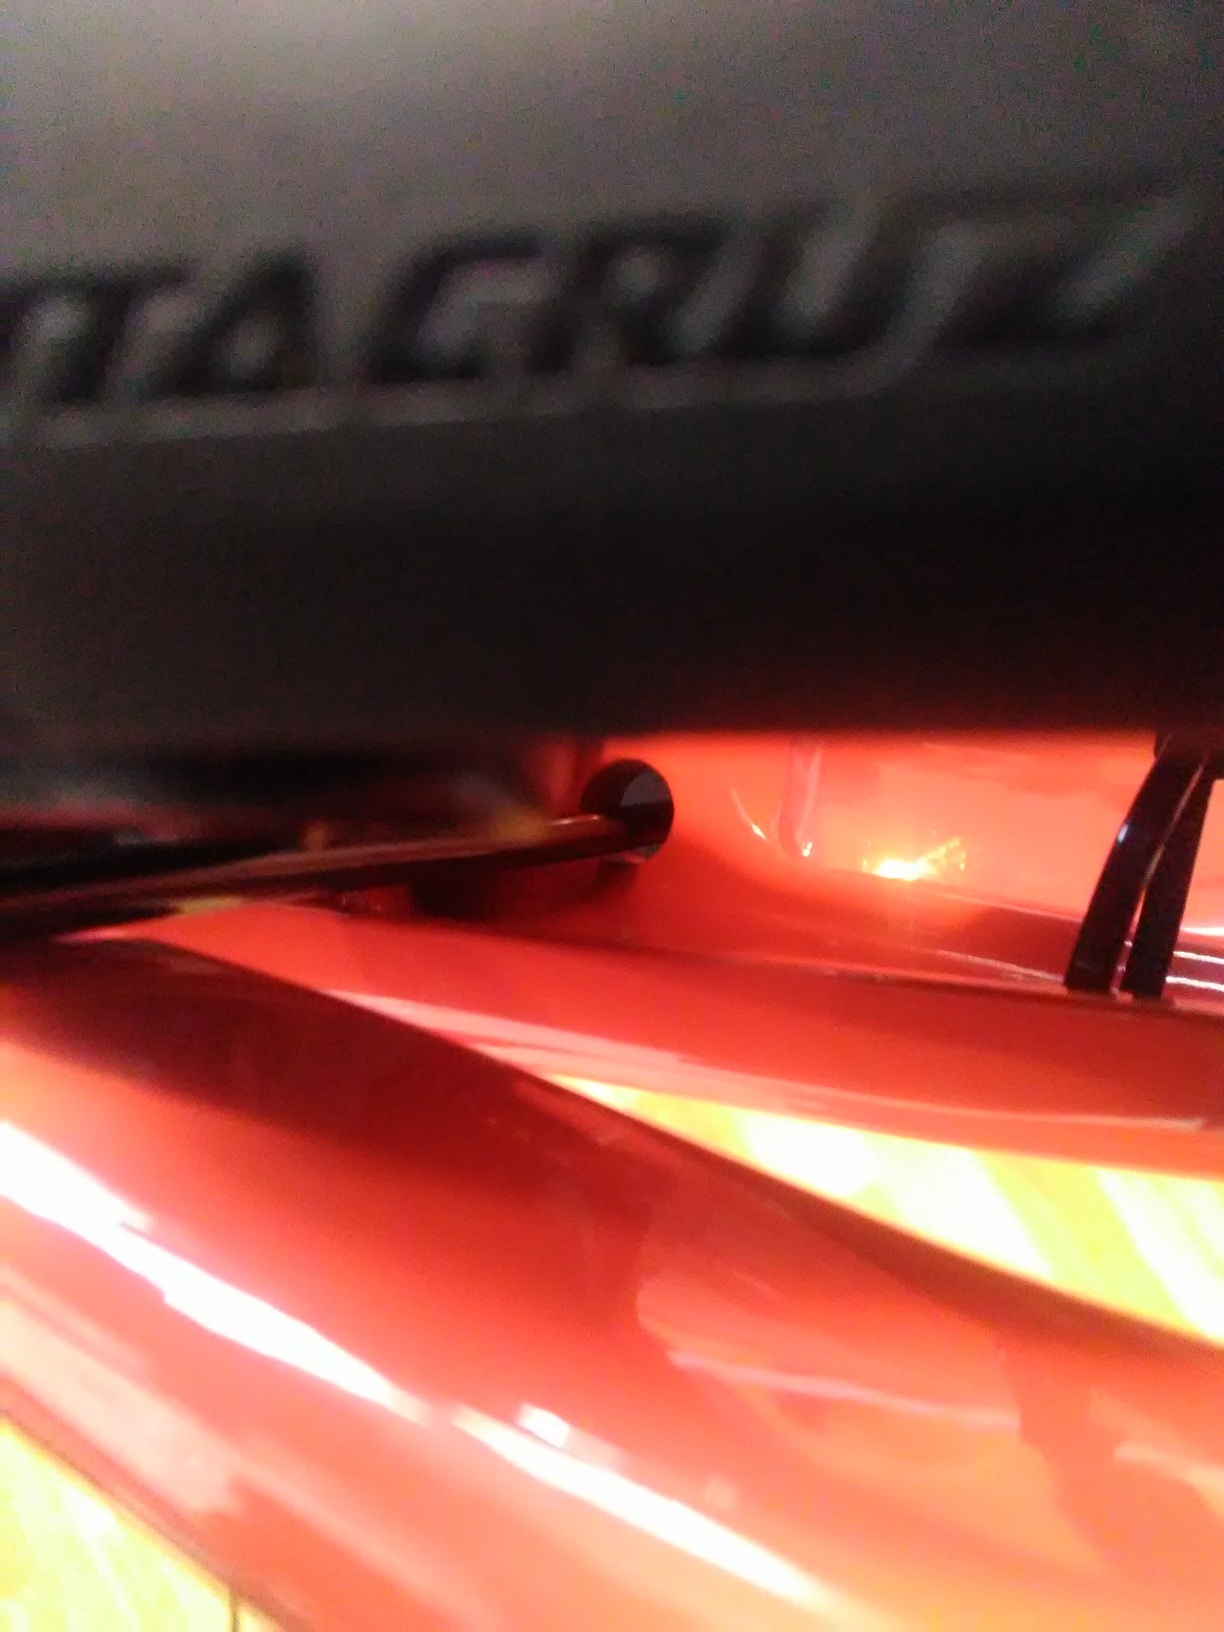
The hole is quite large (~10 mm). I suspect I need to seal it in some way to limit shit inflow.
Derailleur cable
I persevered onwards.
Pulling the derailleur cable through the chain stay took me a few tries. The cable did not want to go all the way out but got stopped by an invisible joint inside. A little twisting and swearing was helpful.
As previously stated, the frame came with preset plastic threads drawn through entrance and exit holes in the lower ear. In theory, they would help to pull the real cables.
In my case, they did not help at all. If you have a fancy tool for internal wiring such as Park Tools IR-1.2 or similar, these plastic linings may be useful. For me, it was easier to push the cable from the bottom up to the upper openings and then fish it out with a pick. Pick and flashlight were most useful in the whole process.

Rear brake hose
Only one cable left!
The brakes came pre-bled with mineral oil inside. It is usually possible to shorten the hoses with Magura brakes without bleeding them if you are accurate. I have done it before.
With the internal routing, this means that the hose must be cut. It remains open for a longer period of time. A larger amount of oil has chance to drain out. Which also means the need for full brake bleeding afterwards.
Magura delivers brakes with a small plastic plug in the box that reduces leakage during the process. I had some experience and tools to do brake bleeding, which I did.
Plugs and noodles
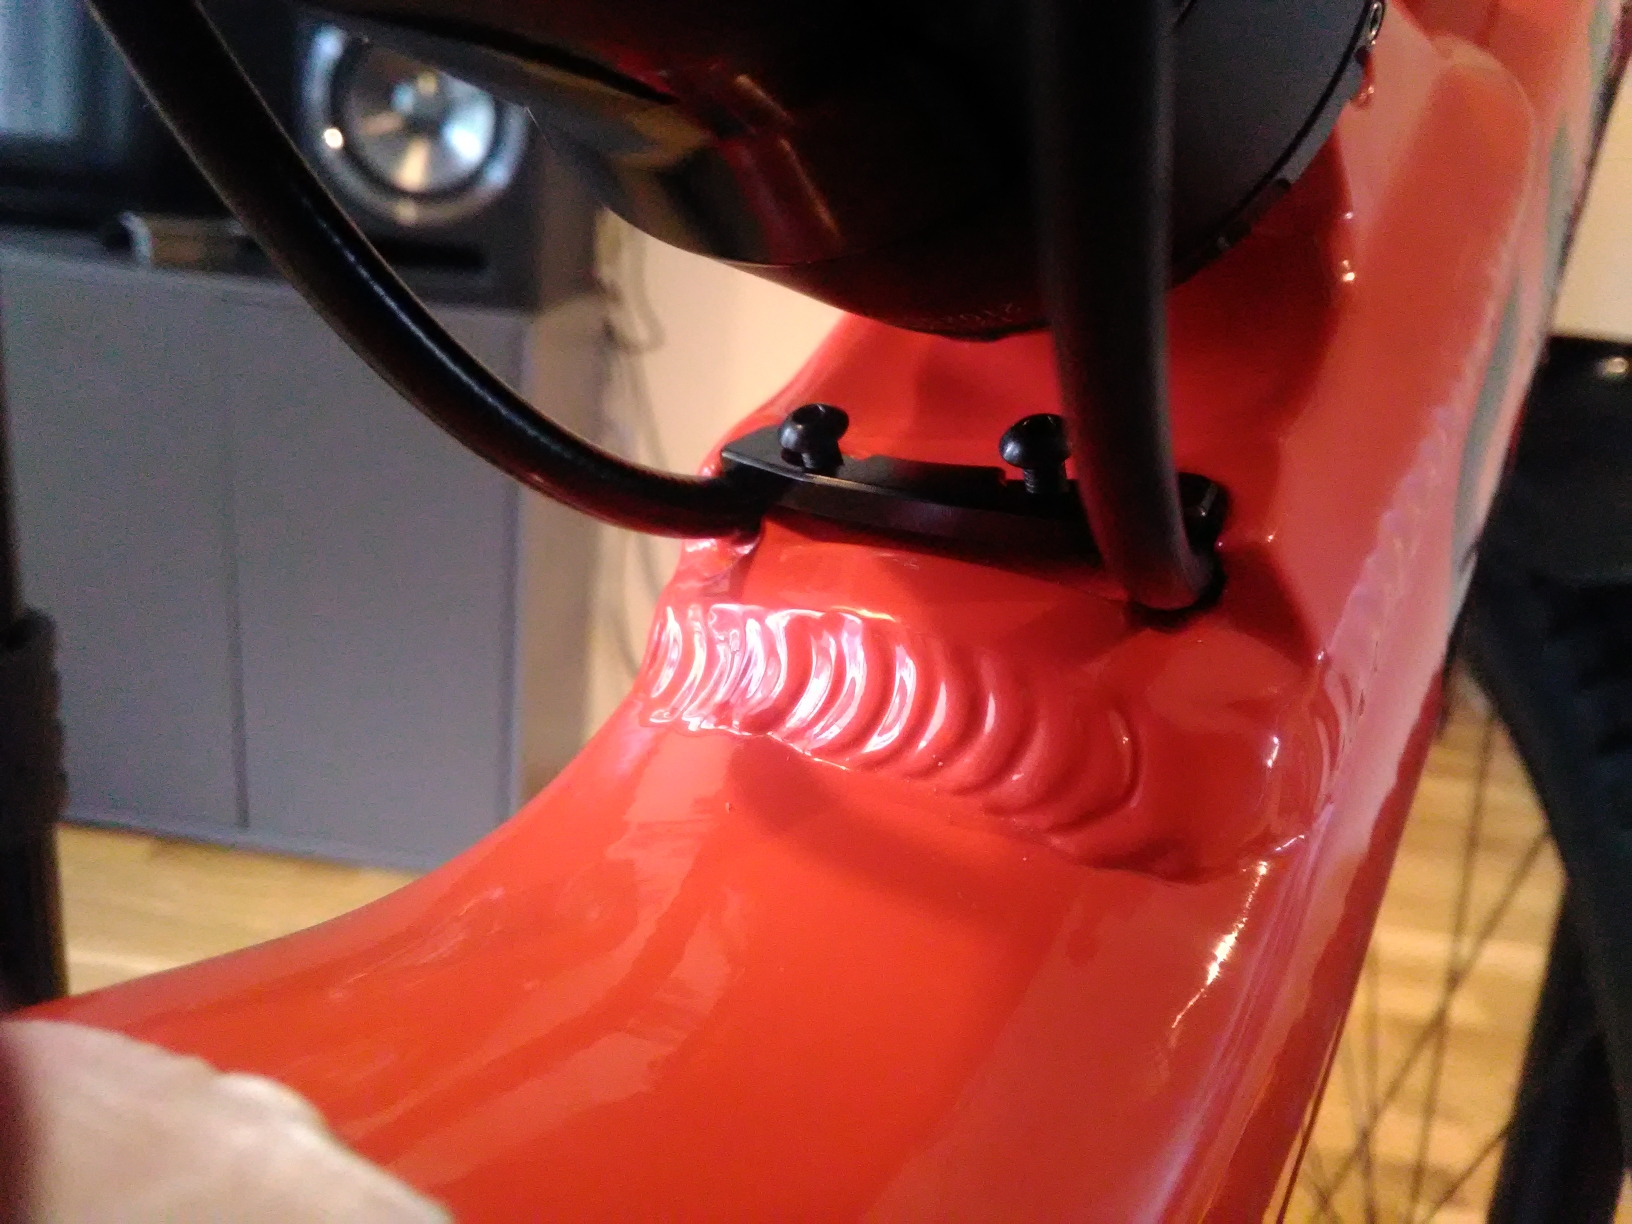
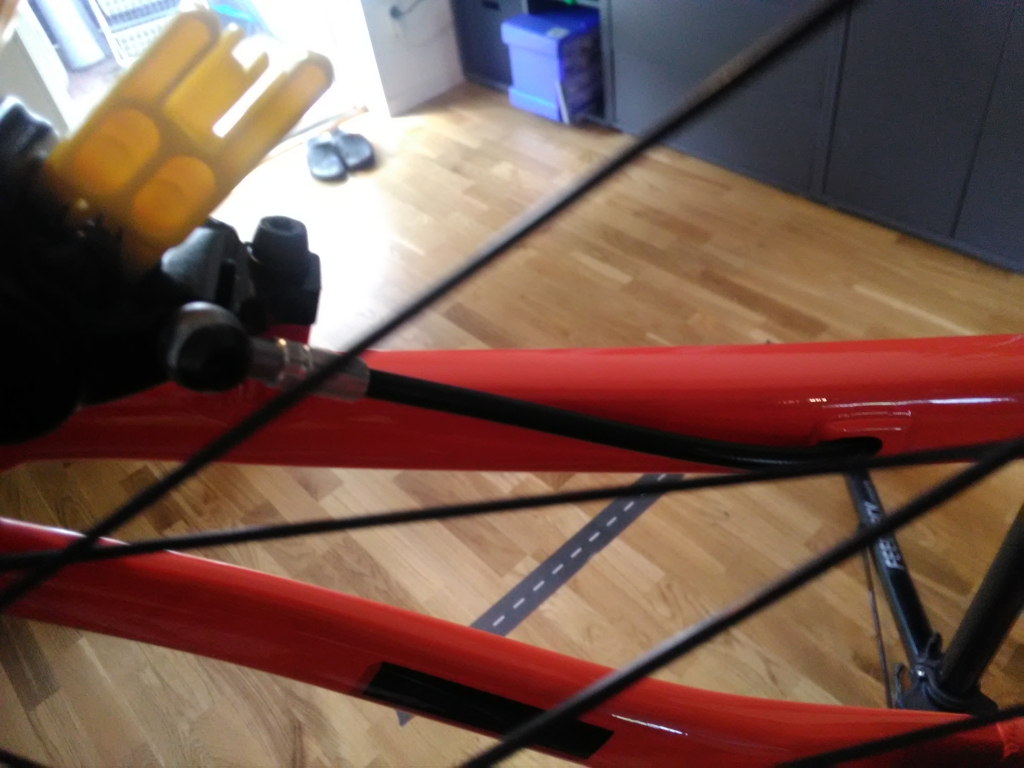
You do not have to forget to thread the cables through rubber plugs at the upper frame openings before the cables/hoses connect to their corresponding controls:
A pair of “pool noodles” which are used to prevent cables from rattling came in the box with the frame. I tried to push them in through the holes with questionable results.
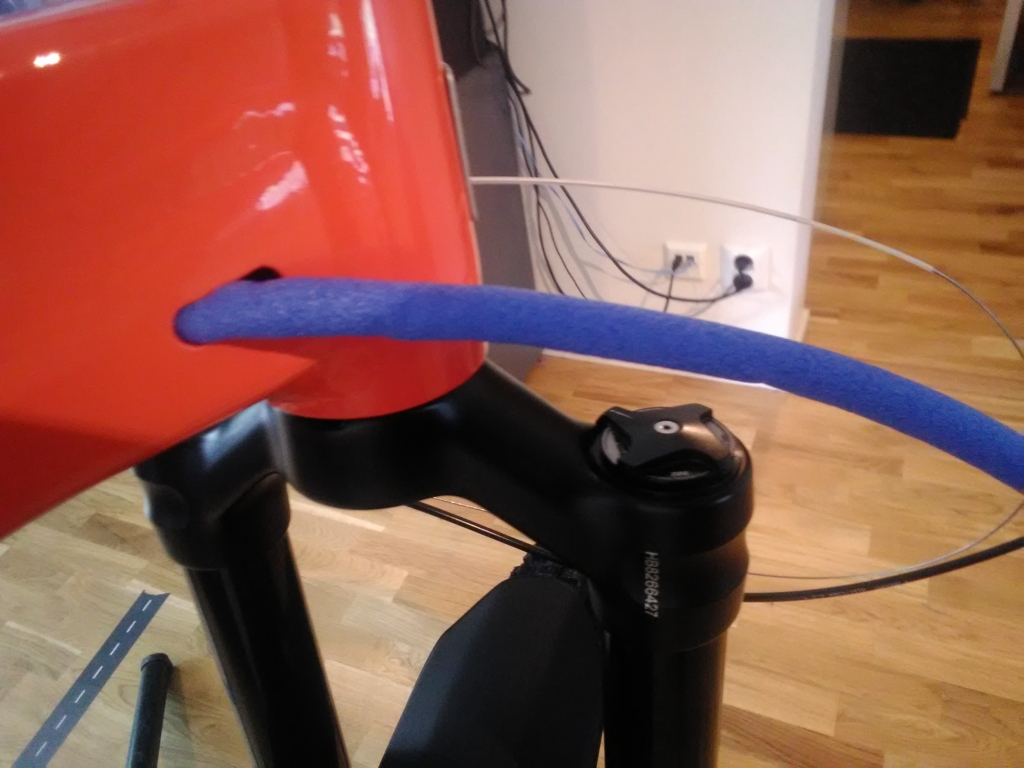
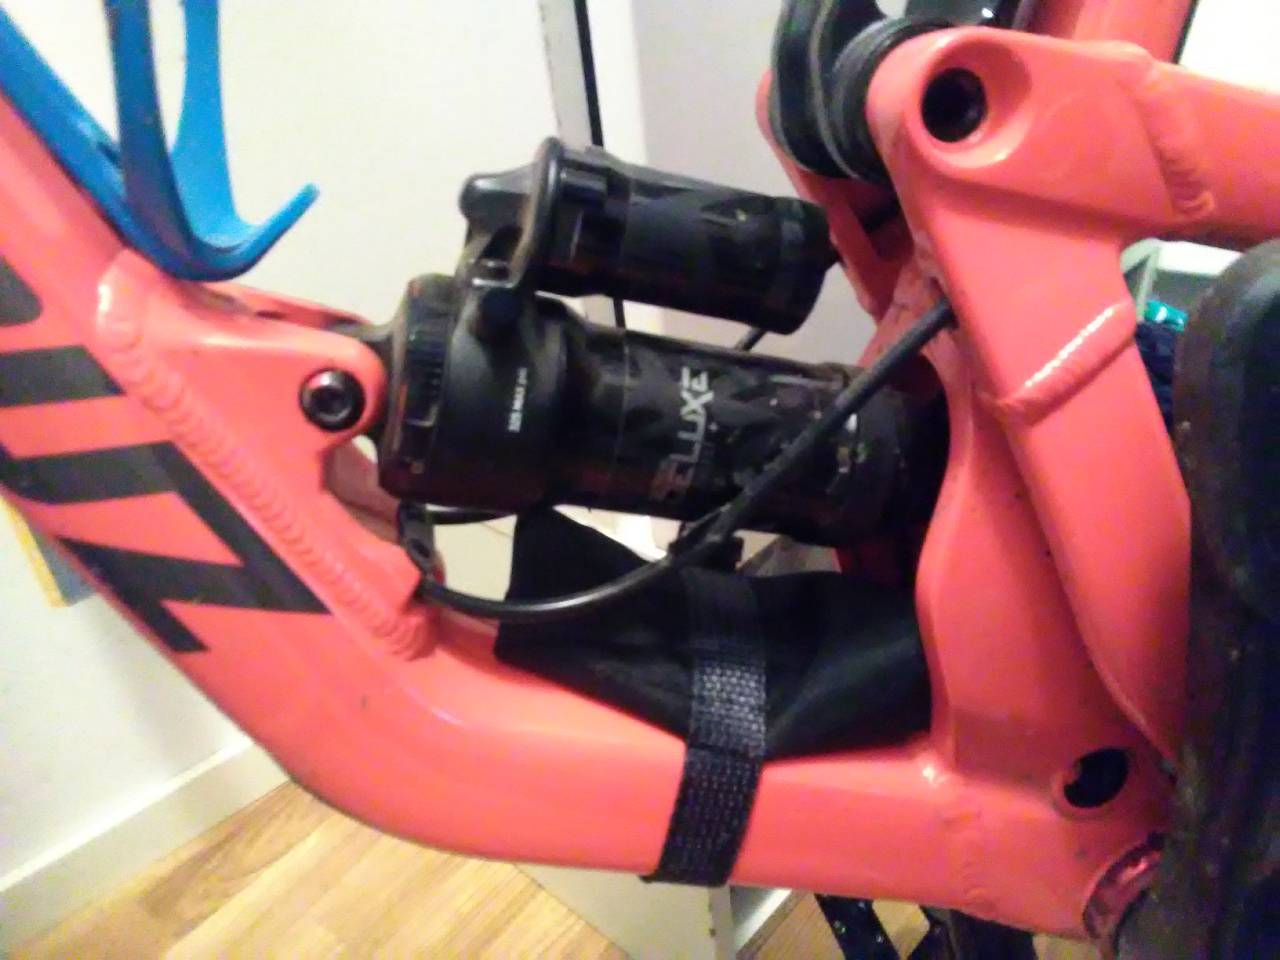
Frame bag
It is not much space in the front triangle. Almost the entire space is taken up by the shock and the water bottle. However, there is still a tiny space under the shock. I wanted to keep the most necessary Allen keys and maybe spare money there.
Maxxis sells some of its tires in synthetic fabric bags. Which is a waste, I think. But this time I got to reuse them as the fabric was used as a cloth source for a small frame bag:
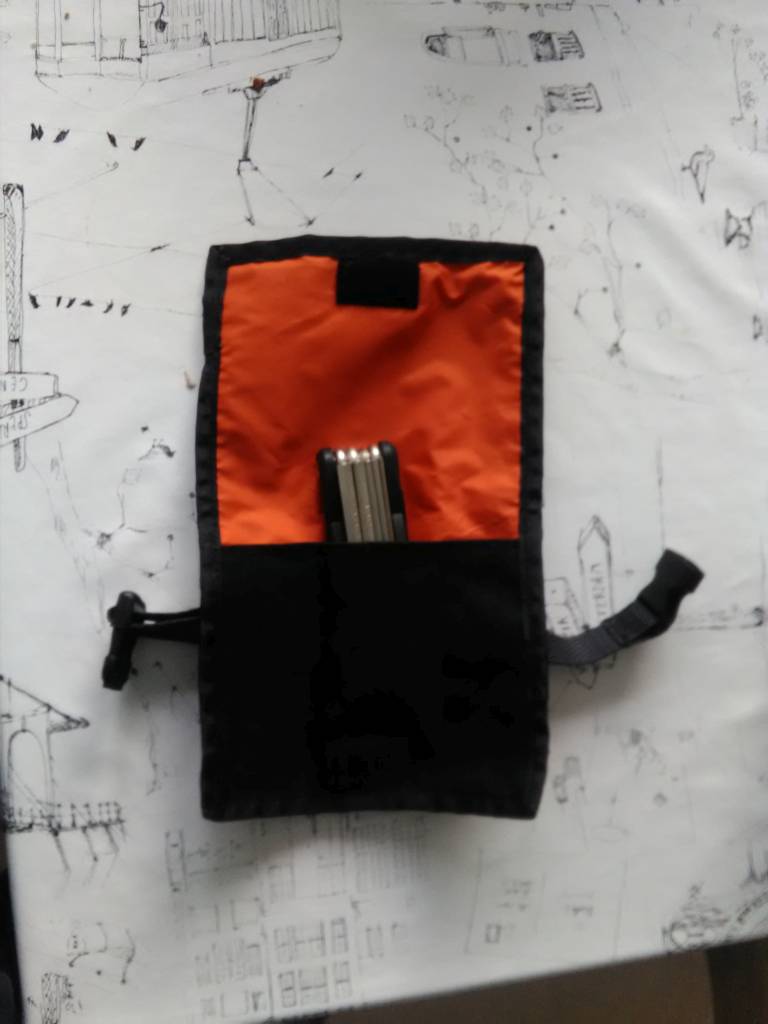
The bag is sewn by my wife after my measurements. The design is inspired by this page.
Here, the frame bag is in place under the damper, filled with hex keys.
I think I can fit another small custom-made bag somewhere under the top tube, but we’ll see.
Nail polish
When building, I used regular nail polish in two ways.
- As a kind of weak threadlocker fluid. It must be understood that it is reasonable only in non-safety-critical places such as bottle holders, derailleur bolts and the like. Otherwise use real Loctite 242 for brake disc bolts, stem bolts, etc.
- To mark the relative position between a bolt head and the part it is screwed in. If something starts to move, it is easier to see during visual inspection.

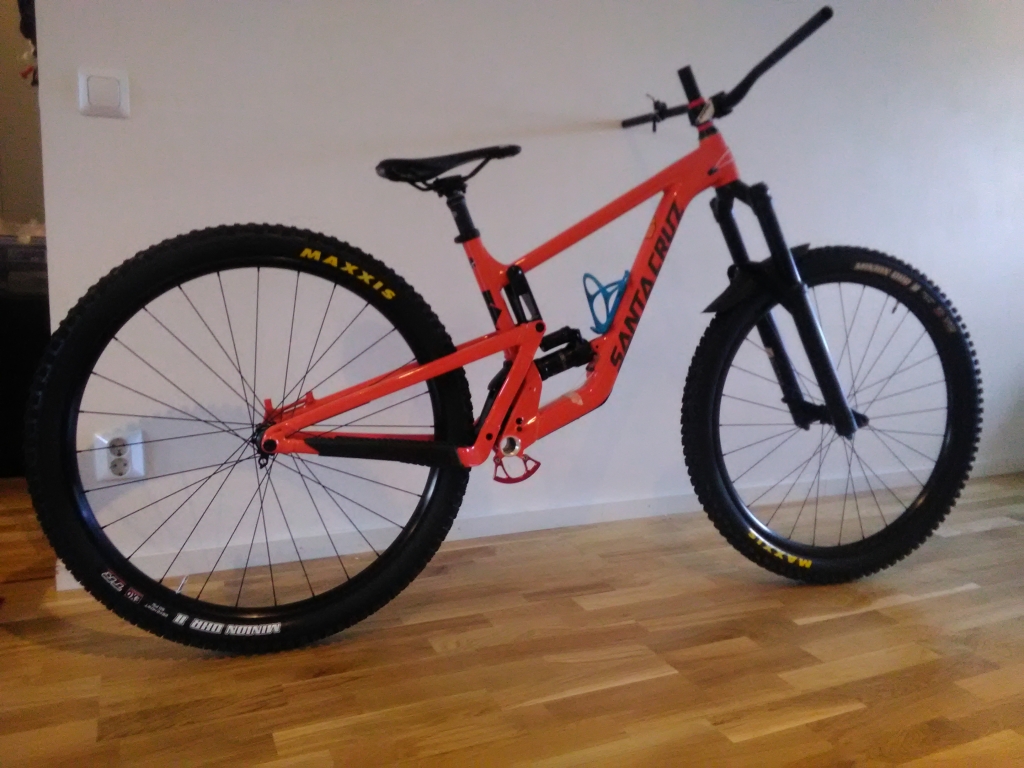
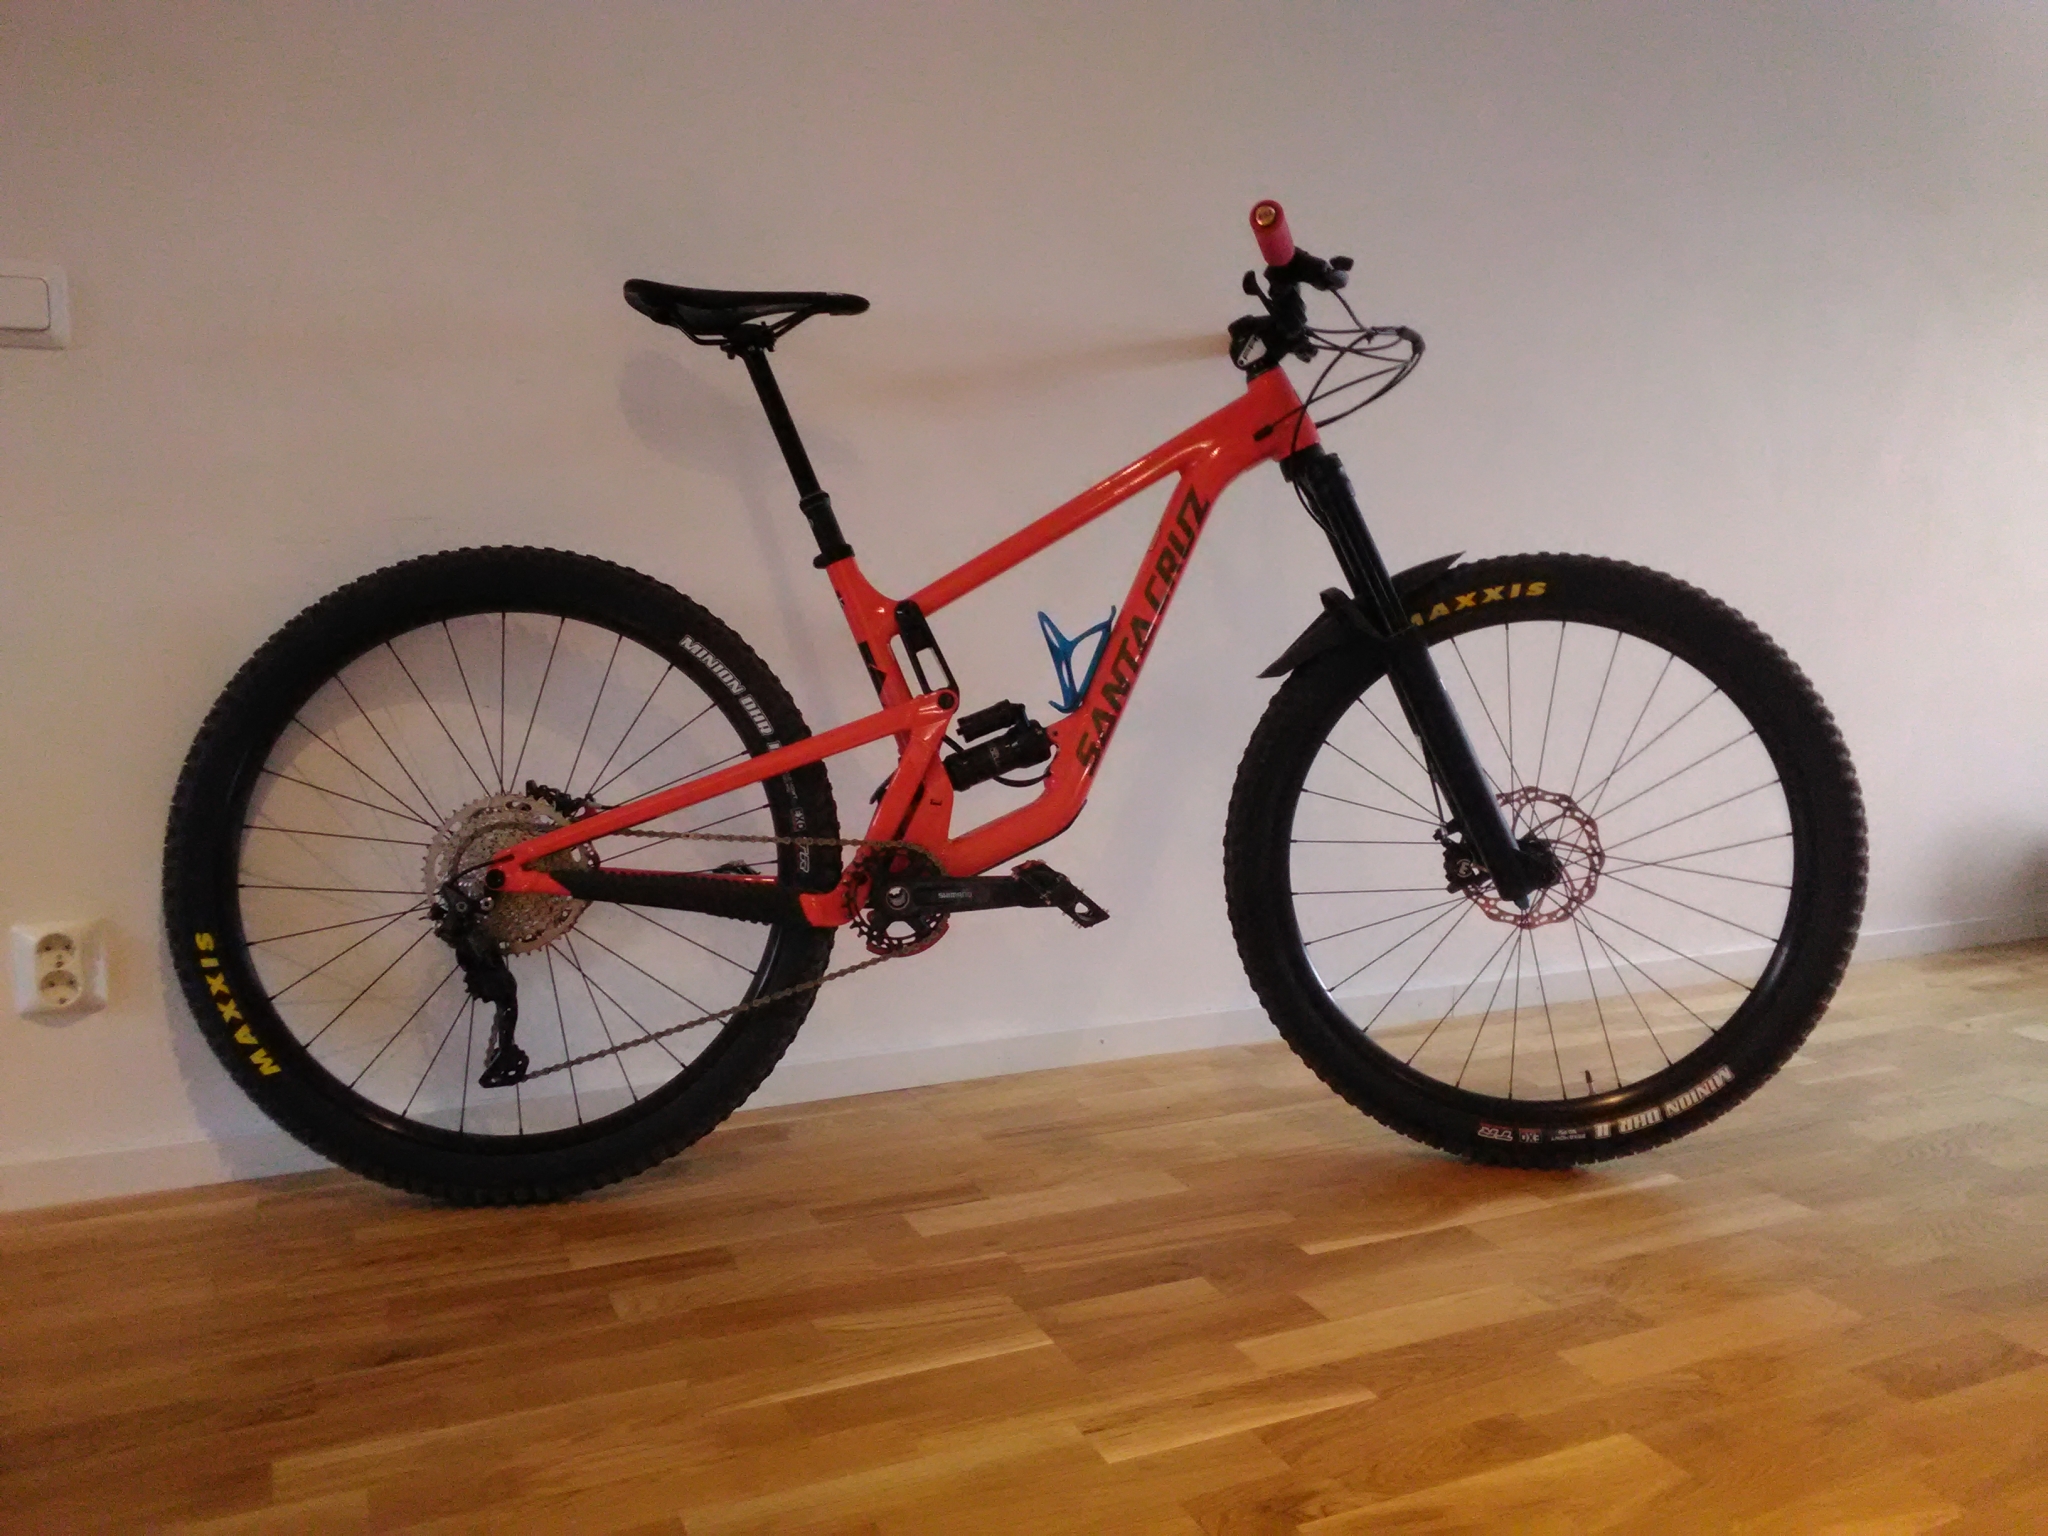
Result
This is the result:
What is still missing or could be improved
A bicycle build never ends. You keep changing things, adding things, upgrading things. Some thoughts on what I intend to do in the near future.
- Attach the rear fender, sort of an ass-saver.
- Change pedals to thinner ones, such as Race Face Chester. The pedal choice really depends on the occasion. At the bike park I usually have contact pedals. Elsewhere, I prefer platform pedals.
- Barends made of metal. I love soft ESI grips. But the plastic plugs that come with them are a joke that does not survive minor strikes. ODI end plugs are much more durable.
- Switch to a sideload bottle holder which is more usable in a tight front triangle.
- Better brake discs and brake pads?
Other thoughts
- Internal cable routing is stupid. Yes, you save on cable ties. Instead, you get a headache. I hope it will be easier and faster to drag the cables again next time with my experience.
- Compared to EC and ZS headset cups, IS cups are easier to install as you do not need to use a bearing press.
- Fully cushioned frame needs shorter crank arms to reduce pedal strikes. It is not always completely ergonomic to play with the crank arm length. In my case, I had tried several bikes with different crank arm lengths and different crank arm widths (from racing bike to fat bike) and did not feel any discomfort.
- It’s cool that Santa Cruz delivers the frame with an extra derailleur hanger in the box.